
Fusion FWD L4-2.3L VIN Z (2007)
connector.
All seats
6. Remove the 4 recliner-to-backrest frame bolts and remove the recliners.
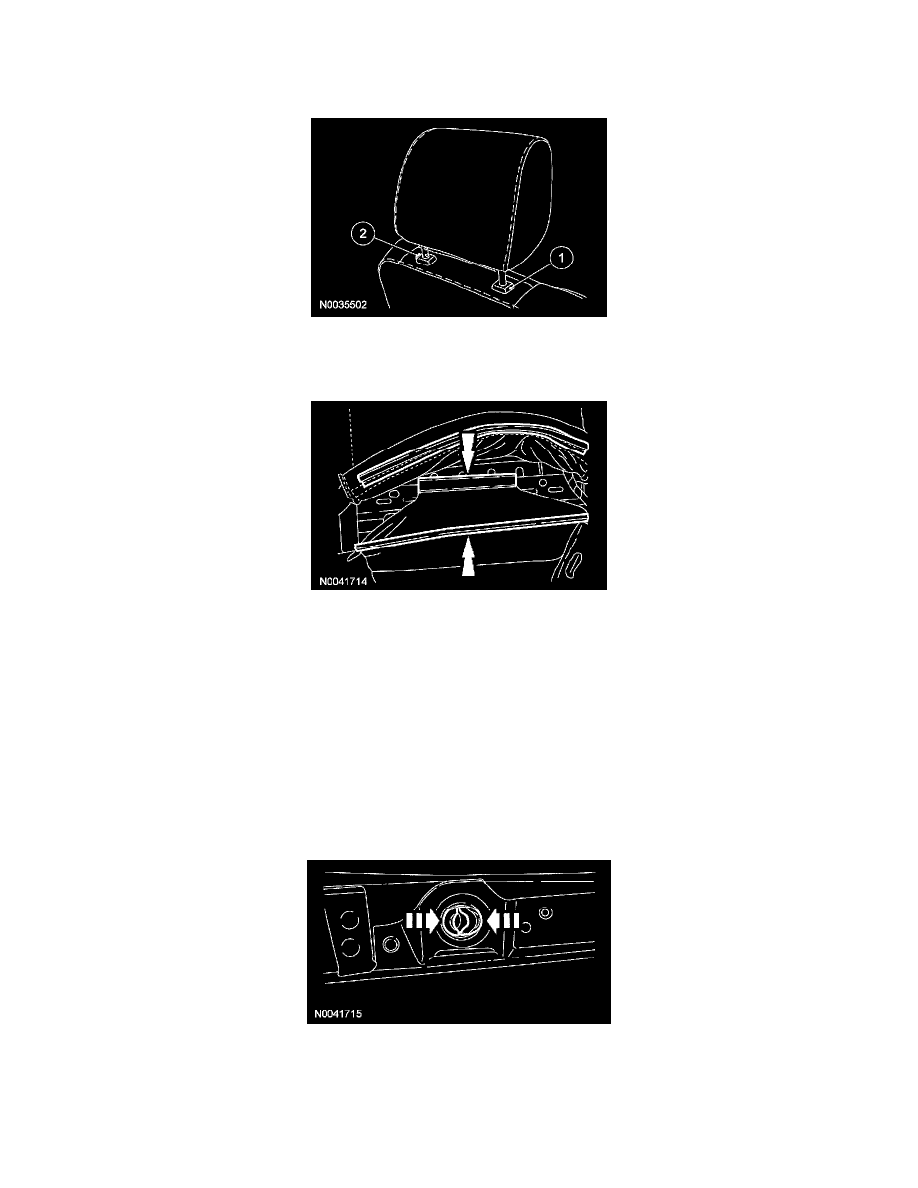
7. Remove the head restraint.
1
Using an appropriate tool, push in the hole while lifting up and release the head restraint from the head restraint guide.
2
Push in on the head restraint guide release tab and remove the head restraint.
8. Release the outer and inner backrest trim cover lower J-clips.
9. Separate the hook and loop strips on each side, at the bottom of the backrest trim cover.
10. CAUTION: Use care when separating the backrest trim cover from the hook and loop strip, or the hook and loop strip can be torn from
the backrest foam pad.
Place a hand between the backrest trim cover and backrest foam pad and carefully separate the hook and loop strips.
11. Invert the backrest trim cover to the hog rings.
12. Remove the hog rings attaching the backrest trim cover to the backrest foam pad in front and the backrest frame wire in the rear.
-
If equipped with heat or a side air bag, feed the wire harness through the side of the backrest trim cover.
13. Invert the backrest trim cover up as far as it will go.
14. Remove the pin-type retainers and the hard back panel.
15. NOTE: The head restraint guides are not interchangeable. Note location for installation.
Reach up into the backrest and squeeze the head restraint guide ends together to release. Pull the 2 head restraint guides out of the backrest frame.
16. Remove the backrest trim cover.
17. Separate the backrest frame from the backrest foam pad.