
Fusion FWD V6-3.0L (2009)
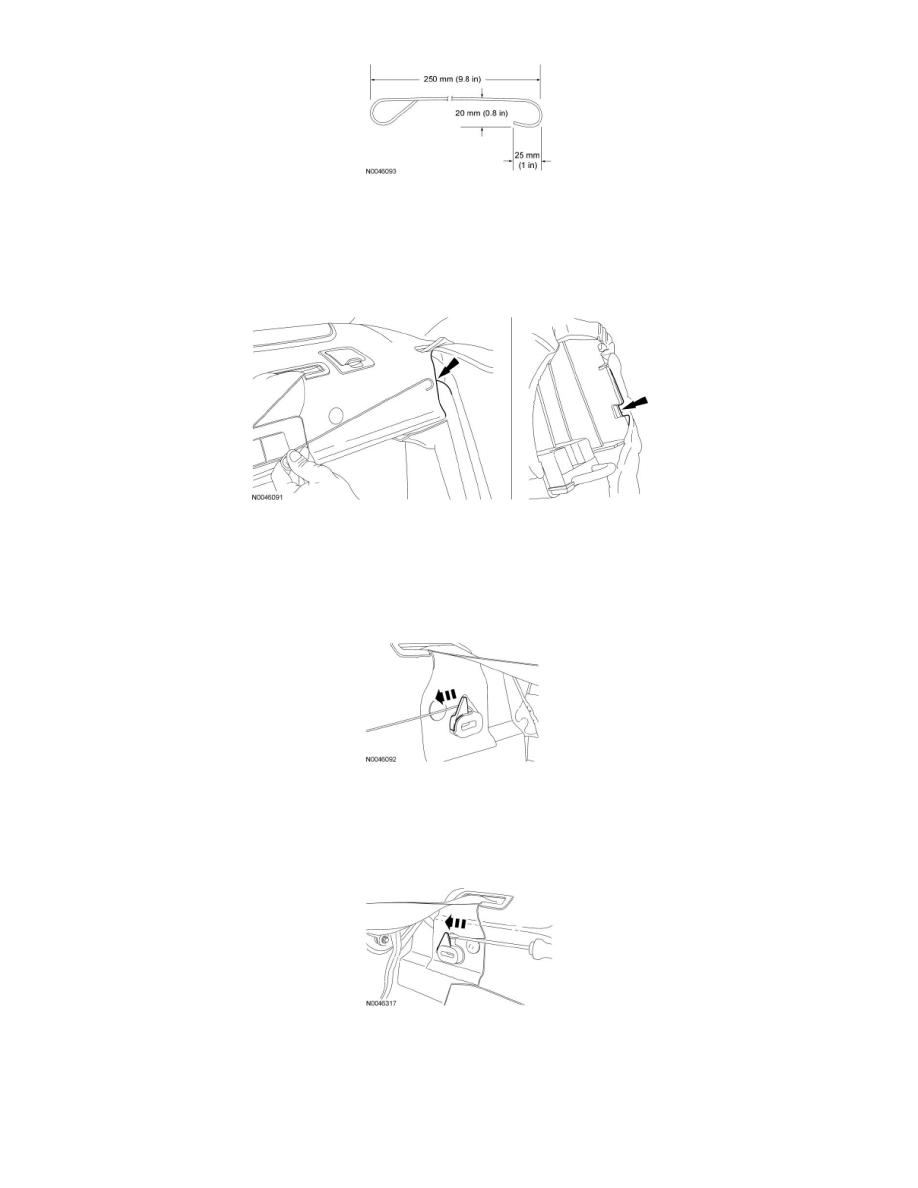
5. NOTE: LH side shown, RH side similar.
NOTE: The latch release tabs are accessible through a small service notch located on the rear inboard edge of each side bolster (behind the bolster
trim cover sew seam).
Locate the service notch behind the rear inboard edge of the affected side bolster to access the latch release tab.
6. NOTICE: Do not force the latch or side bolster to release. Applying excessive force can damage the latch.
NOTE: Latch shown with bolster removed for clarity.
To remove the LH side bolster, use a hooked pick or fashion a hooked tool to pull the latch release toward the RH side of the vehicle and release
the side bolster.
7. NOTICE: Do not force the latch or side bolster to release. Applying excessive force can damage the latch.
NOTE: Latch shown with bolster removed for clarity.
To remove the RH side bolster, use a flat-blade screwdriver to push the latch release toward the RH side of the vehicle and release the side bolster.
8. With the affected bolster latch released, pull the side bolster forward and remove.
Installation
1. NOTE: Make sure the safety belt webbing is not twisted and the safety belts and buckles are accessible to the occupants.
Position the side bolster, align and insert to the latch.