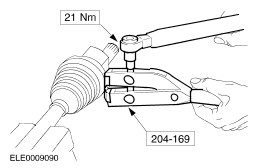
Gaiter clamp tightening tool
204-169 (14-044)
Separating tool
205-310 (15-091)
Bridge for separating tool
205-311 (15-092)
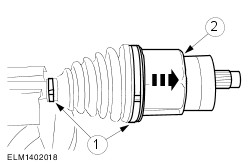
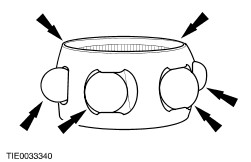
Disassembly
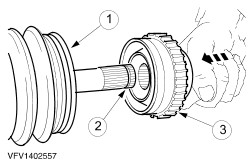
Assembly