
Mustang V6-4.0L (2008)
Separate the hook-and-loop strips, remove the hog rings and separate the cushion trim cover from the cushion foam pad.
Assembly
All seats
1. Position the cushion trim cover to the cushion foam pad, attach the hook-and-loop strips and install the hog rings.
Driver seat
2. Route the seat wire harness to the cushion frame and attach the pin-type retainer(s) as noted during removal.
Passenger seats with OEM OCS or OCS system service kit
3. WARNING: Install a new occupant classification sensor (OCS) system service kit as a complete assembly. Never install only part of the
kit components. Failure to follow this instruction may result in incorrect operation of the OCS system and increases the risk of serious
personal injury or death in a crash.
CAUTION:
-
Failure to route the seat occupant system components through the correct seat cushion support opening can cause component failure.
-
While positioning the seat cushion frame and occupant classification system assembly, be careful not to damage any of the
components. Failure to do so can result in component failure.
Position the OCS components and seat wire harness through the cushion frame opening as noted during removal.
-
Feed the hose, pressure sensor, wire harness, electrical connectors and OCSM through the opening in the cushion frame.
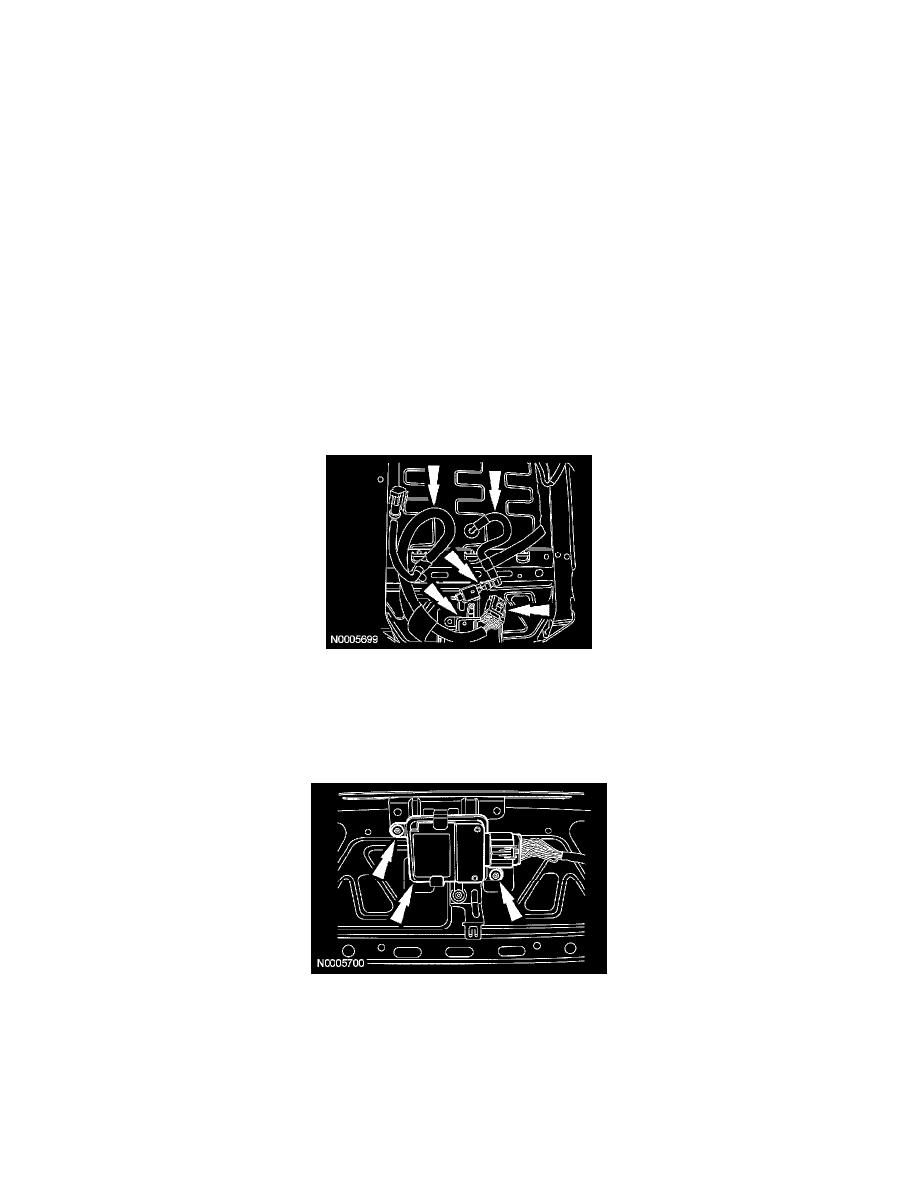
Passenger seat with OEM OCS
4. Install the OCS bladder pin-type retainers.
Passenger seats with OEM OCS or OCS system service kit
5. Position the OCSM onto the seat cushion pan bracket and install the new rivets.
-
The OCSM must be correctly positioned and securely riveted in place. Failure to do so can set a DTC in the restraints control module (RCM).
6. Bend the retaining tab back on the pressure sensor bracket.