
Taurus X FWD V6-3.5L (2008)
18. Release the interior door handle cable from the latch.
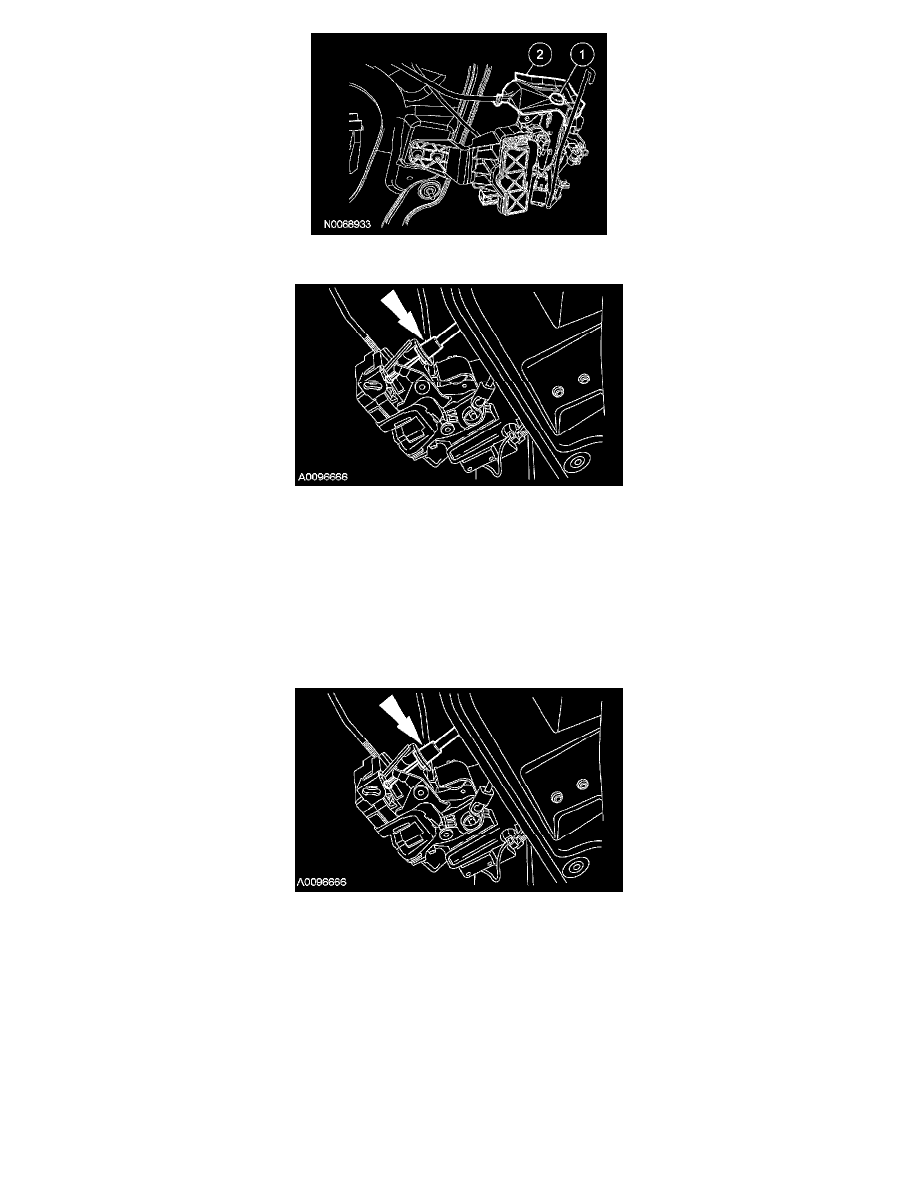
19. Remove the front door latch from the bracket.
-
If necessary, remove the door lock actuator and the door ajar switch.
Installation
NOTE: If necessary, install the door ajar switch and the door lock actuator.
1. If equipped, position the door disarm switch and the door lock cylinder pawl on the door lock cylinder and install the circlip.
2. Install the front door latch on the bracket.
3. Connect the interior door handle cable to the latch.
4. Install the rain hat on the latch.
5. Connect the push button rod to the front door latch.
6. Connect the door ajar switch and the door lock actuator electrical connectors.
7. Position the door module and install the 11 bolts.
-
Tighten to 8 Nm (71 lb-in).
8. Install the 3 front door latch bolts.
-
Tighten to 12 Nm (9 lb-ft).
9. CAUTION:
-
The exterior door handle and the door latch must be installed and tightened to specification before connecting the exterior door
handle actuating rod with the yellow clip.
-
The exterior door handle actuating rod must be hanging freely then clipped into the door latch. Loading the exterior door handle
actuating rod up or down when connecting may result in a misadjustment of the latch causing the latch not to operate correctly.