
Taurus X FWD V6-3.5L (2008)
4. Using the special tool, distance the rear window glass from the body.
5. Using the special tool, cut the remaining urethane adhesive and remove the window glass.
6. Using a soft brush or vacuum, remove any dirt or foreign material from the pinch weld.
Installation
NOTE: For additional material guidelines, refer to the manufacturer's installation information.
1. Dry fit the rear window glass to the existing urethane adhesive bead on the body pinch weld. Align the rear window glass in the opening for a
uniform fit.
2. Use a non-permanent pencil to make alignment marks on the rear window glass at the setting blocks and the body to aid in the installation
alignment of the rear window glass.
3. Remove the rear window glass.
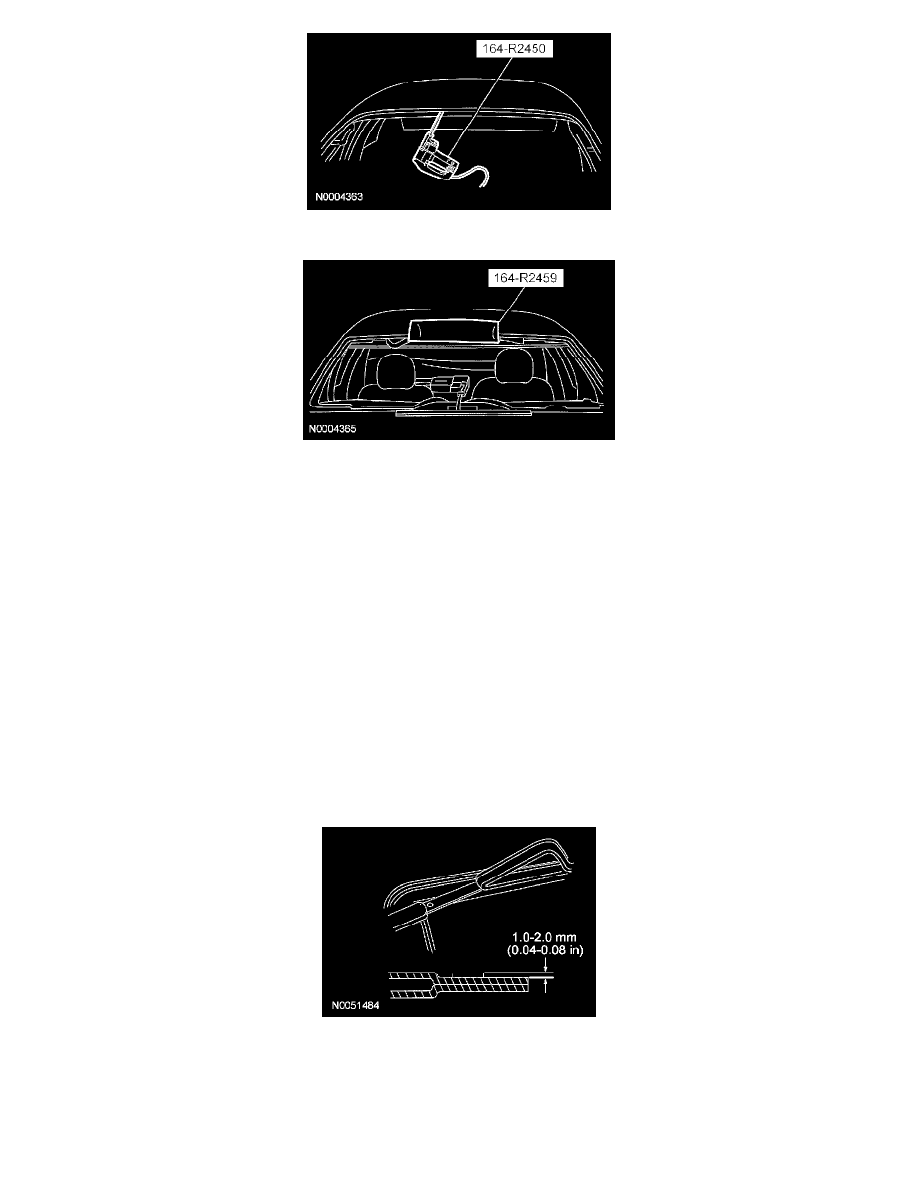
4. WARNING: Repair any corrosion found on the pinch weld. The pinch weld is a structural component of the vehicle. Corrosion left
unrepaired may reduce the structural integrity of the vehicle. Failure to follow this instruction may result in serious injury to vehicle
occupant(s).
NOTE: Avoid scratching the pinch weld. For minor scratches or exposed metal on the pinch weld, see manufacturer's recommendations.
Using an appropriate tool, trim the urethane adhesive leaving a 1 mm to 2 mm (0.04 in to 0.08 in) base of original equipment urethane on the
pinchweld.
5. If installing the original rear window glass, remove the excess urethane adhesive.
6. Clean the inside of the rear window glass surface with glass cleaner.
7. NOTE:
-
Be sure to use the same brand and cure-rate products for the adhesive and primer. Do not mix different brands of urethane and primer. Refer to
the Material Chart in this procedure.