| Removal and Installation Removal CAUTION:Proceed with care when removing or installing the dashboard and make sure that the surface of the dashboard is not scratched or damaged. NOTE:Removal steps in this procedure may contain installation details. | | -
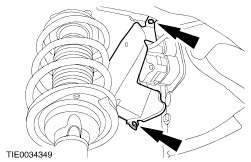
Remove the left-hand front wheel. Refer to: Wheel and Tire (204-04 Wheels and Tires, Removal and Installation). | | | -
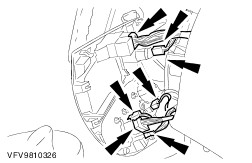
Remove the passenger air bag module. Refer to: Passenger Air Bag Module (501-20B Supplemental Restraint System, Removal and Installation). | | | -
Remove the gearshift lever assembly. Refer to: Gearshift Lever (308-06 Manual Transmission/Transaxle External Controls, Removal and Installation). | | | -
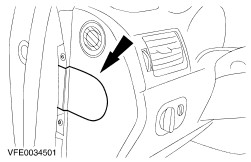
Remove the left and right-hand A-pillar trim. Refer to: A-Pillar Trim Panel (501-05 Interior Trim and Ornamentation, Removal and Installation). | | | -
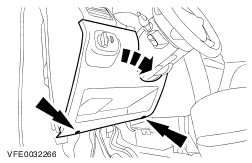
Left and right-hand side trim. Refer to: Cowl Side Trim Panel (501-05 Interior Trim and Ornamentation, Removal and Installation). | | | -
Remove the audio unit. Refer to: Audio-Gerät (415-01, Removal and Installation). | | | -
Remove the instrument cluster. Refer to: Kombiinstrument (413-01, Diagnosis and Testing). | | | -
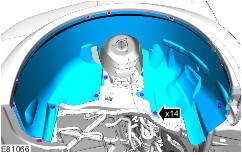
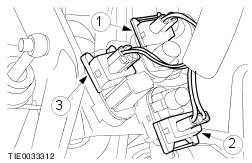
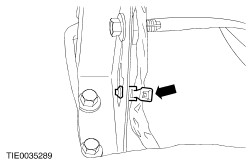
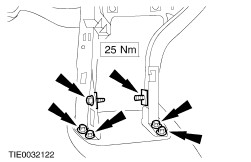
Remove the dashboard together with the dashboard crossmember. | | | -
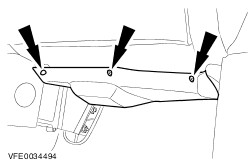
Remove the left and right-hand B-pillar trim. Refer to: B-Pillar Trim Panel - Van (501-05 Interior Trim and Ornamentation, Removal and Installation). Refer to: B-Pillar Trim Panel - Kombi (501-05 Interior Trim and Ornamentation, Removal and Installation). | | | -
Remove the headliner. Refer to: Headliner - Van (501-05 Interior Trim and Ornamentation, Removal and Installation). Refer to: Headliner - Kombi (501-05 Interior Trim and Ornamentation, Removal and Installation). | | | -
Remove the left and right-hand rear side trim. Refer to: Rear Quarter Trim Panel (501-05 Interior Trim and Ornamentation, Removal and Installation). | | | -
Remove the right and left-hand front seats. Refer to: Front Seat (501-10 Seating, Removal and Installation). Refer to: Front Seat - Vehicles With: Fold Flat Seat (501-10 Seating, Removal and Installation). | Installation WARNING:Screw new nuts and steering shaft bolts into the dashboard crossmember. Failure to follow this instruction may result in personal injury. | | -
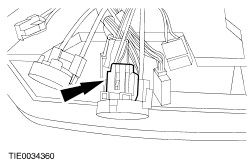
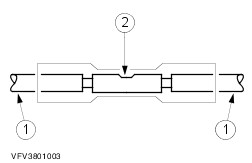
NOTE:Connect a new passenger compartment wiring harness to the disconnected connector of the fuel pump module. Disconnect the fuel pump module connector from the new wiring harness. | | | -
-
Stripped ends of the wires | | | -
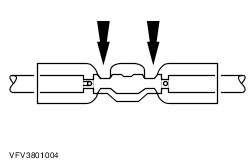
CAUTION:When crimping the connector ensure that the cross section of the connector matches that of the cable, and that the associated opening of the crimping pliers is used. NOTE:After crimping the connection, test it by performing a pull test. | | | -
NOTE:Using the hot air blower, heat the shrink sleeving of the crimp connector until the sleeving is tight on the connection and sealant emerges from each end. | | | -
To install, reverse the removal procedure. | | |