
K 1500 Truck 4WD V8-5.3L VIN T (2000)
6. With the aid of an assistant, use the suction cups in order to lift the rear window from the opening.
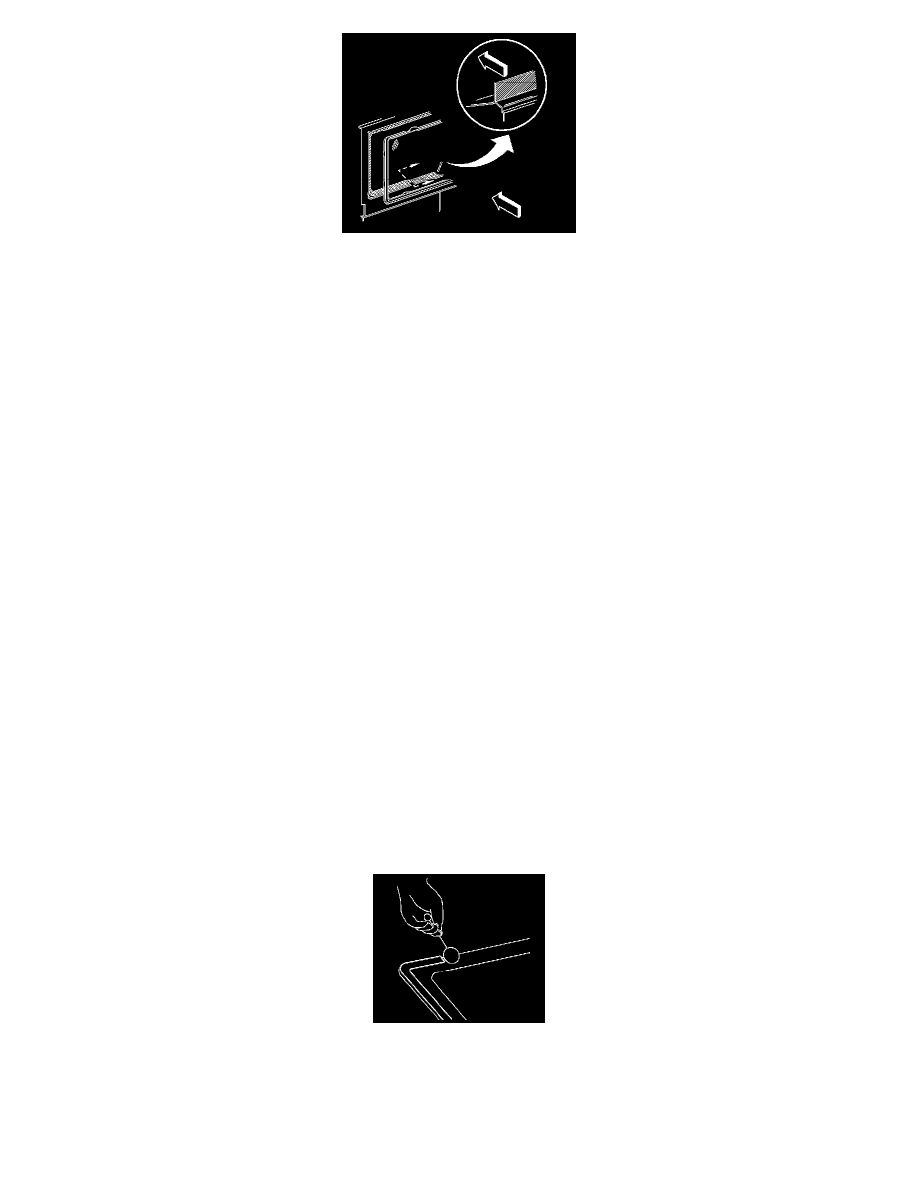
7. Remove the rear reveal molding from the edge of the window.
8. Inspect the following components for the causes of a broken rear window:
*
The flange of the rear window opening
*
The rear window reveal molding
*
The rear window
9. Inspect for any of the following problems in order to help prevent future breakage of the rear window:
*
High weld
*
Solder spots
*
Hardened spot weld sealer
*
Any other obstruction or irregularity in the pinchweld flange.
Important: If corrosion of the pinchweld flange is present, or if sheet metal repairs or replacements are necessary, refinish the pinchweld
flange in order to present a clean primer only surface. If paint repairs are required, mask the flange bonding area prior to the application
of the color coat in order to provide a clean primer only surface. Materials such as BASF DE17(R), DuPont 2610(R), Sherwin-Williams
PSE 4600 and NP 70 and Martin-Semour 5120 and 5130 products are approved for this application.
10. After repairing the opening as indicated, perform the following steps:
11. Inspect the condition of the rear window opening and the urethane adhesive bead in order to determine which installation method you will use.
1. Remove all traces of broken glass from the vehicle.
2. Clean around the edge of the inside surface of the rear window with a 50/50 mixture of isopropyl alcohol and water by volume on a dampened
lint free cloth.
Installation Procedure
Caution: When replacing stationary windows, use Urethane Adhesive Kit GM P/N 12346392 (Canadian P/N 10952983), or a urethane adhesive
system meeting GM Specification GM3651G, to maintain original installation integrity. Failure to use the urethane adhesive kit will result in
poor retention of the window which may allow unrestrained occupants to be ejected from the vehicle resulting in personal injury.
After repairing the opening as indicated, perform the following:
1. Shake the pinchweld primer (black #3) for at least one minute.
Caution: Failure to prep the area prior to the application of primer may cause insufficient bonding of urethane adhesive. Insufficient
bonding of urethane adhesive may allow unrestrained occupants to be ejected from the vehicle resulting in personal injury.
2. Use a new dauber to apply the pinchweld primed (black #3) to the surface of the bonding area.
3. Allow the primer to dry for approximately 10 minutes, Ensure that all nicks and scratches are cover.
4. If the rear window reveal molding is damaged by cutting it too close to the window surface, replace the window.