
K 2500 Truck 4WD V8-379 6.2L DSL VIN C FI (1989)
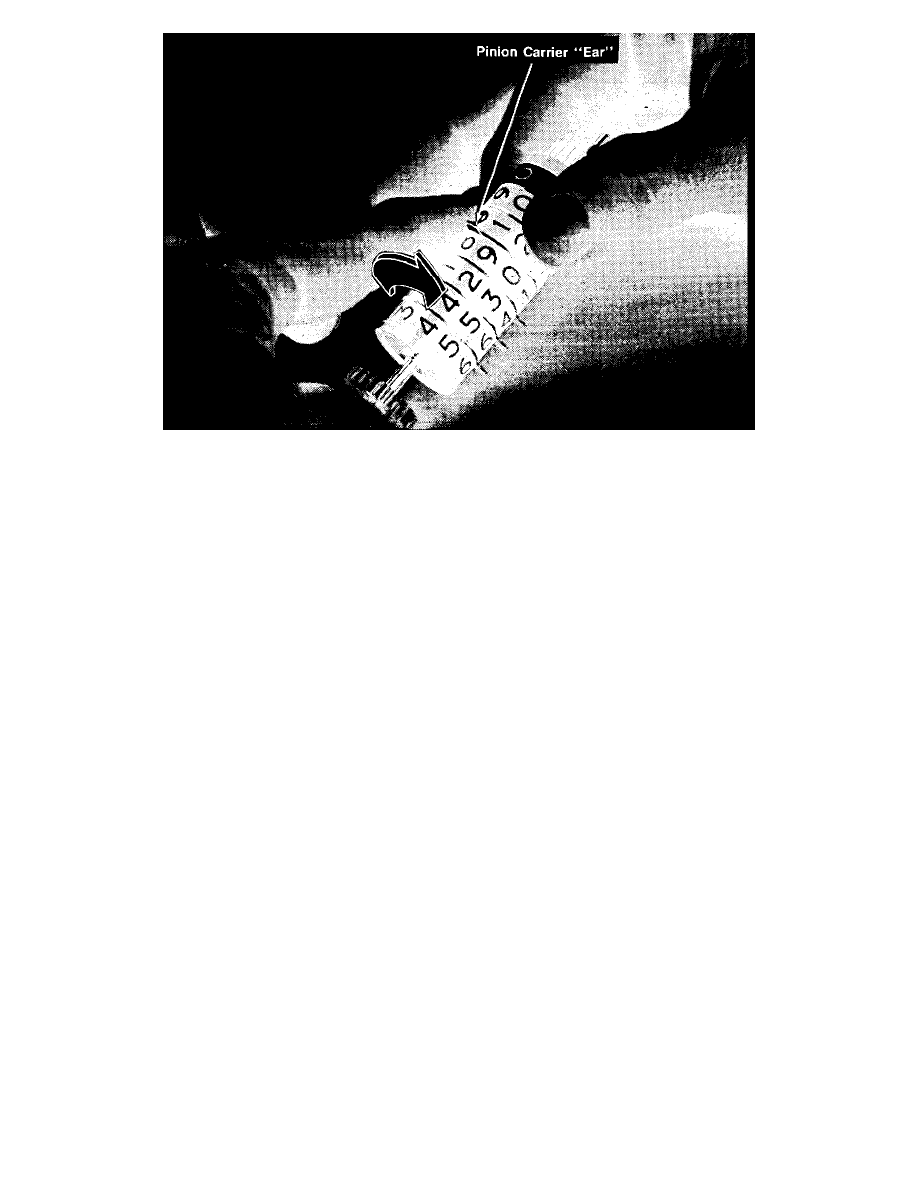
Figure 1
8. Continue working from right to left until each figure wheel is in its desired position (see Figure 1). Then, reinstall the plastic carrier retainer on
the odometer.
^
Important
IT IS A VIOLATION OF FEDERAL AND STATE LAW TO SET A REPLACEMENT OR SERVICE ODOMETER TO ANY MILEAGE
OTHER THAN THE ACTUAL VEHICLE MILEAGE.
Installing the New Odometer
1. Reinstall the odometer. When placing the odometer back into the frame, the pinion carrier ears must line up to fit in the odometer frame groove
provided for them.
2. If the assembly has a trip odometer:
-
rotate the trip odometer shaft to align with the slit on the odometer shaft and reinstall the coupler.
-
install the metal odometer retainer and screw. Make sure the retainer lips are riding in the grooves provided on the odometer shaft.
3. Install the odometer assembly using the two (or three) screws.
^
Important
Due to ESD precautions, do not touch the circuit board or other components of the instrument cluster.
4. Plug the odometer connector into the circuit board on the instrument cluster assembly.
^
Important
The connector must be installed facing the proper direction. Make sure the index slits on the connector are properly aligned.
5. Install the two plastic light tunnels (if equipped) onto the odometer assembly.
6. Carefully plug the speedometer assembly into the instrument cluster and secure it into place with the four screws.
Installing the Instrument Cluster
1. Install the lenses and plastic retainer assembly to the instrument cluster using the four screws.