
K Yukon/Denali 4WD V8-5.7L VIN R (2000)
11.1.
Slide the bar rearward in order to install the sides of the nut.
11.2.
Using the J 36202, load the torsion bar.
11.3.
Install the adjuster bolt and screw the bolt down to the installation mark.
-
Refer to Torsion Bar and Support Assembly Replacement (S4WD-All Except 4 Door Utility). For the 4 Door Utility models, refer to
Torsion Bar and Support Assembly Replacement (S4WD-4 Door Utility).
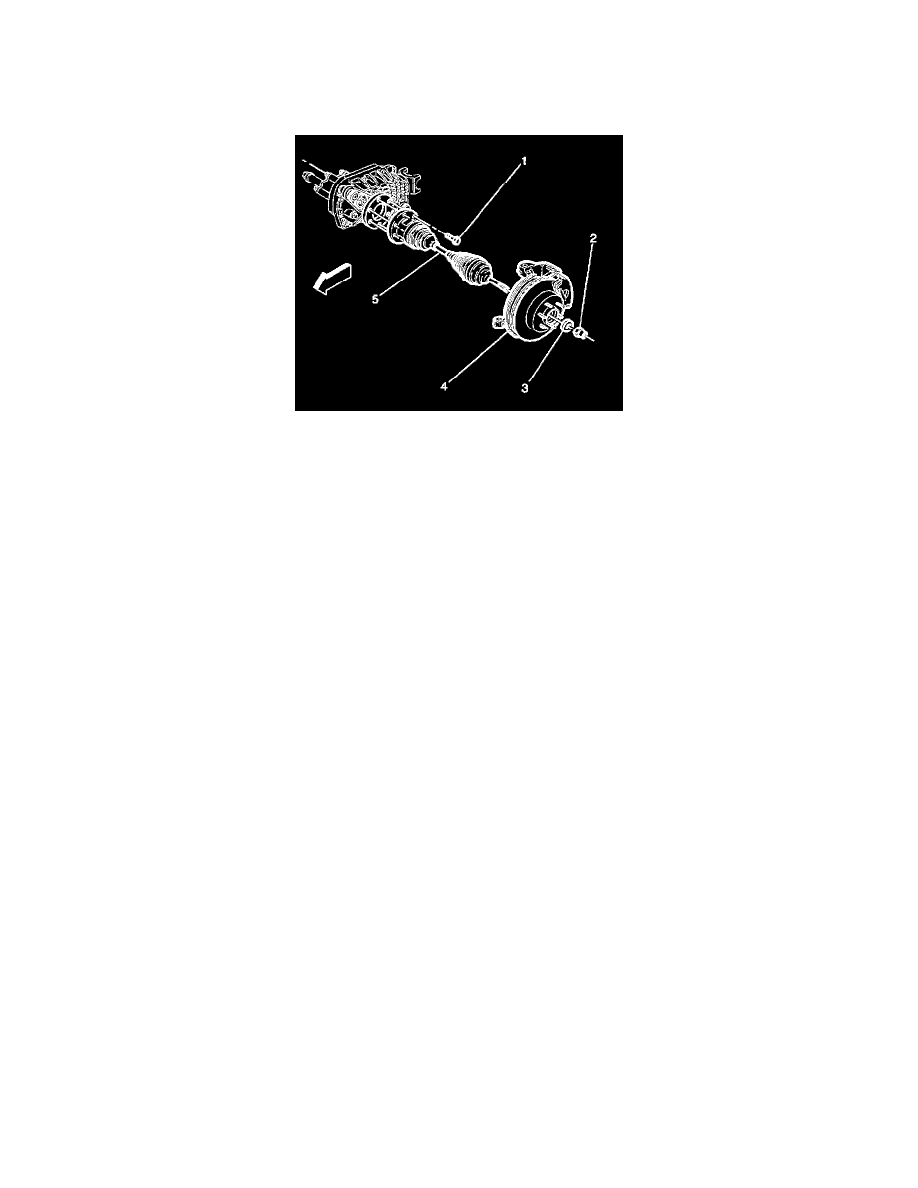
12. Install the halfshaft assembly (5). Refer to Wheel Drive Shafts Replacement in Wheel Drive Shafts.
13. Install the lower shock absorber bolt. Refer to Shock Absorber Replacement (S4WD).
14. Install the stabilizer link. Refer to Stabilizer Shaft Replacement (All Except C3500HD).
15. Install the tire and wheel assembly. Refer to Tire and Wheel Removal and Installation (Single Front or Rear Wheels) in Wheels, Tires and
Alignment.
16. Lower the vehicle.
17. Check the front wheel alignment. Refer to Measuring Wheel Alignment in Wheel Alignment.