
S15/T15 Jimmy 2WD L4-119 1.9L VIN A 2-BBL (1983)
Ball Joint: Service and Repair
Lower
4 X 2 MODELS
1.
Raise vehicle and support with jack stands under frame side rails.
2.
Remove front wheel, then support control arm spring seat with a suitable jack.
3.
Remove cotter pin and stud nut, then break ball joint loose from steering knuckle using tool J-23742, or equivalent.Inspect and clean the tapered
hole in steering knuckle. If hole is out of round, or damaged in any way, the steering knuckle must be replaced.
4.
Guide lower control arm out of opening in splash shield, then position a wooden brake backing plate block between frame and upper control arm
to block knuckle assembly out of the way.
5.
Remove grease fittings, then press ball joint from lower control arm.
6.
Reverse procedure to install. Torque stud nut to 90 ft. lbs.
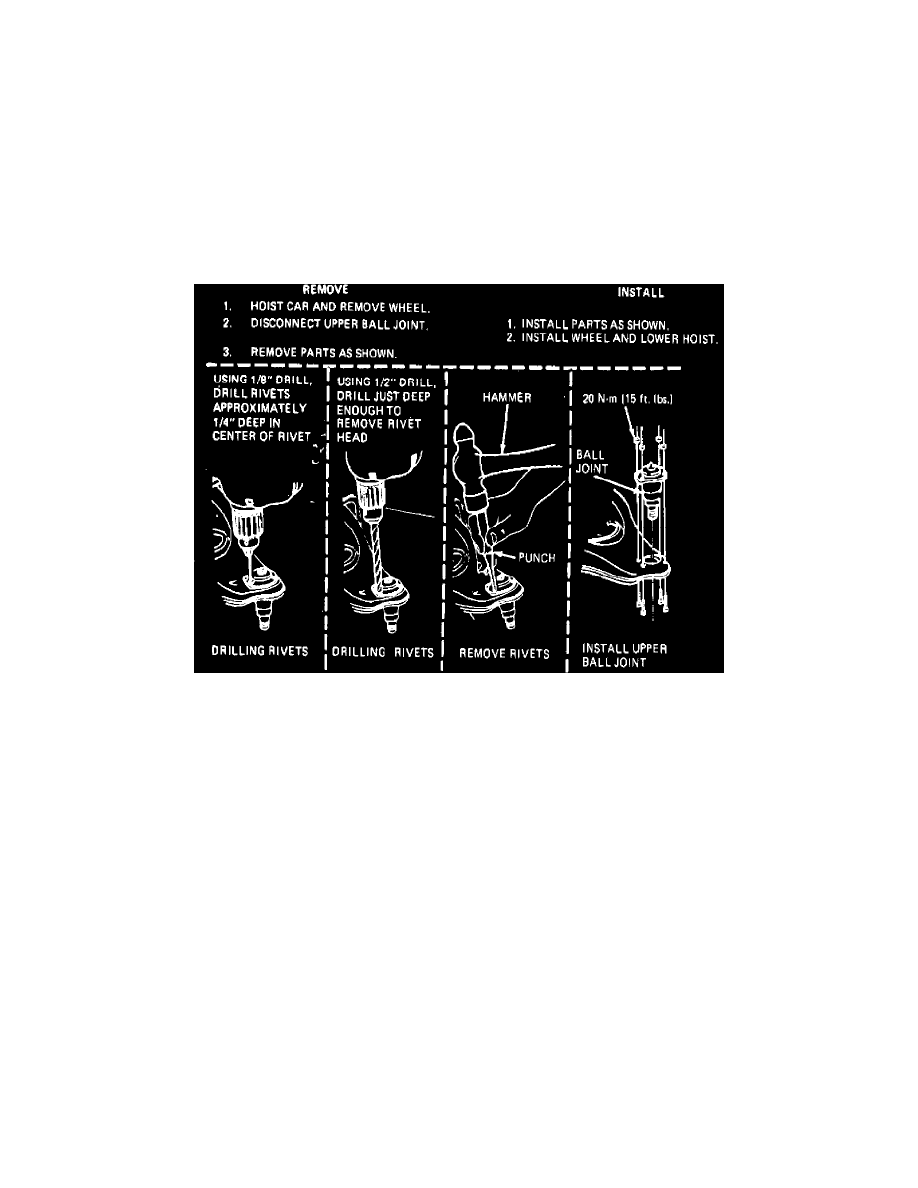
Fig. 16 Ball joint replacement. 4 x 4 models
4 X 4 MODELS
Refer to Fig. 16 for lower ball joint replacement procedure on 4 x 4 vehicles.