
Savana 3500 V8-4.8L (2009)
6. Apply threadlock to the threads of the bracket bolts. Refer to Adhesives, Fluids, Lubricants, and Sealers (See: Specifications/Adhesives, Fluids,
Lubricants, and Sealers) for the correct part number.
7. Install the ignition coils and bracket to the rocker arm cover.
8. Install the ignition coil bracket studs to the rocker cover and tighten to 12 Nm (106 lb in).
9. Install the spark plug wires to the ignition coils.
10. Position the engine harness, if necessary.
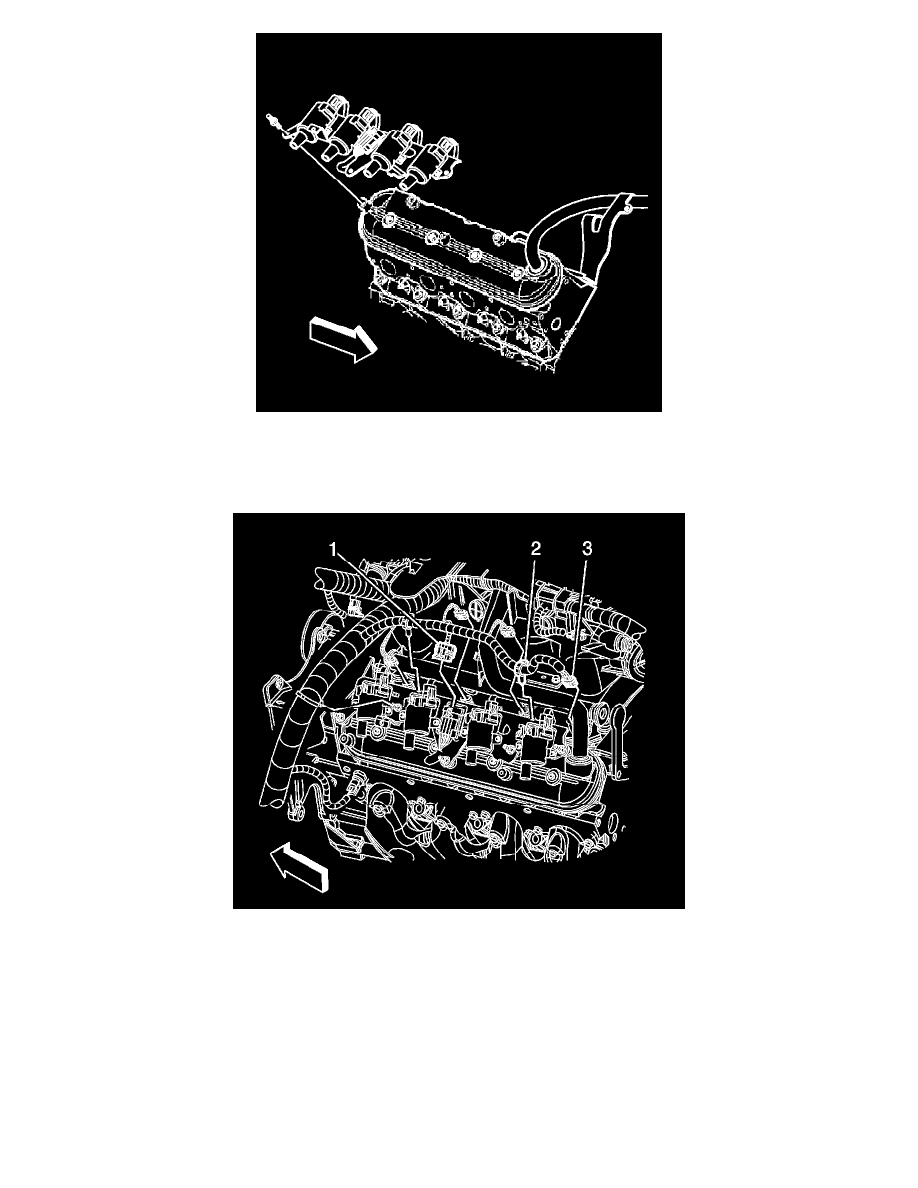
11. Install the harness clips (2).
12. Connect the main electrical connector (1) feeding the ignition coils.
13. Install the CPA lock.
14. Install the oil fill tube. Refer to Oil Level Indicator Tube Replacement (See: Engine Lubrication/Engine Oil Dip Stick - Dip Stick Tube/Service
and Repair/Oil Level Indicator Tube Replacement).
15. Install the upper transmission fill tube. Refer to Transmission Fluid Filler Tube and Seal Replacement (See: Transmission and
Drivetrain/Automatic Transmission/Transaxle/Automatic Transmission Dipstick - Dipstick Tube/Service and Repair/4L60-E/4L65-E/4L70-E -
Automatic Transmission).
16. Install the engine cover. Refer to Engine Cover Replacement (See: Access Cover/Service and Repair).