
Savana 3500 V8-4.8L (2009)
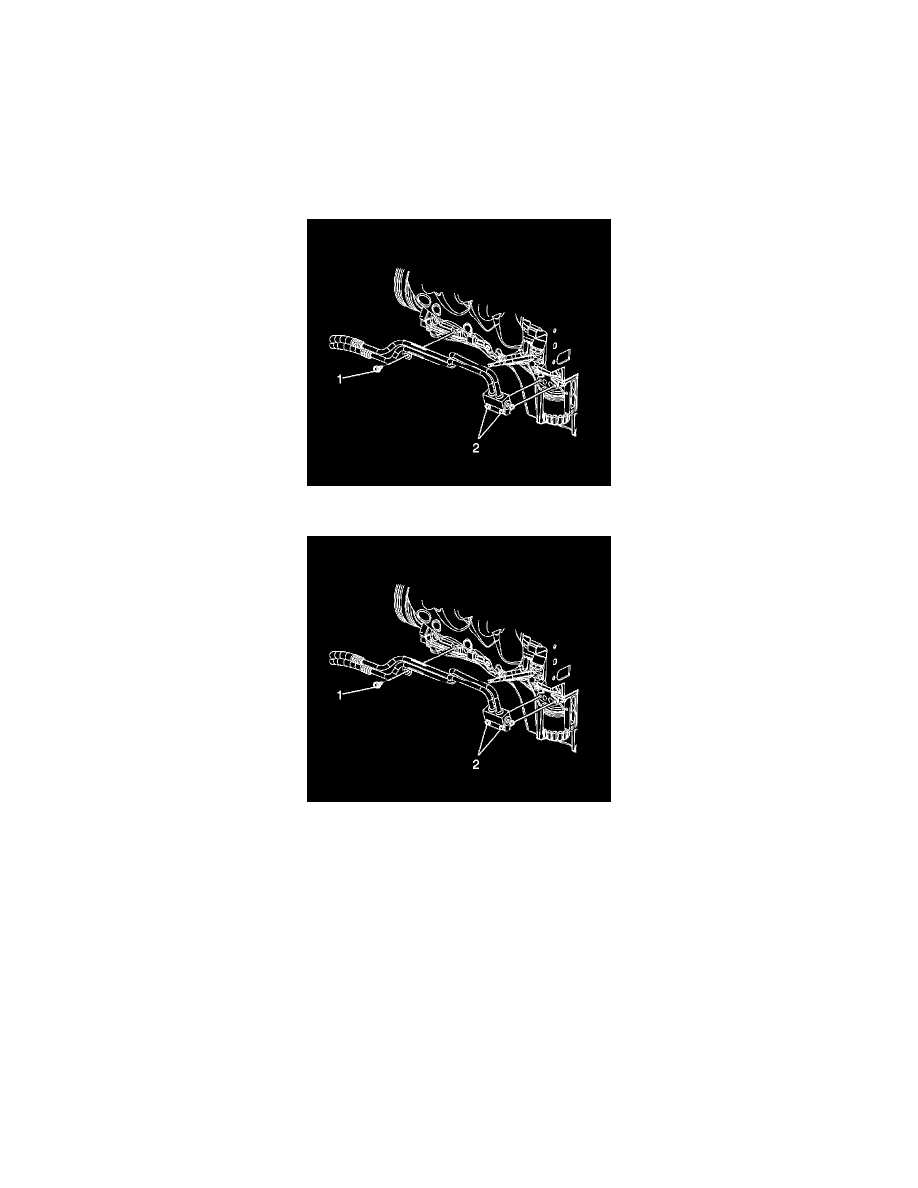
Inspect closely for the temporary steel sealing device (1) being positioned tightly to the gasket (2) as shown. Only a small corner (1) of the
temporary steel sealing device may be observable, depending on orientation.
Perform a visual inspection in order to verify that the oil leak is coming from the engine oil cooler hose/pipe adapter area or the gasket where it connects
to the engine.
‹› If the leak is coming from the engine oil cooler hose/pipe adapter area, the bolts or the gasket where it connects to the engine, proceed to Step
4.
‹› If the leak is not coming from the engine oil cooler hose/pipe adapter area, the bolts or the gasket where it connects to the engine, refer to Oil
Leak Diagnosis in SI.
4. To gain clearance, loosen or remove the engine oil cooler hose/pipe retaining bracket bolt (1).
5. Remove the engine oil cooler hose/pipe adapter bolts (2).
6. Remove and DISCARD both the temporary steel sealing device if present and the gasket.
7. Clean the mating surfaces of the engine oil cooler hose/pipe adapter and the engine.
8. Clean both bolt holes with brake cleaner and dry using regulated compressed air.
9. Clean both bolt threads and apply Pipe Sealant P/N 12346004 (Canada P/N 10953480) or equivalent (Loctite(R) 565) to the bolt threads. Verify
that the sealant is applied 360 degrees around the bolt and extends from the tip of the bolt and covers at least 15 mm (0.59 in) of threads.
10. Install the engine oil cooler hose/pipe adapter with a NEW gasket.