
Suburban 3/4 Ton 4WD V8-305 5.0L (1986)
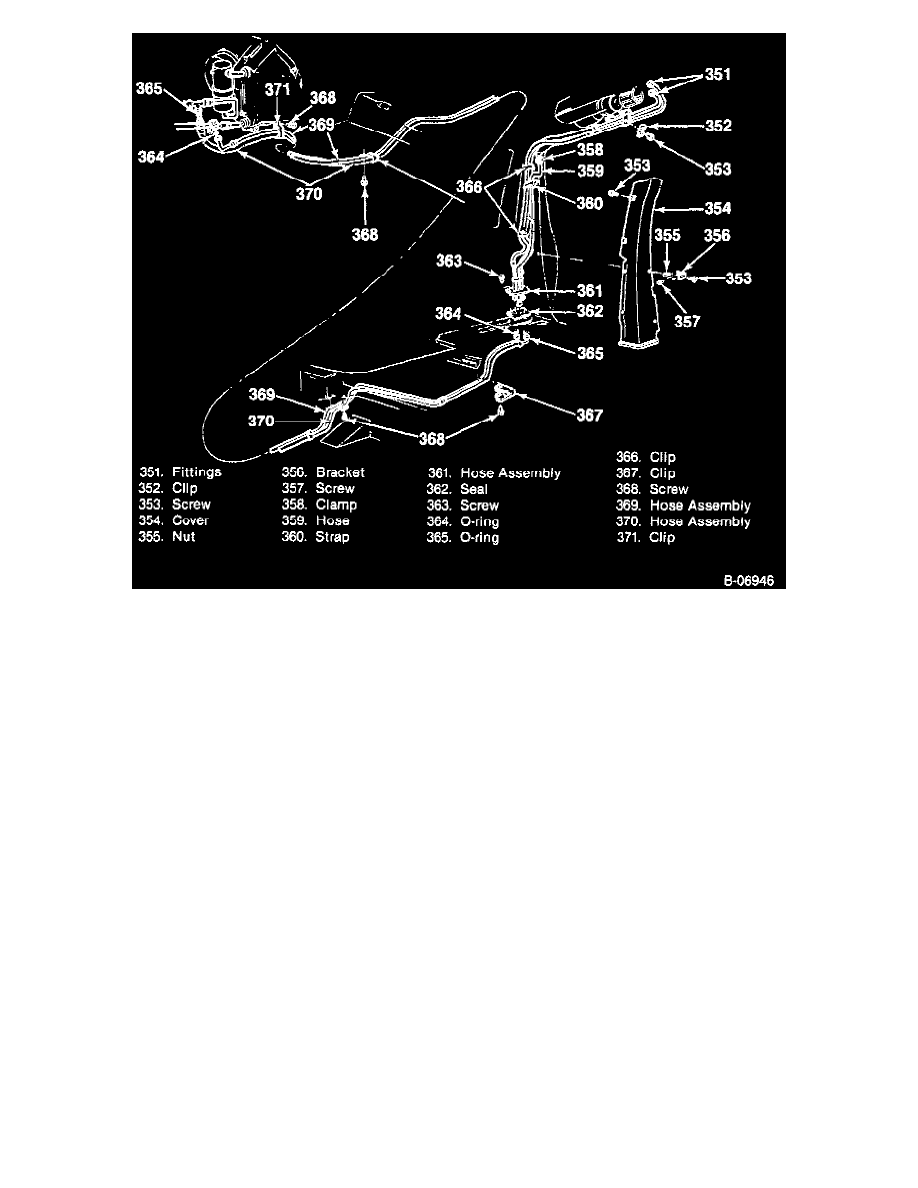
Auxiliary Hose/Component View
REMOVE OR DISCONNECT
1. Battery ground cable.
2. Purge the system of refrigerant.
3. Rear duct.
4. Blower motor lead.
5. Ground wire.
6. Refrigerant lines at the rear of the blower-evaporator assembly (351).
CAUTION: Cap or plug the open connections.
7. Blower-evaporator support to roof rail screws.
8. Blower-evaporator (339).
^ Place the blower-evaporator upside down on a work bench.
9. Lower case assembly.
10. Upper case from the evaporator core.
11. Expansion valve inlet and outlet lines.
CAUTION: Cap or plug open connections.
12. Expansion valve capillary bulb from the evaporator outlet line.
13. Valve.
14. Plastic pins that hold the screen to the core.
15. Screen.
INSTALL OR CONNECT
1. Wire screen to the front of the core.
2. Plastic pins.
3. Expansion valve inlet and outlet lines (341).
^ Use new seals (0-rings) coated with clean refrigeration oil.
4. Sensing bulb to the evaporator outlet line (342).