Suburban 3/4 Ton 4WD V8-305 5.0L (1986)

2.
Install selected shim on pinion shaft, lubricate rear pinion bearing with specified axle lubricant, then press rear bearing onto pinion using suitable
spacers.
3.
Install new collapsible spacer on pinion and insert pinion assembly into housing.
4.
Lubricate front pinion bearing, install bearing in housing and tap bearing onto pinion shaft while assistant holds pinion in place.
Old pinion nut
and large washer can be used to draw front bearing onto pinion, but care must be taken not to collapse spacer if this method is used.
5.
Install new pinion seal in housing, coat seal lips with grease, then mount driveshaft flange on pinion shaft, lightly tapping flange until several
pinion shaft threads protrude.
6.
Coat rear of pinion washer with suitable sealer, then install washer and new pinion nut and adjust preload to specifications.
PINION BEARING PRELOAD ADJUSTMENT
1.
Ensure that pinion and bearings are properly installed, as outlined.
2.
Hold driveshaft companion flange with suitable tool, then alternately tighten pinion nut and rotate pinion until endplay is reduced to zero.
3.
When endplay is reduced to zero, check pinion bearing preload by rotating pinion with suitable torque wrench.
4.
Continue tightening pinion nut in small increments until specified bearing preload is obtained, rotating pinion and checking preload after each
adjustment.
Exceeding preload specification will compress collapsible spacer too far, requiring replacement of spacer. If preload
specification is exceeded, spacer must be replaced and adjustment procedure must be repeated. Do not loosen pinion nut to reduce
preload.
Disassembly
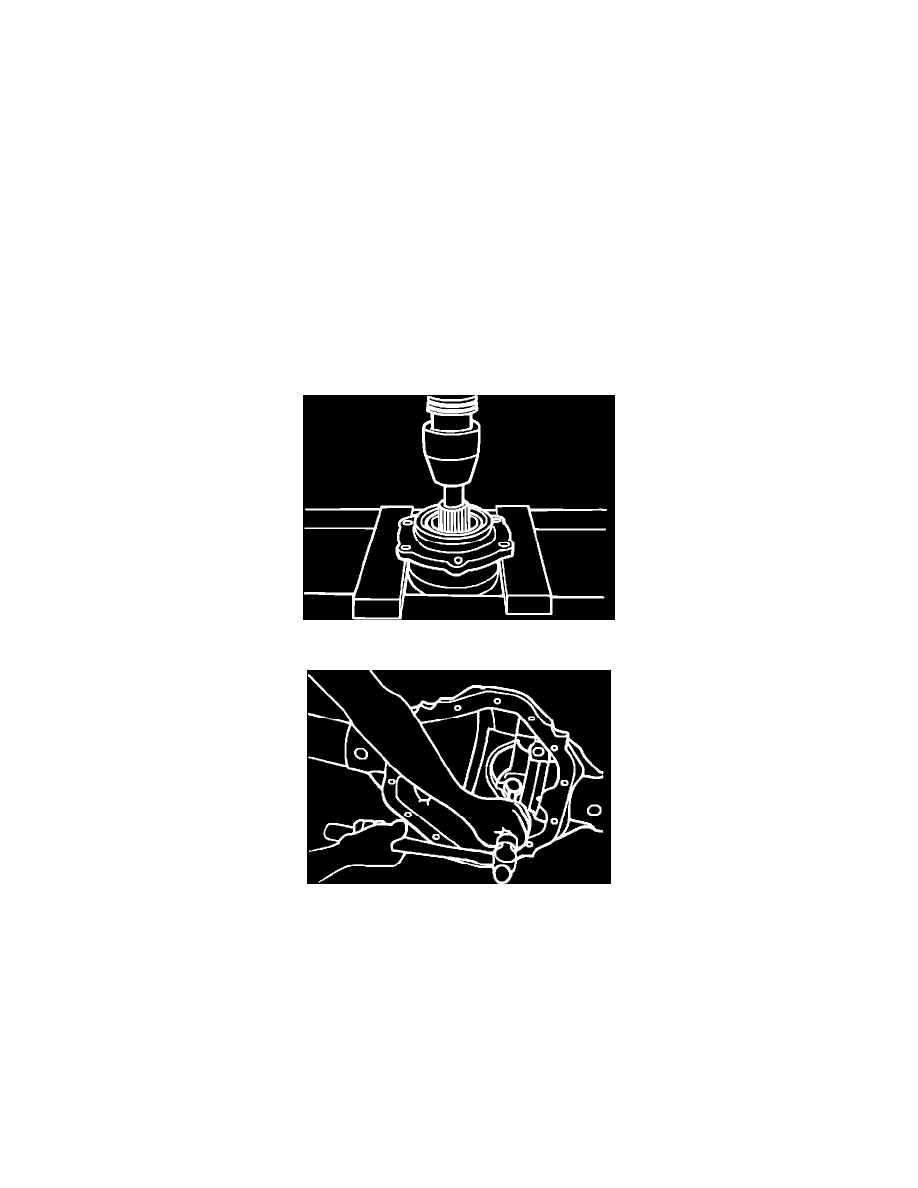
Fig. 9 Drive Pinion Removal
Fig. 10 Pinion Straddle Bearing Removal
1.
Clamp pinion assembly in vise taking care not to damage housing or gear.
2.
Hold driveshaft flange with suitable tool, then remove pinion nut and washer.
3.
Remove driveshaft flange from pinion shaft using suitable puller.
4.
Support housing in press as shown in
Fig. 9, and press pinion from housing. Do not allow pinion to drop on floor.
5.
Separate pinion flange, oil seal, front bearing and bearing retainer, driving seal from housing with suitable drift.
6.
Remove bearing races from housing using suitable drift and place front bearing race with bearing.
7.
Press rear bearing from pinion and place bearing with race.
8.
Remove straddle bearing from axle housing using suitable drift,
Fig. 10.
9.
Inspect components keeping all components in order, and replace as needed.
Assembly & Preload
