
H2 V8-6.2L (2008)
Headliner: Service and Repair
Headlining Trim Panel Replacement (SUV)
Headlining Trim Panel Replacement (SUV)
Caution: If the energy absorbing foam breaks while you are removing or installing the headliner, use a NEW headliner. If you do not replace the
damaged headliner, future personal injury is possible.
Notice: Use care when working around the head curtain inflator module. Sharp tools may puncture the curtain airbag. If the head curtain inflator module
is damaged in any way, it must be replaced.
Notice: If a vehicle is equipped with a head curtain inflator module ensure that the inflator module and tether are undamaged. If tether or curtain airbag
are damaged in any way, they must be replaced.
Removal Procedure
1. Remove the instrument panel upper trim panel with windshield defroster nozzle. Refer to Instrument Panel Upper Trim Panel with Windshield
Defroster Nozzle Grille Replacement (See: Dashboard / Instrument Panel/Service and Repair/Instrument Panel Upper Trim Panel with
Windshield Defroster Nozzle Grille Replacement) .
2. Remove the drivers knee bolster. Refer to Driver Knee Bolster Replacement (See: Dashboard / Instrument Panel/Service and Repair/Driver Knee
Bolster Replacement) .
3. Remove the sunshades. Refer to Sunshade Replacement (See: Sun Visor/Service and Repair/Sunshade Replacement) .
4. Remove the sunshade retainers. Refer to Sunshade Retainer Replacement (See: Sun Visor/Service and Repair/Sunshade Retainer Replacement) .
5. Remove the overhead console. Refer to Roof Console Replacement (See: Console/Service and Repair/Roof Console Replacement) .
6. Remove the sunroof opening trim finish lace, if equipped. Refer to Sunroof Opening Trim Finish Lace Replacement (See: Roof and Associated
Components/Sunroof / Moonroof/Sunroof / Moonroof Interior Trim Panel/Service and Repair) .
7. Remove the overhead assist handles. Refer to Assist Handle Replacement (See: Passenger Assist Handle/Service and Repair/Assist Handle
Replacement) .
8. Remove the left and right body hinge pillar trim panels. Refer to Body Hinge Pillar Trim Panel Replacement - Left Side (See: Trim Panel/Service
and Repair/Body Hinge Pillar Trim Panel Replacement - Left Side) and Body Hinge Pillar Trim Panel Replacement - Right Side (See: Trim
Panel/Service and Repair/Body Hinge Pillar Trim Panel Replacement - Right Side) .
9. Remove the rear seat No. 2, if equipped. Refer to Rear Number 2 Seat Replacement (See: Seats/Service and Repair/Rear Number 2 Seat
Replacement) .
10. Remove the rear headlining panel. Refer to Headlining Rear Trim Panel Replacement (SUV) (See: Headlining Rear Trim Panel Replacement
(SUV)) .
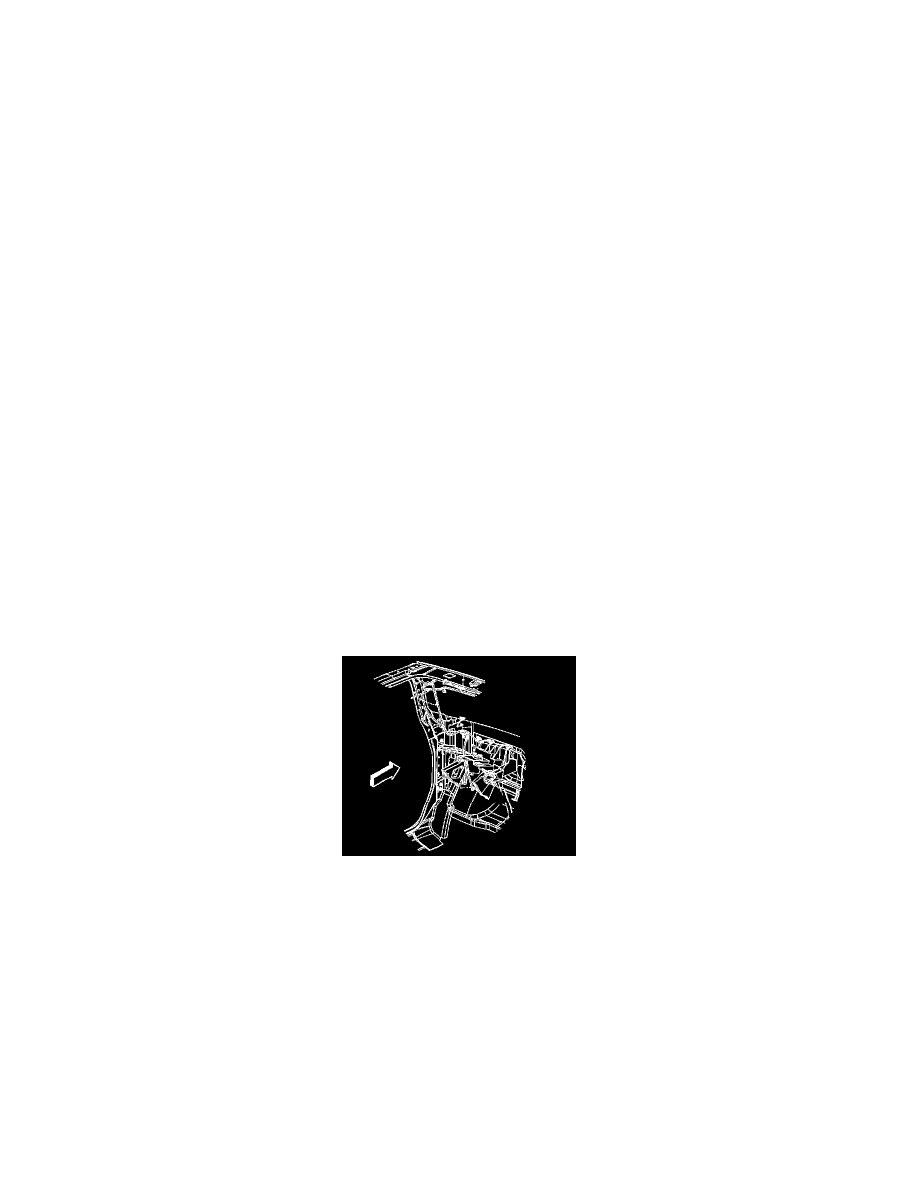
11. Note the routing of the headliner wiring harness down the left windshield pillar and through the openings in the instrument panel down to the
instrument panel junction panel to ensure proper reinstallation.
12. Disconnect the headliner wiring harness connectors at the instrument panel electrical junction panel and pull the wiring harness up through the
openings in the instrument panel.