
H2 V8-6.2L (2008)
Important: Note the position of the torsion bar adjusters, as the left adjuster and the right adjuster are different.
9. Remove the torsion bars.
Installation Procedure
1. Install the torsion bars.
2. Install the torsion bar crossmember.
Notice: Refer to Fastener Notice (See: Service Precautions/Vehicle Damage Warnings/Fastener Notice) .
3. Install the torsion bar crossmember bolts and the nuts.
Tighten the nuts to 110 N.m (81 lb ft).
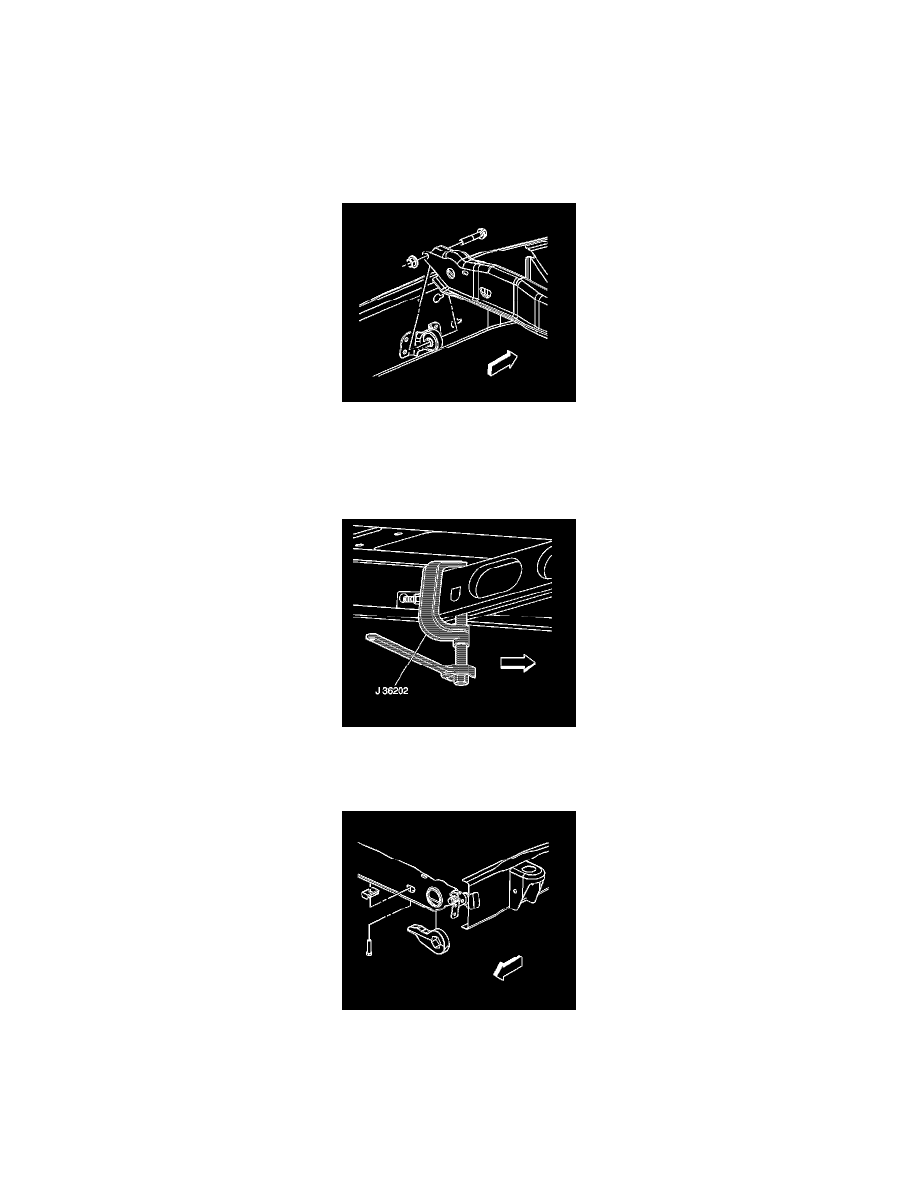
4. While supporting the adjustment arm, slide the torsion bar rearward until the torsion bar fully engages the adjustment arm.
5. Install the J 36202 to the adjustment arm and the crossmember.
6. Increase the tension on the adjustment arm in order to load the torsion bar.
Important: Install the adjustment bolt the same amount of turns that were required to remove the bolt during removal.
7. Install the adjustment bolt and the adjuster nut.
8. Remove the J 36202 releasing the tension on the torsion bar until the load is taken up by the adjustment bolt.
9. Lower the vehicle.
10. Measure the Z height. Refer to Trim Height Inspection (See: Testing and Inspection/Component Tests and General Diagnostics/Trim Height
Inspection) .