Sonata L4-2.4L (1990)

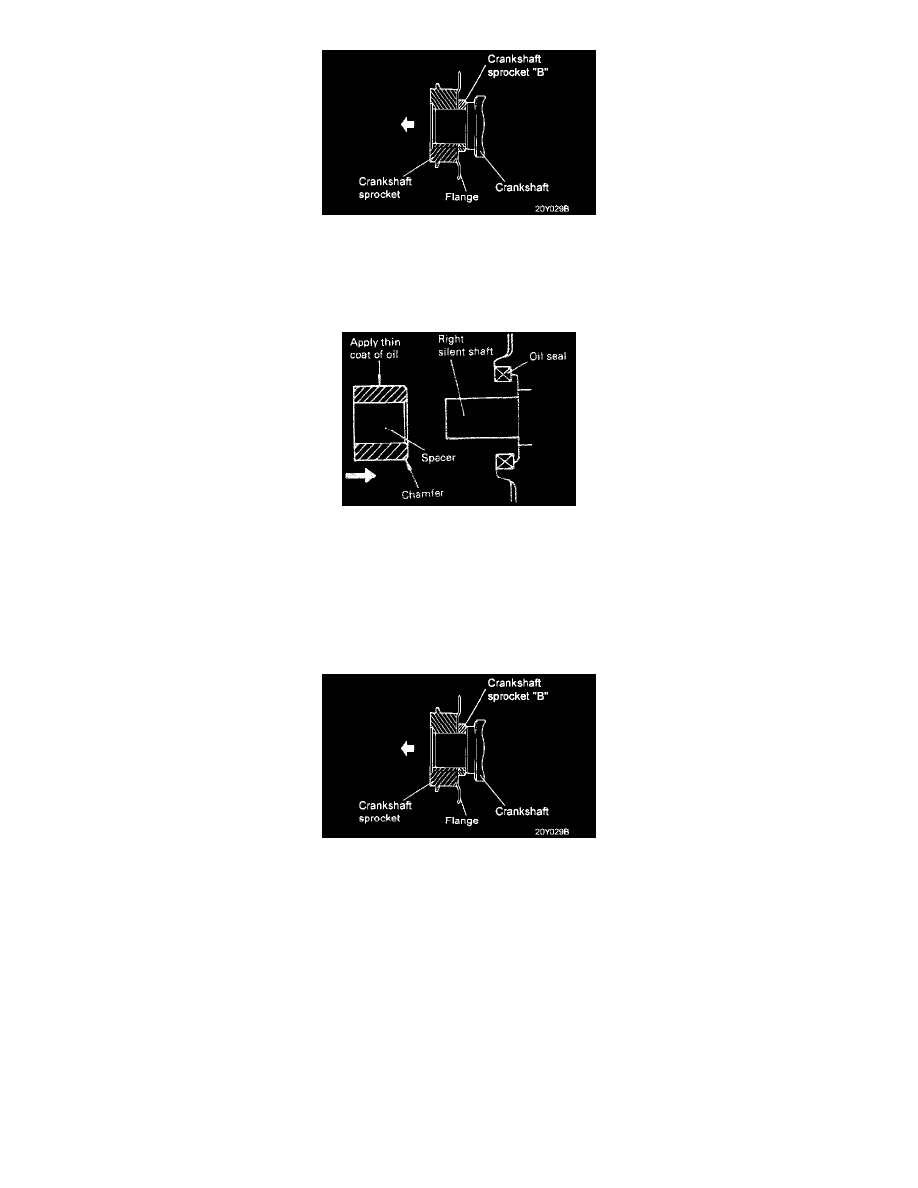
1. Install crankshaft sprocket "B" into crankshaft.
CAUTION:
-
Pay special attention to the direction of the flange. If it is installed in the wrong direction a broken belt could result.
2. Lightly apply engine oil to the outer surface of spacer, and then install spacer to the right counter balance shaft. Be sure to install in the direction as
shown in illustration.
3. Install counter balance shaft sprocket onto right counter balance shaft, and then tighten flange bolt finger tight.
4. Install timing belt "B" and adjust the belt tension.
5. Tighten the right counter balance shaft sprocket bolt to the specified torque. 34 - 39 Nm (350 - 400 kg) (25 - 29 ft lb).
6. Install flange and crankshaft sprocket onto crankshaft. Be sure to install in the direction as shown in image.
CAUTION:
-
Pay attention to direction of flange. If it is installed in wrong direction, a broken belt could result.
7. Install special washer and sprocket bolt to crankshaft, and then tighten the sprocket bolt to the specified torque. 108 - 127 Nm (1,100 - 1,300 kg)
(80 - 94 ft lb).
8. Install the camshaft sprocket to the camshaft and tighten bolt to the specified torque. 78 - 98 Nm (800 - 1,000 kg) (58 - 72 ft lb).
9. Install spacer, tensioner and tensioner spring.
