
Tiburon L4-2.0L (1999)
1. Apply the specified brake fluid to the inner surface of the master cylinder body and to the outside of the secondary and primary pistons.
Recommended brake fluid DOT 3 or equivalent.
2. Installation is the reverse of the removal procedure.
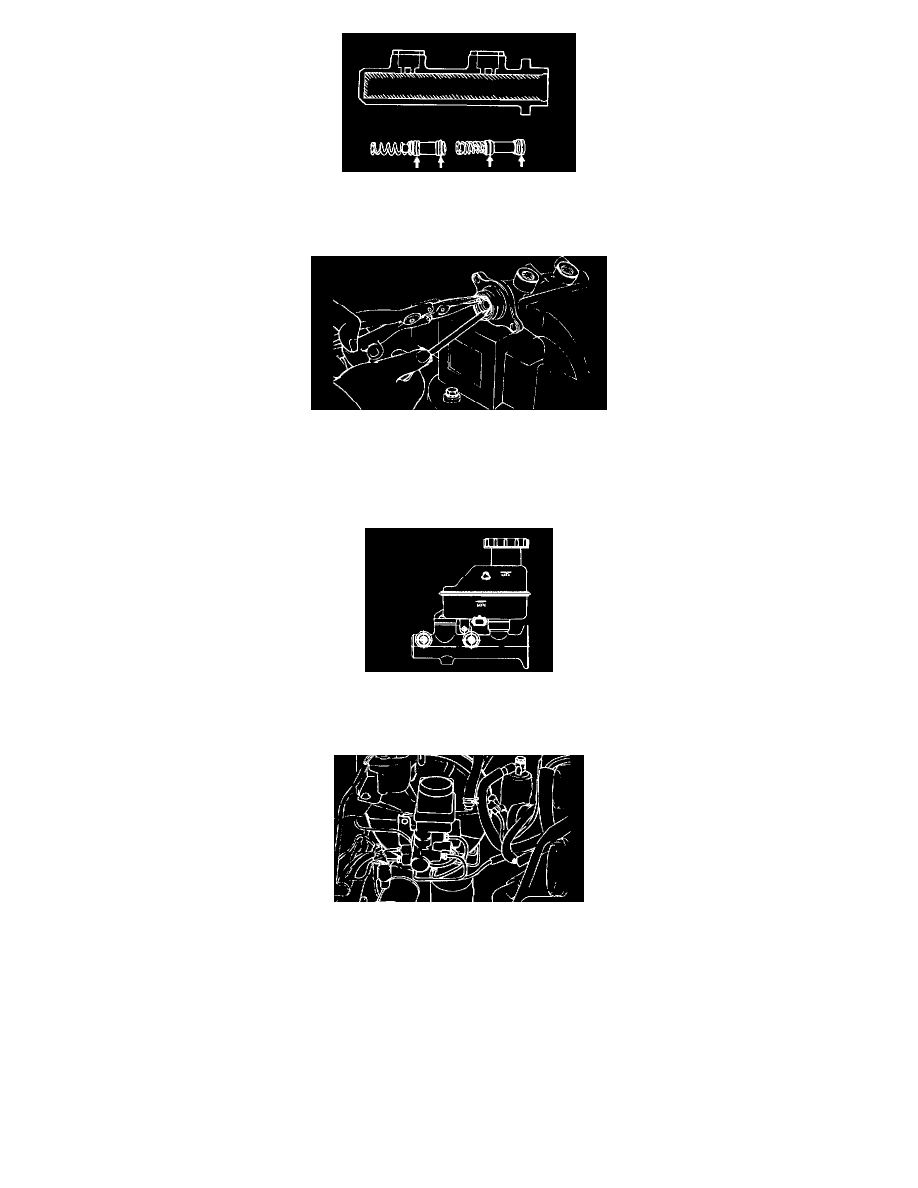
3. Depress the primary piston and install the snap ring in the cylinder bore groove as illustrated.
4. Install the reservoir cap on the reservoir.
5. Lubricate the two grommets at both inside and outside with genuine brake fluid and then insert them into the master cylinder body.
NOTE: Whenever the reservoir is replaced, the grommets must also be replaced.
6. Press the reservoir into the master cylinder body with the fluid level indicator socket facing inboard. The reservoir should snap in place indicating
that it is secure as illustrated.
7. Connect the fluid level warning connector in the socket on the reservoir.
8. Install the master cylinder on the brake booster with two nuts.
Tightening torque; Nut 8 - 12 Nm (80 - 120 kg.cm, 6 - 9 ft. lbs.)
9. Connect two brake tubes and fluid level warning connector.
Tightening torque; Brake tube flare nut 13 - 17 Nm (130 - 170 kg.cm, 9 - 12 ft. lbs.)
10. Fill the master cylinder reservoir with brake fluid and bleed the system.