
Ascender 4WD L6-4.2L (2003)
Accumulator HVAC: Service and Repair
Accumulator Replacement
Tools Required
J 39400-A Halogen Leak Detector
Removal Procedure
1. Recover the refrigerant. Refer to Refrigerant Recovery and Recharging.
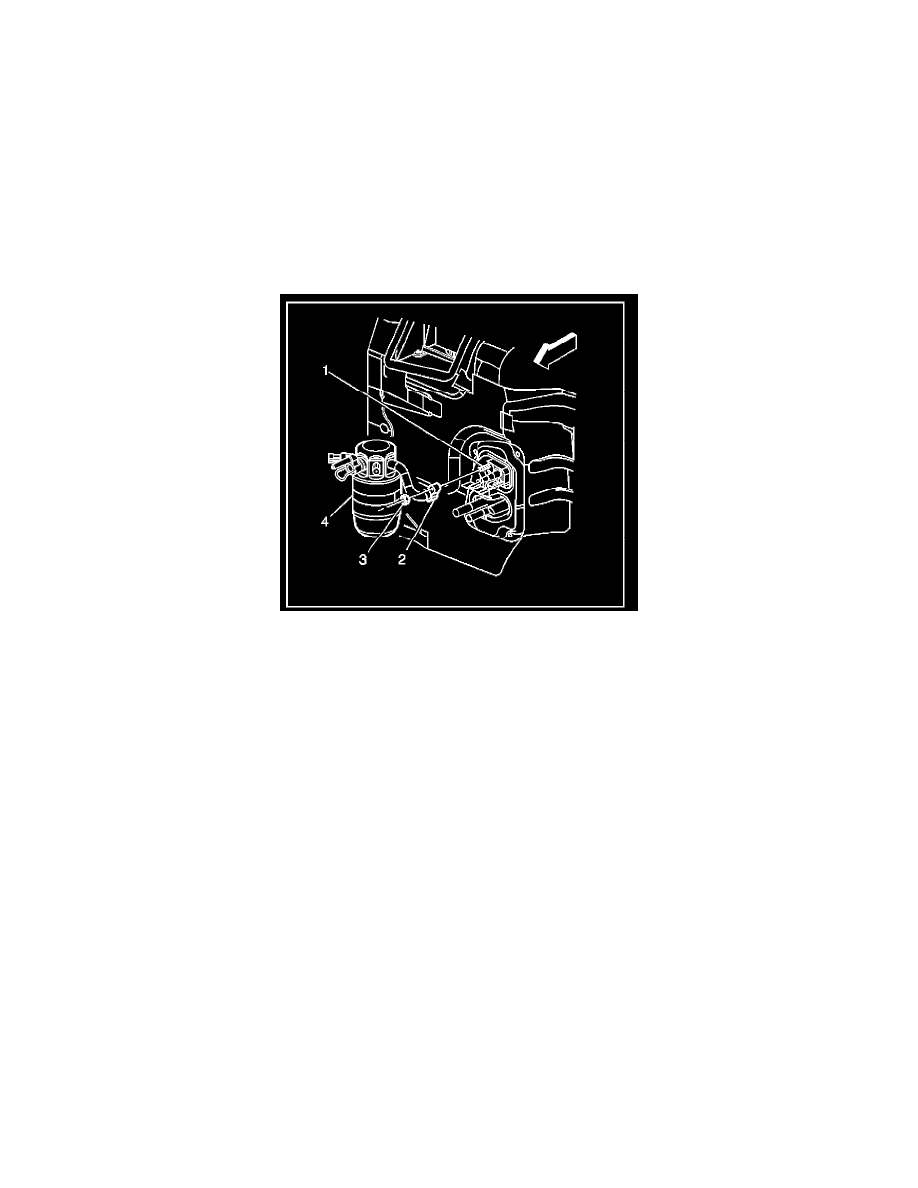
2. Disconnect the electrical connector from the A/C pressure switch.
3. Remove the A/C low pressure switch.
4. Remove the nut (3) retaining the accumulator (4) to evaporator (1).
5. Remove the compressor suction hose assembly from the accumulator.
6. Remove and discard the O-ring seals.
7. Remove the accumulator clamp nut.
8. Remove the accumulator from the vehicle,
Installation Procedure
IMPORTANT: If replacing the accumulator, add the refrigerant oil to the accumulator. Refer to Refrigerant System Capacities for the capacity
information.
1. Install the accumulator to the vehicle.
2. Install the accumulator into the accumulator clamp.
NOTE: Refer to Fastener Notice in Cautions and Notices.
3. Install the accumulator clamp nut.
Tighten
Tighten the nut to 10 Nm (88 lb in).
4. Install the A/C low pressure switch.
Tighten
Tighten the A/C low pressure switch to 5 Nm (44 lb in).
5. Install new O-ring seals.
6. Install the accumulator to the evaporator.
7. Install the accumulator retaining nut.
Tighten
Tighten the nut to 28 Nm (21 lb ft).