
Ascender 4WD L6-4.2L (2003)
Technical Service Bulletin # SB08-13-S002
Date: 080228
OnStar(R) - Generation 5 to Generation 6 Upgrade
TSB SB08-13-S002
Issue Date: FEBRUARY 2008
Information On Upgrading Certain Onstar(R) Generation 5 Analog/Digital-Ready Systems To Onstar(R) Generation 6 Digital-Capable System
Affected Vehicles
2003-2004 Isuzu Ascender with OnStar(R)
Service Information
This bulletin is being issued to provide dealer personnel with information and procedures to follow should an owner wish to upgrade an OnStar(R)
Generation 5 Analog/Digital-Ready system to an OnStar(R) Generation 6 Digital-Capable system.
Service Procedure
1.
If the vehicle is not equipped with a glass mounted antenna skip this step and go to step 2. If the vehicle is equipped with a glass mounted antenna,
it is necessary to replace the existing OnStar(R) analog on-glass antenna mast, inner coupler and outer coupler with the provided Digital-Capable
antenna components from the Autocraft Electronics upgrade kit. Refer to the antenna component replacement instructions included in the kit or
those found in the Cellular Communication section of the Service Manual. You must follow these instructions carefully in order to ensure proper
adhesion of the new antenna.
NOTE:
It is important for the glass to be clean and dry before attempting to install the antenna. The vehicle should be brought into the shop and
allowed to warm up so the glass is at or above 15°C (60°F). Use the alcohol prep pad from the antenna kit to clean the glass surface and allow
to dry, then apply Adhesive Promoter P/N 8-12378-555-0 per dispenser directions. The antenna base can then be installed and should be
allowed to sit for approximately 4 hours to ensure the antenna is secure.
2.
Replace the OnStar(R) Vehicle Communication Interface Module (VCIM) in the vehicle with the Digitally-Capable VCIM provided in the
Autocraft Electronics upgrade kit.
3.
Fold and tumble the right second row seat to a cargo position.
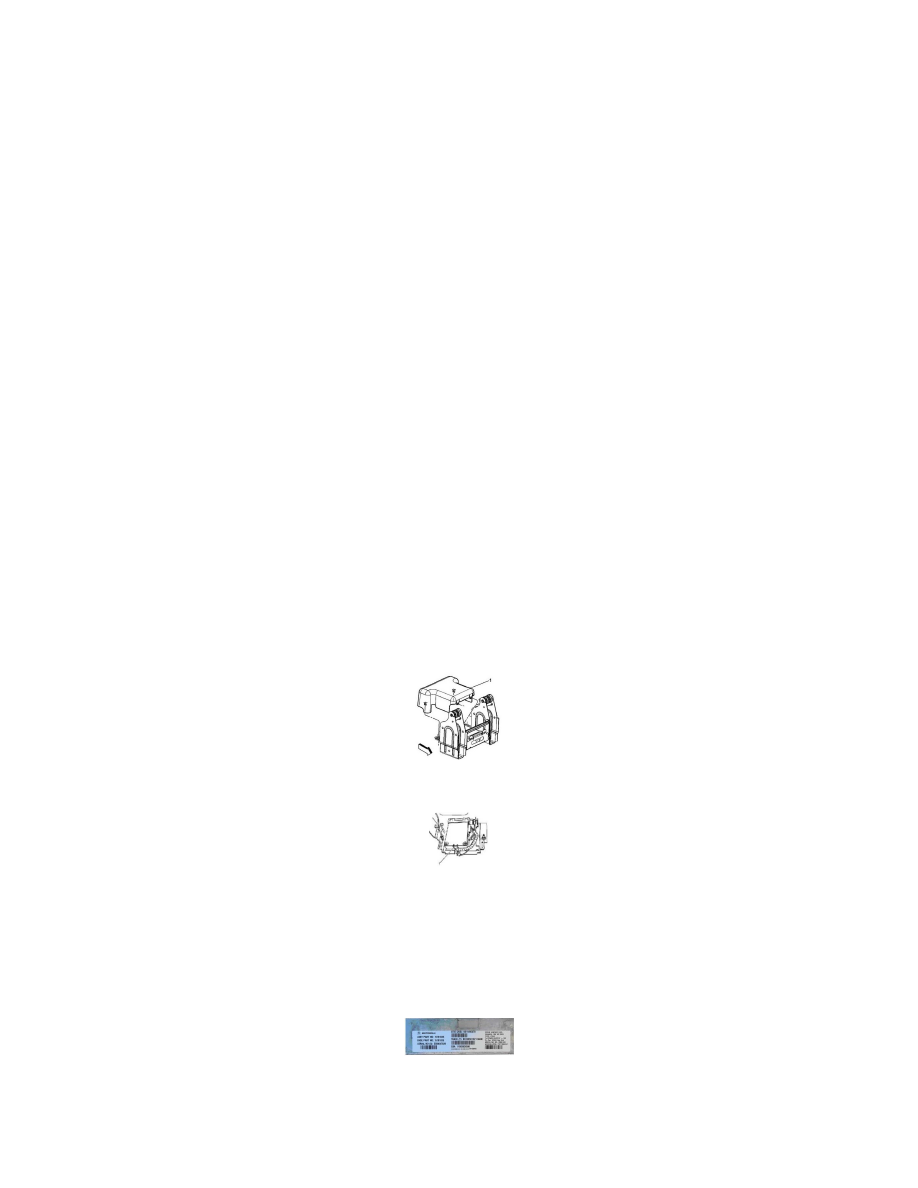
4.
Remove the protective cover (1) from the vehicle communication interface module (VCIM).
5.
Remove the VCIM from the bracket by releasing the retaining tab.
6.
Remove the electrical connectors from the VCIM.
7.
Remove the VCIM from the vehicle.
Installation Procedure
1.
When replacing the VCIM, record the 10-digit STID number, and the 11-digit ESN number from the labels on the new module to the repair order.
2.
Position the VCIM near the mounting location.
3.
Install the quick connector to the VCIM.