
Hombre S Regular Cab 4WD V6-4.3L (1999)
2. Install the wheel bearings (JM3 System).
3. Install the rotor.
4. Install the caliper bracket and the caliper bracket mounting bolts (JC1 System).
Tighten
Tighten the caliper bracket mounting bolts to 180 N.m (133 lb ft).
5. Install the brake pads (JC1 System).
6. Install the caliper.
7. Pump the brake pedal until the brake pedal feels firm.
8. Burnish replaced or refinished rotors.
Refer to Disc Brake System; Service and Repair; Burnishing Pads and Rotors.
Rear Brake Rotor
Brake Rotor Replacement - Rear
Removal Procedure
The brake rotor can be removed without separating the caliper from the anchor bracket.
Important: Do not disconnect the brake hose from the caliper.
1. Remove the caliper bracket.
Refer to Brake Caliper Bracket; Service and Repair; Rear.
Notice: Do not allow the brake components to hang from the flexible brake hoses. Damage to the brake hoses could result.
2. Suspend the caliper.
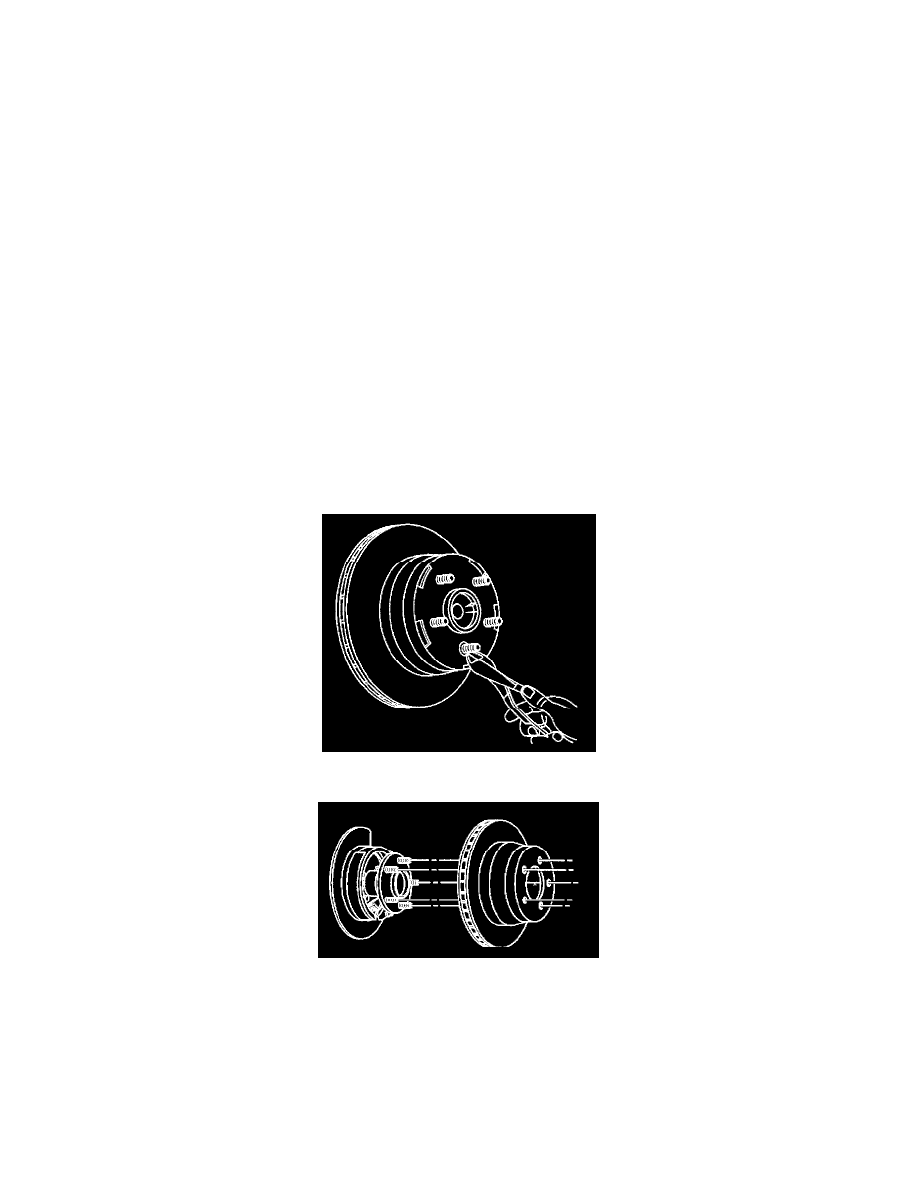
3. Remove and dispose of the sheet metal retainer.
4. Remove the rotor. Slowly turn the rotor while pulling the rotor away from the axle flange.
5. Inspect and clean all parts. Replace parts as necessary.
6. Refinish the rotor if required.
Refer to Refinishing Brake Rotors.
Installation Procedure
Tools Required
-
J 42450-A Hub Cleaning Kit