
Hombre S Regular Cab 4WD V6-4.3L (1999)
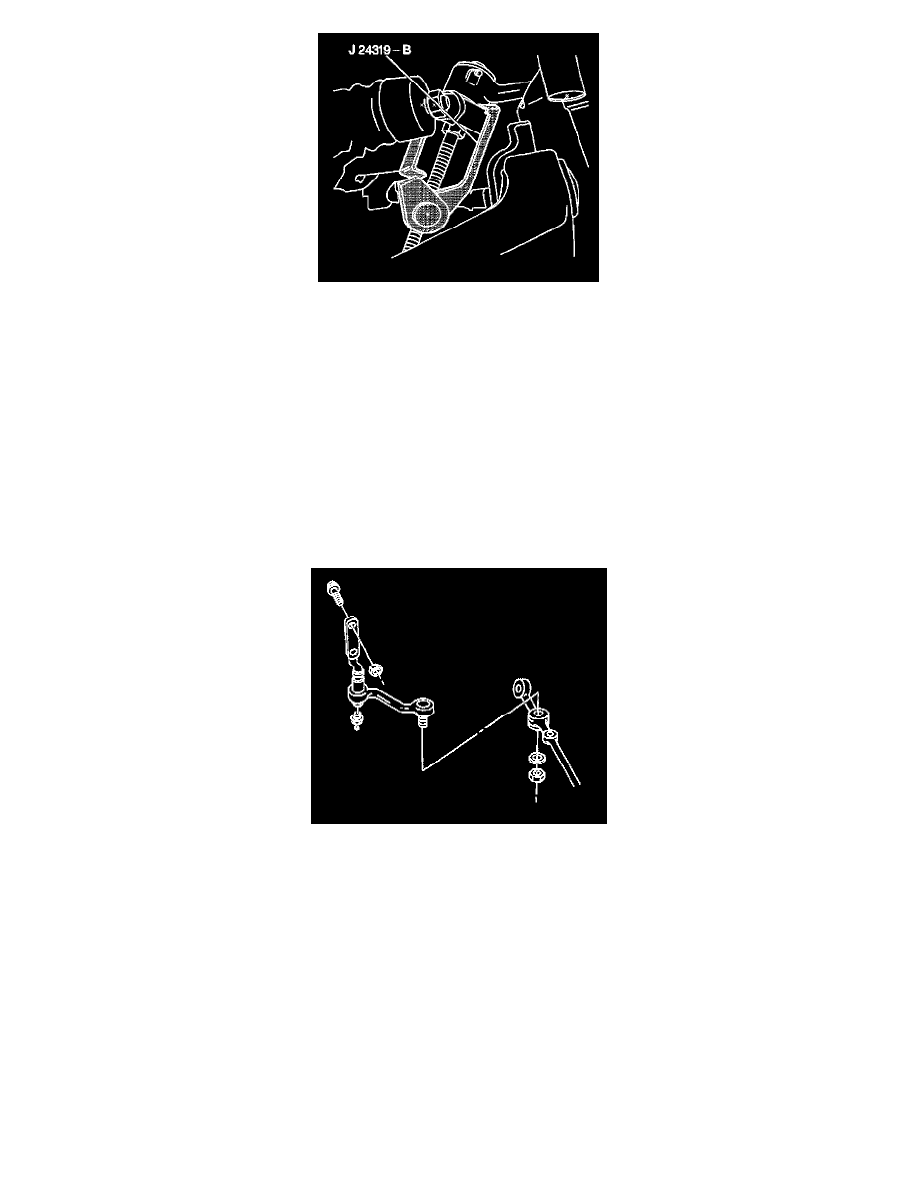
8. Disconnect the relay rod from the idler arm using J 24319-B.
9. Remove the idler arm.
10. Inspect the ball stud threads for damage.
11. Inspect the ball stud seal for cuts or other damage.
12. Clean the threaded ball stud.
13. Clean the threads on the ball stud nut.
Installation Procedure
Tools Required
-
J 29193 Steering Linkage Installer (12 mm)
-
J 29194 Steering Linkage Installer (14 mm)
1. Position the idler arm on the frame.
2. Install the idler arm mounting bolts to the frame.
3. Install the idler arm mounting bolt nuts.
Tighten
Tighten the idler arm mounting bolt nuts to 108 N.m (79 lb ft).
4. Install the relay rod to the idler arm ball stud. Ensure that the seal is on the stud.
5. Seat the taper using J 29193 or J 29194.
Tighten
Tighten the J 29193or J 29194 to 54 N.m (40 lb ft).
6. Remove J 29193or J 29194 from the idler arm ball stud.
7. Install the new nut to the idler arm ball stud.
Tighten
Tighten the idler arm ball stud nut to 82 N.m (60 lb ft).