
Hombre XS Space Cab L4-2.2L CPC (1997)
Fan Shroud: Service and Repair
Lower
REMOVAL
1. Drain the engine coolant from the radiator.
2. Remove the upper fan shroud.
3. Disconnect the heater hose from the radiator.
4. Raise and support the vehicle.
5. Disconnect the radiator outlet (lower) hose.
6. Disconnect the automatic transmission oil cooler lines from the radiator (if equipped).
7. Disconnect the engine oil cooler lines from the radiator (if equipped).
8. Lower the vehicle.
9. Lift the lower fan shroud, just enough, to disengage the locating tabs from the radiator.
10. Remove the radiator from the vehicle. Refer to Radiator Replacement.
11. Remove the lower fan shroud from the vehicle.
INSTALLATION
1. Install the radiator in the vehicle, if removed.
2. Place the lower fan shroud in the vehicle.
a. Position the lower fan shroud against the radiator.
b. Engage the three locating tabs by pushing down.
3. Connect the heater hose to the radiator.
4. Connect the coolant overflow hose to the radiator.
5. Raise and support the vehicle.
6. Connect the engine oil cooler lines to the radiator.
7. Connect the automatic transmission oil cooler lines to the radiator.
8. Connect the radiator outlet hose to the radiator.
9. Lower the vehicle.
10. Install the upper fan shroud to the lower fan shroud.
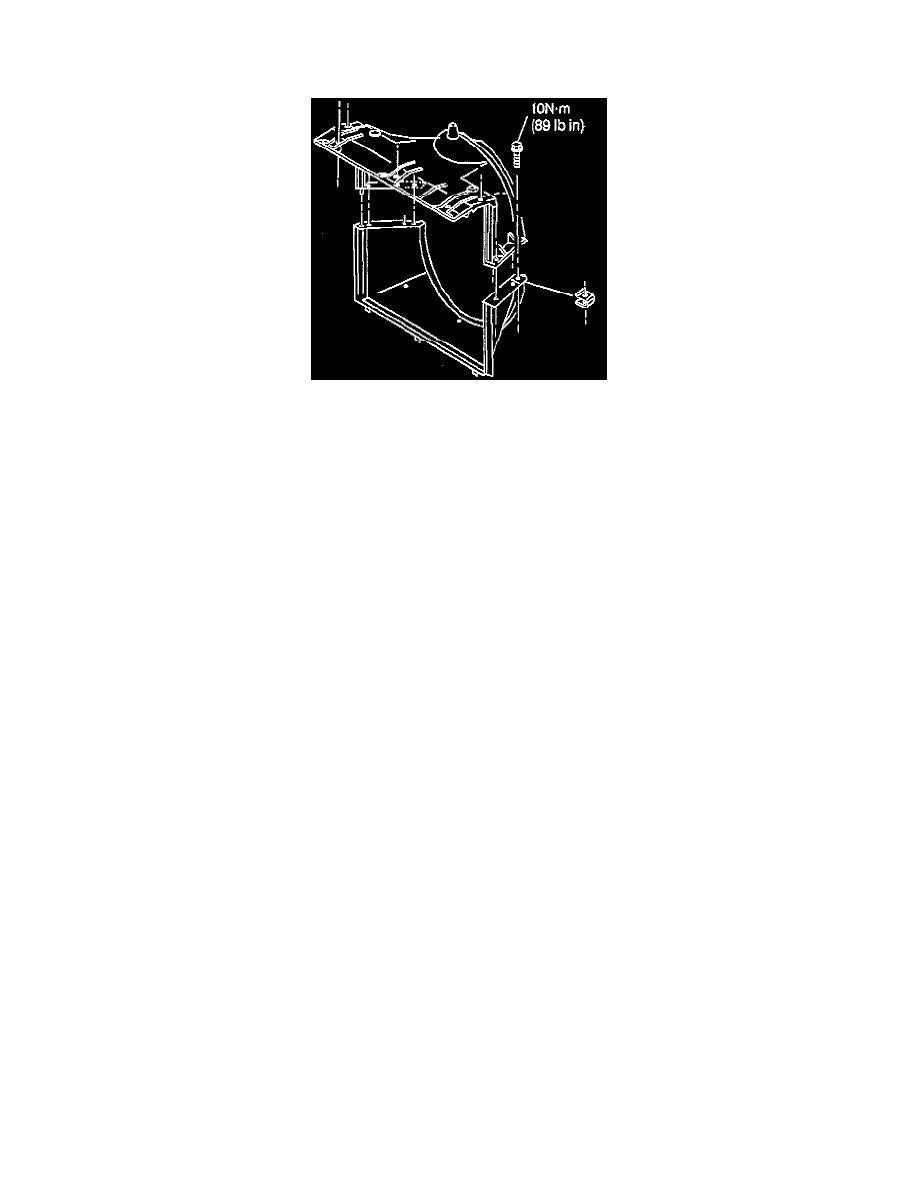
11. Install the fan shroud attaching screws.
^
Tighten the fan shroud attaching screws to 10 Nm (89 inch lbs.).
12. Fill the cooling system to the specified level and concentration.
13. Start the engine and check for leakage.