
Hombre XS Space Cab L4-2.2L CPC (1997)
Idler Arm: Service and Repair
REMOVAL
NOTE:
^
The Special Service Tools (SSTs) required to complete these procedures are a J 24319-B universal steering linkage puller, a J 29193 steering
linkage installer (12 mm) and a J 29194 steering linkage installer (14 mm).
^
Use the proper tool to separate all ball joints.
1. Before removing the idler arm, raise the vehicle and support it with safety stands.
2. After securing the vehicle,remove the idler arm bolts and nuts.
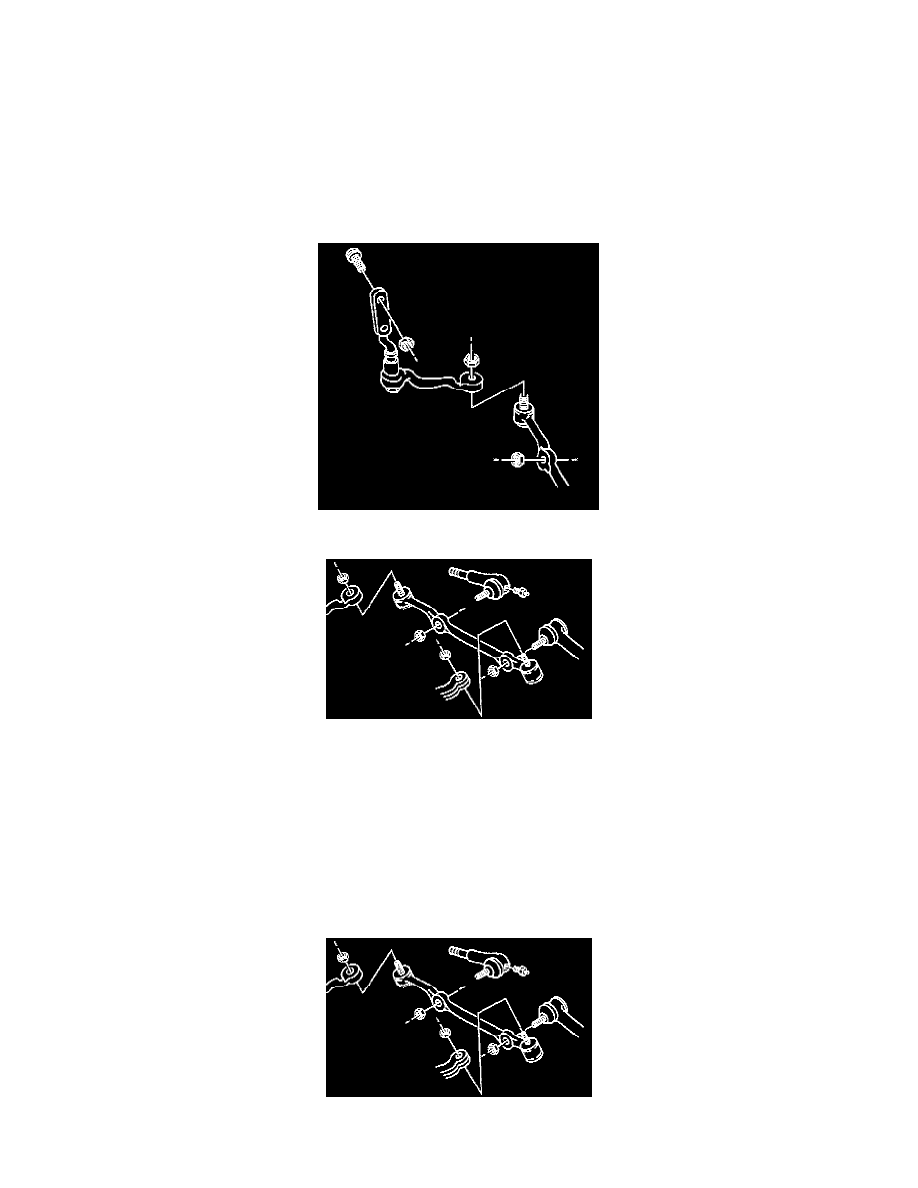
3. Remove the nut from the idler arm ball stud.
4. Detach the relay rod from the idler arm using the J 24319-B tool.
5. Remove the idler arm then inspect the following.
a. Ball stud threads for damage.
b. Ball stud seal for cuts or other damage.
5. Clean all the threads on the ball stud and in the ball stud nut.
INSTALLATION
1. Begin the installation procedure by positioning the idler arm on the frame.
2. Install the bolts and nuts, tightening the nuts to 108 Nm (79 ft. lbs).
3. attach the relay rod to the idler arm ball stud. Make sure the seal is on the stud and tighten the Special Service Tools (SSTs) J 29193 or J 29194 to
54 Nm (40 ft. lbs.) to seat the tapers. After doing this, remove the tool.