Rodeo LS 4WD V6-3.2L (1998)

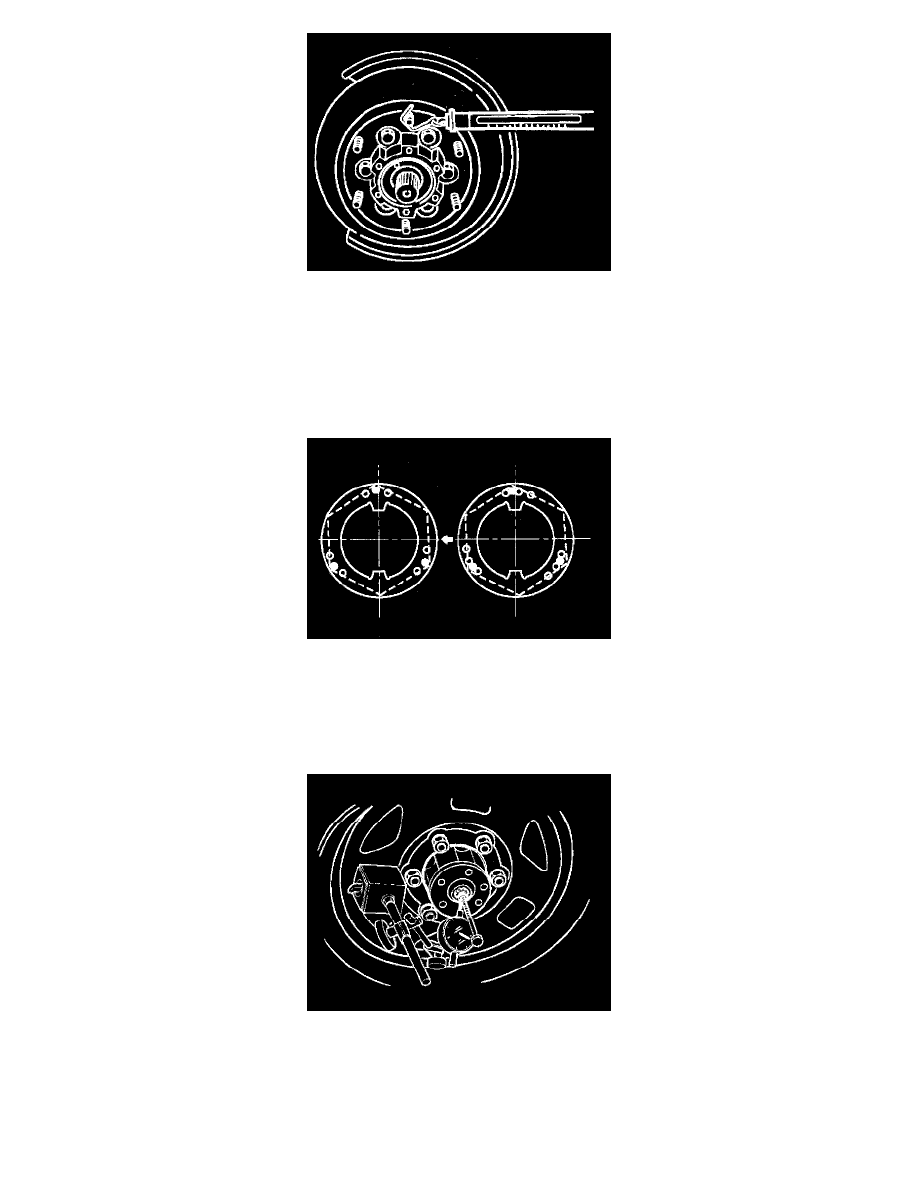
2. Tighten the hub nut to the value given below, using a spring scale on the wheel pin.
New bearing and New oil seal
Bearing Preload: 20 N - 25 N (4.4 lbs. - 5.5 lbs.)
Used bearing and New oil seal
Bearing Preload: 12 N - 18 N (2.6 lbs. - 4.0 lbs.)
If the measured bearing preload is outside the specifications, adjust it by loosening or tightening the bearing nut.
9. Install lock washer and lock screw in the following manner.
-
Turn the side with larger diameter of the tapered bore to the vehicle outer side, then attach the washer.
-
If the bolt holes in the lock plate are not aligned with the corresponding holes in the nut, reverse the lock plate.
-
If the bolt holes are still out of alignment, turn in the nut just enough to obtain alignment.
-
Screw is to be fastened tightly so its head may come lower than the surface of the washer.
10. Apply adhesive (LOCTITE 515 or equivalent) to both joining flange faces then install hub flange.
11. Install snap ring and shim. Adjust the clearance between the freewheeling hub body and the snap ring.
Clearance: 0 mm - 0.3 mm (0 inch - 0.012 inch)
Shims Available: 0.2 mm, 0.3 mm, 0.5 mm, 1.0 mm (0.008 inch, 0.012 inch, 0.020 inch, 0.039 inch)
12. Install hub cap.
