
Rodeo S 2WD L4-2.2L (1999)
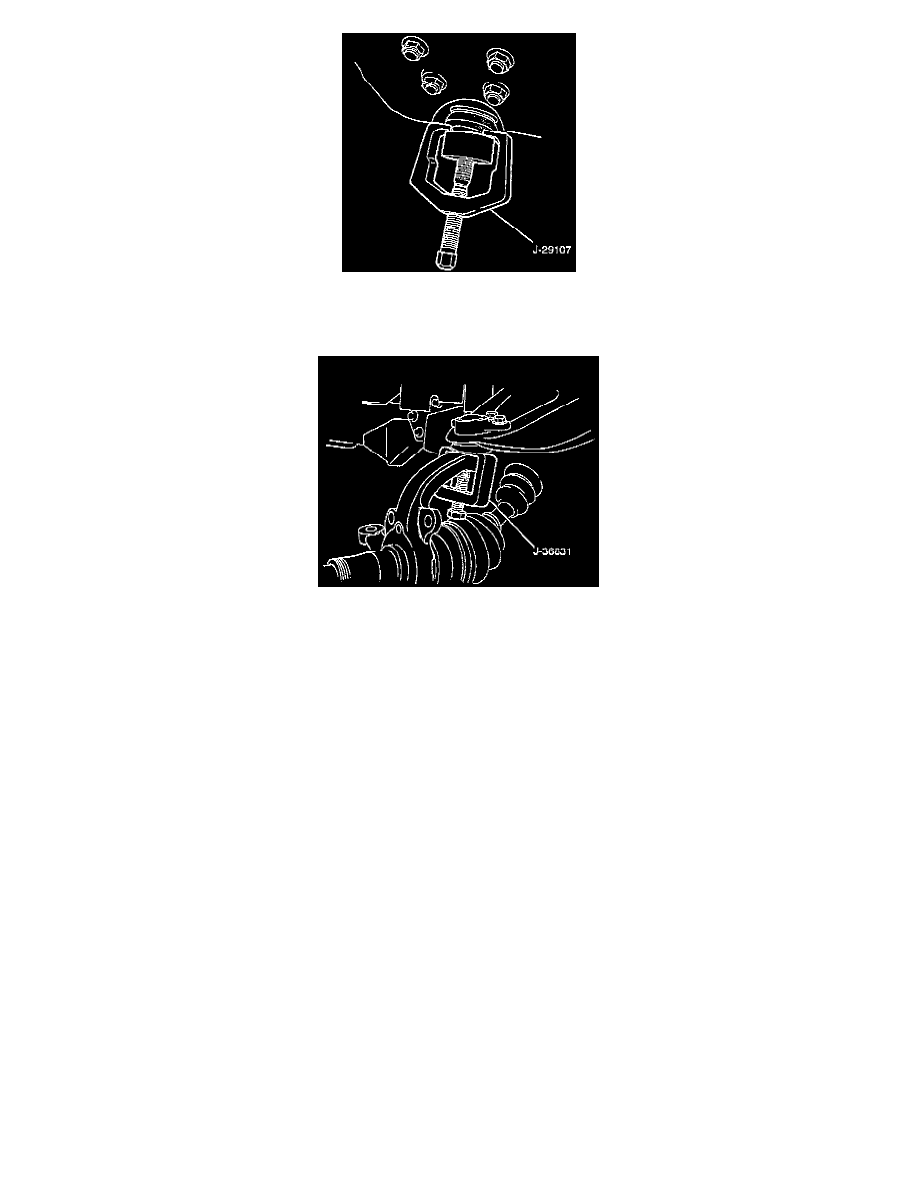
10. Remove lower ball joint by using remover J-29107.
CAUTION: Be careful not to damage the ball joint boot.
11. Remove upper ball joint by using remover J-36831.
CAUTION: Be careful not to damage the ball joint boot.
12. Remove knuckle assembly.
INSPECTION AND REPAIR
Make necessary correction or parts replacement if wear, damage, corrosion or any other abnormal condition are found through inspection. Check the
following parts:
-
Knuckle
-
Knuckle arm
-
Needle bearing
-
Thrust washer
INSTALLATION
1. Install knuckle assembly.
2. Install upper ball joint and tighten the nut to the specified torque, with just enough additional torque to align cotter pin holes. Install new cotter
pin. Torque to 98 Nm (72 ft. lbs.).
3. Install lower ball joint and tighten the nut to the specified torque, with just enough additional torque to align cotter pin holes. Install new cotter pin.
Torque to 147 Nm (108 ft. lbs.).
4. Install back plate.
5. Install wheel speed sensor.
6. Install torsion bar.
NOTE: Adjust the trim height.