
Rodeo S 2WD L4-2.2L (1999)
-
Bushing
INSTALLATION
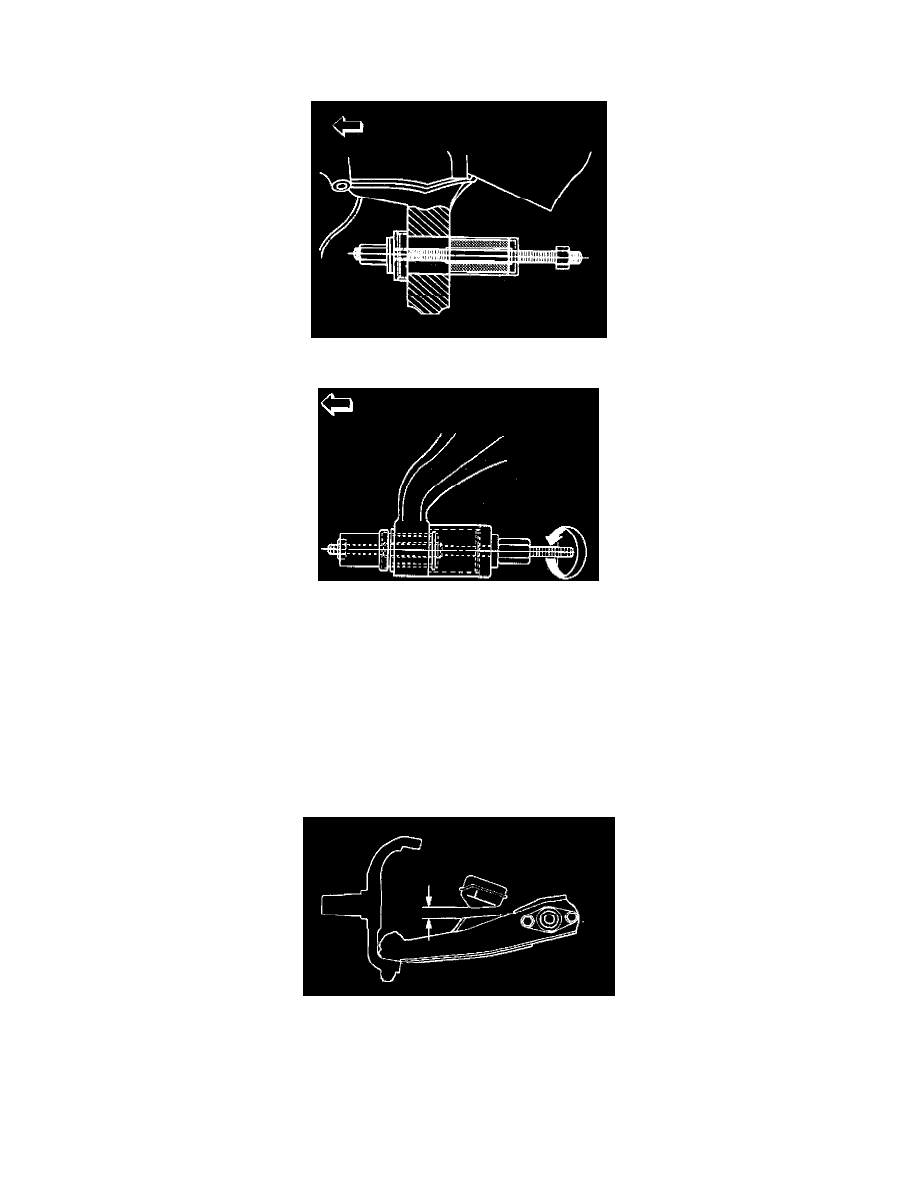
1. Install rear bushing by using installer J-36834.
2. Install front bushing by using installer J-36833.
3. Install lower ball joint bolt.
4. Install torsion bar arm bolt.
5. Install lower control arm.
6. Install rear bolt.
7. Install front bolt.
8. Install lower ball joint and tighten it to the specified torque. Torque to 116 Nm (85 ft. lbs.).
9. Install shock absorber and tighten it to the specified torque. Torque to 93 Nm (69 ft. lbs.).
10. Install stabilizer link and tighten it to the specified torque. Torque to 50 Nm (37 ft. lbs.).
11. Install torsion bar arm bracket and tighten it to the specified torque. Torque to 116 Nm (85 ft. lbs.).
12. Install Torsion bar.
13. Install rear nut and tighten lower link nut finger-tight.
NOTE: Torque lower control arm nut after adjusting buffer clearance. Buffer clearance: 22 mm (0.87 inch). Torque to 235 Nm (174 ft. lbs.).
14. Install front nut then tighten lower link nut finger-tight.