
Rodeo S 2WD L4-2.2L (1999)
0.2 mm (0.008 inch), the assembly must be replaced.
UNIVERSAL JOINT REASSEMBLY
1. Pack the four grease cavities of the spider with a high quality, extreme pressure N.L.G.I. Grade 2 grease. Do not add additional grease to bearing
cup assembly.
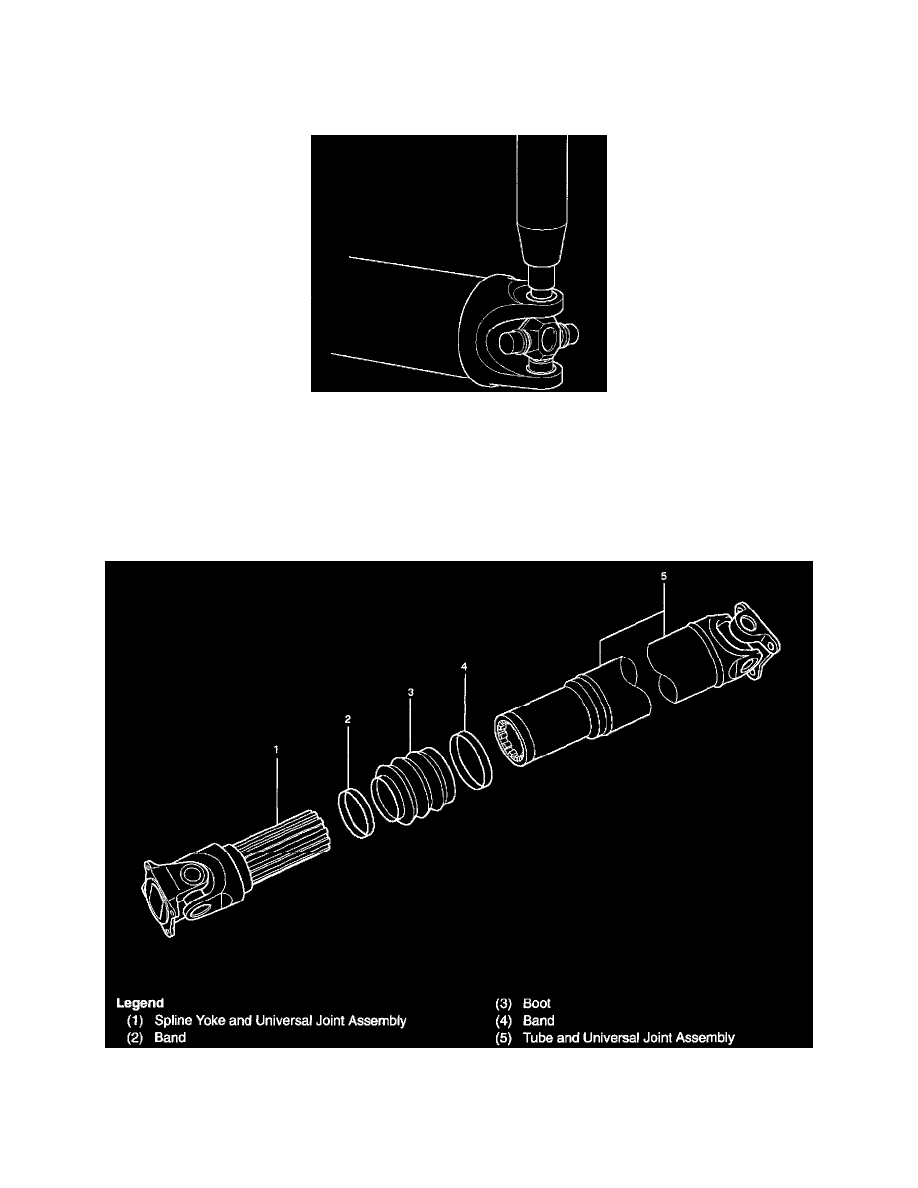
2. Move one end of the spider to cause a trunnion to project through the spider hole beyond the outer machined face of the yoke lug. Place a bearing
over the trunnion diameter and align it to the spider hole. Using an arbor press, hold the trunnion in alignment with the spider hole and place a
solid plug on the upper bearing. Press the bearing into the spider hole enough to install snap ring.
3. Install a snap ring.
NOTE: Be sure the snap rings are properly seated in the grooves.
4. Repeat steps 2 and 3 to install the opposite bearing. If the joint is stiff, strike the yoke ears with a soft hammer to seat the bearing.
REASSEMBLY (4X4 MODEL AND 4X2 WITH AUTOMATIC TRANSMISSION MODEL ONLY)
1. Apply grease evenly to both the female and male splines.
2. Apply a small amount of grease by finger to the outer lips of the boot.
3. Slide the boot onto the yoke shaft being careful not to damage the spline coating or boot.
4. Insert the yoke shaft spline into the sleeve being careful to maintain proper phasing. The spider holes should be in line and as per originally