
Trooper LS V6-3.5L (1998)
Condenser HVAC: Service and Repair
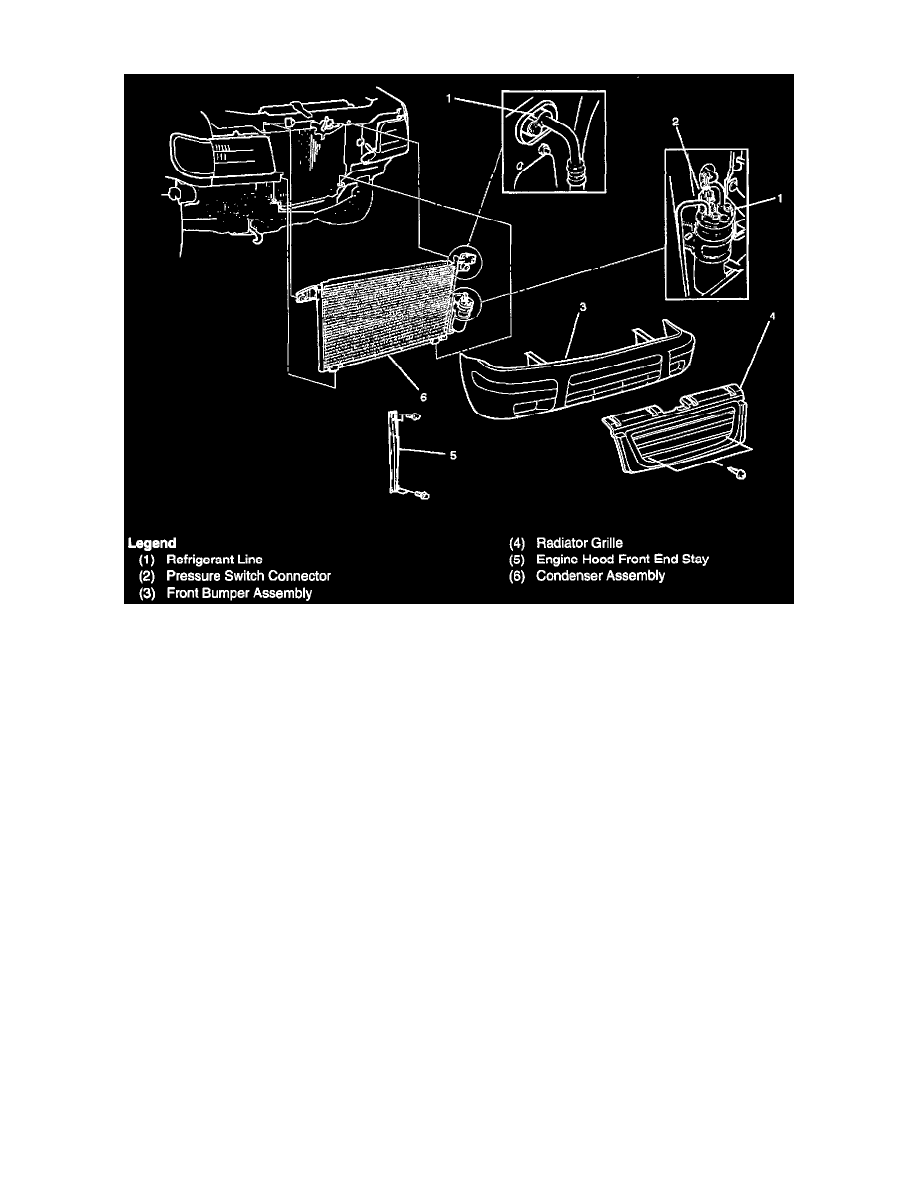
Condenser Assembly and Associated Parts
Removal
1. Disconnect the battery ground cable.
2. Discharge and recover refrigerant.
3. Remove radiator grille.
4. Remove front bumper assembly.
5. Remove engine hood front end stay.
6. Disconnect pressure switch connector.
7. Disconnect refrigerant line.
-
When removing the line connector, the connecting part should immediately be plugged or capped to prevent foreign matter from being mixed
into the line.
8. Remove condenser assembly.
-
Handle with care to prevent damaging the condenser or radiator fin.
Installation
1. Install condenser assembly.
-
If installing a new condenser, be sure to add 30 cc (1.0 fl. oz.) of new compressor oil to a new one.
-
Tighten the condenser fixing bolts to the specified torque.
Torque: 6 N.m (52 lb.in)
2. Connect refrigerant line.
-
Tighten the inlet line connector fixing bolt to the specified torque.
Torque: 15 N.m (11 lb.ft)
-
Tighten the outlet line connector fixing bolt to the specified torque.
Torque: 6 N.m (52 lb.in)
-
O-rings cannot be reused. Always replace with new ones.
-
Be sure to apply new compressor oil to the O-rings when connecting the refrigerant line.
3. Connect pressure switch connector.
4. Install engine hood front end stay.
5. Install front bumper assembly.