
Trooper LS V6-3.5L (1998)
3. Set the fan switch to its highest position.
4. Set air source selector lever to "CIRC".
5. Slowly open the low side valve on the manifold gauge set.
WARNING: BE ABSOLUTELY SURE NOT TO OPEN THE HIGH PRESSURE VALVE OF THE MANIFOLD GAUGE. SHOULD
THE HIGH PRESSURE VALVE BE OPENED, THE HIGH PRESSURE REFRIGERANT WOULD FLOW BACKWARD, AND THIS
MAY CAUSE THE REFRIGERANT CONTAINER TO BURST.
8. When finished with the refrigerant charging, close the low pressure valve of the manifold gauge and container valve.
9. Check for refrigerant leaks.
Checking the A/C system
1. Run the engine and close all the vehicle doors.
2. Turn A/C switch "ON", set the fan switch to its highest position.
3. set air source lever to "CIRC" and set temperature lever to full cool position.
4. Check the high and low pressure of the manifold gauge.
-
Immediately after charging refrigerant, both high and low pressure might be slightly high, but they settle down to the pressure guide- lines
shown below:
-
The ambient temperature should be between 25-30 °C (77-86 °F).
-
The pressure guideline for the high-pressure side is approximately 1372.9-1863.3 kPa (199.1-270.2 psi).
-
The pressure guideline for the low-pressure side is approximately 147.1-294.2 kPa (21.3-42.7 psi).
-
If an abnormal pressure is found, refer to Checking The Refrigerant System With Manifold Gauge.
5. Put your hand in front of the air outlet and move the temperature control lever of the control panel to different positions. Check if the outlet
temperature changes as selected by the control knob.
3. Charging
Precautions for Replacement or Repair of Air Conditioning Parts
There are certain procedures, practices and precautions that should be followed when servicing air conditioning systems:
-
Keep your work area clean.
-
Always wear safety goggle and protective gloves when working on refrigerant systems.
-
Beware of the danger of carbon monoxide fumes caused by running the engine.
-
Beware of discharged refrigerant in enclosed or improperly ventilated garages.
-
Always disconnect the negative battery cable and discharge and recover the refrigerant whenever repairing the air conditioning system.
-
When discharging and recovering the refrigerant, do not allow refrigerant to discharge too fast; it will draw compressor oil out of the system.
-
Keep moisture and contaminants out of the system. When disconnecting or removing any lines or parts, use plugs or caps to close the fittings
immediately.
Never remove the caps or plugs until the lines or parts are reconnected or installed.
-
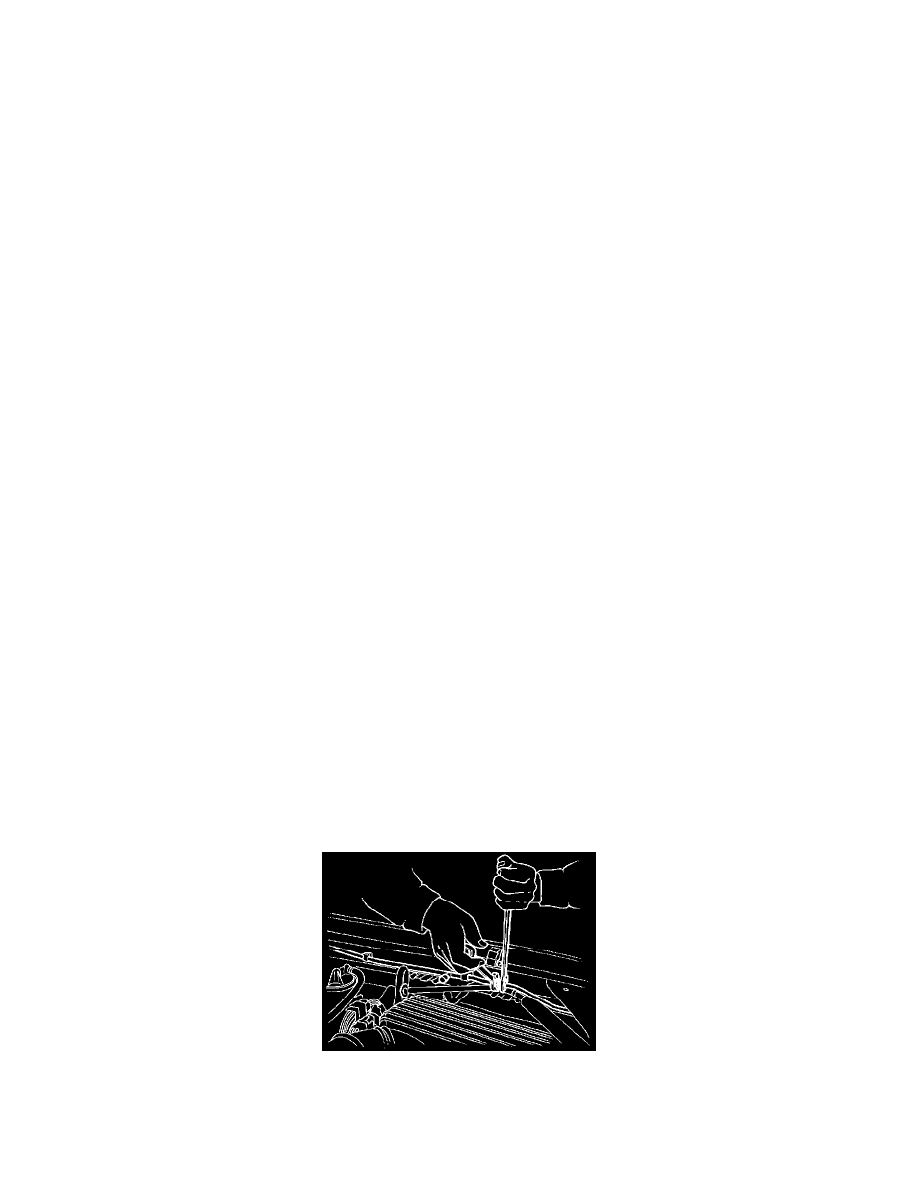
When disconnecting or reconnecting the lines, use two wrenches to support the line fitting, to prevent from twisting or other damage.
-
Always install new O-rings whenever a connection is disassembled.
-
Before connecting any hoses or lines, apply new specified compressor oil to the O-rings.
-
When removing and replacing any parts which require discharging the refrigerant circuit, the operations described must be performed in the
following sequence:
1. Use the J-39500 (ACR4: HFC-134a Refrigerant Recovery/Recycling/Recharging/System) or equivalent to thoroughly discharge and recover
the refrigerant.
2. Remove and replace the defective part.
3. After evacuation, charge the air conditioning system and check for leaks.
Repair of Refrigerant Leaks
Refrigerant Line Connections
Install new O-rings, if required. When disconnecting or connecting lines, use two wrenches to prevent the connecting portion from twisting or becoming