
VehiCROSS 4WD V6-3.5L (1999)
7. Remove the three stud nuts from the front exhaust pipe flange and two nuts from the rear exhaust pipe flange.
8. Remove heat protector two fixing bolts and remove unit.
9. Remove a bolt on engine LH side for Air Conditioner (A/C) compressor bracket and loosen two bolts for A/C compressor then move A/C
compressor to front side.
10. Remove exhaust manifold eight fixing nuts and remove exhaust manifold from the engine.
Installation
To install, follow the removal steps in the reverse order, noting the following points:
1. Install exhaust manifold and gasket and tighten exhaust manifold fixing nuts to the specified torque with new nuts.
Torque: 52 Nm (38 ft. lbs.)
2. Install heat protector.
3. Install exhaust front pipe's three stud nuts and rear pipe's two nuts to the specified torque.
Torque:
Stud nuts: 67 Nm (49 ft. lbs.)
Nuts: 43 Nm (32 ft. lbs.)
1. Set A/C compressor to normal position and tighten two bolts to the specified torque.
Torque: 40 Nm (30 ft. lbs.)
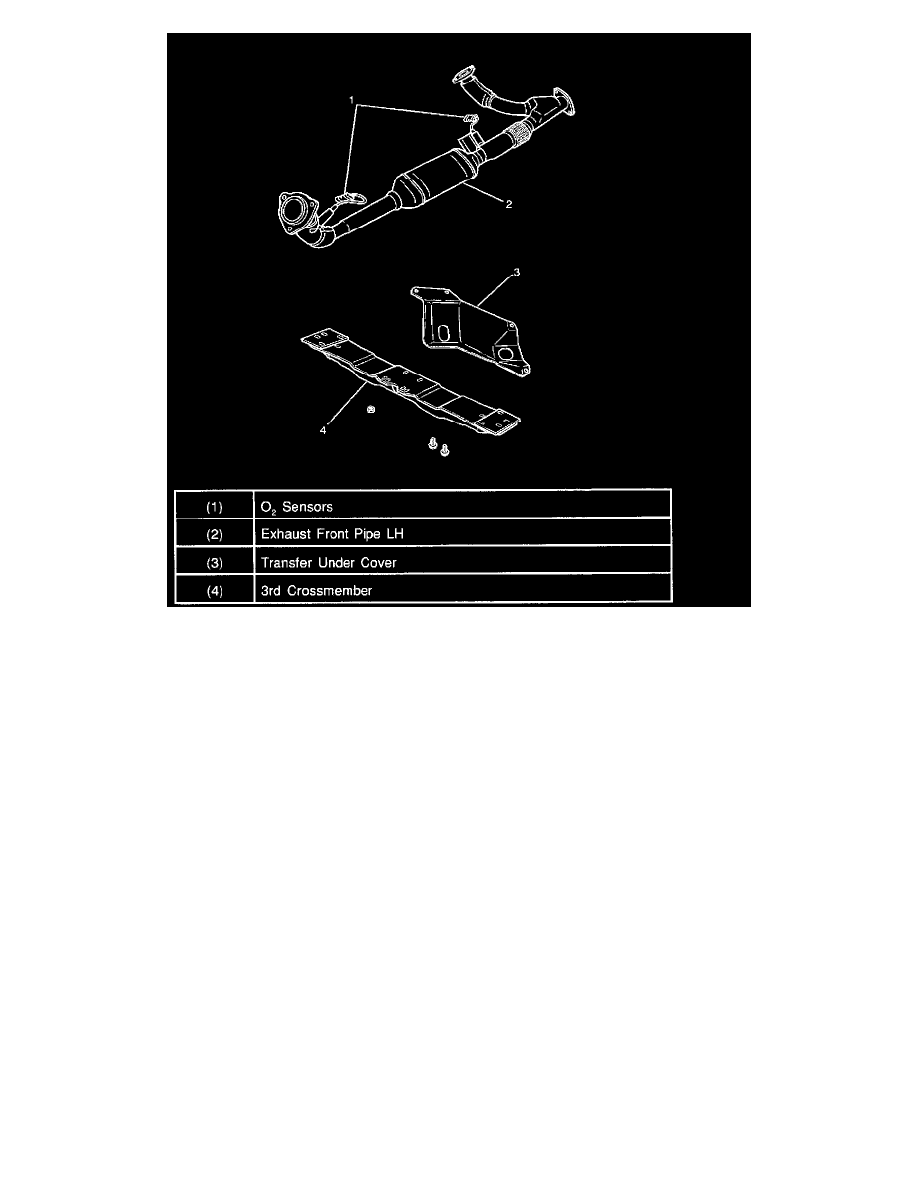
2. Reconnect 02 sensor connectors.
3. Install 3rd crossmember.
4. Install transfer under cover.
5. Install air cleaner duct assembly.
6. Reconnect IAT sensor and MAF sensor connectors.