
VehiCROSS 4WD V6-3.5L (1999)
Shifter A/T: Service and Repair
Shift Lever - Removal, Installation and Adjustment
Removal
1. Place selector lever in neutral.
2. Disconnect battery ground cable.
3. Raise the vehicle and support it on jack stands. Disconnect shift control rod from the selector lever assembly.
4. Remove transfer control lever knob.
5. Remove center console and rear console.
^
Disconnect wiring harness connectors from the console.
6. Remove PCM covers.
7. Disconnect shift lock cable from the selector lever assembly side.
8. Disconnect wiring harness connectors from the selector lever assembly.
9. Remove selector lever assembly.
Installation
To install, follow the removal steps in the reverse order, noting the following points:
Adjustment of select lever and control rod
1. Place the vehicle on a level surface.
Notice: If the vehicle is not on level surface, the shift control rod set positions will vary with the movement of engine. To prevent possible
misadjustment of the control rod, the vehicle must be placed on a level surface.
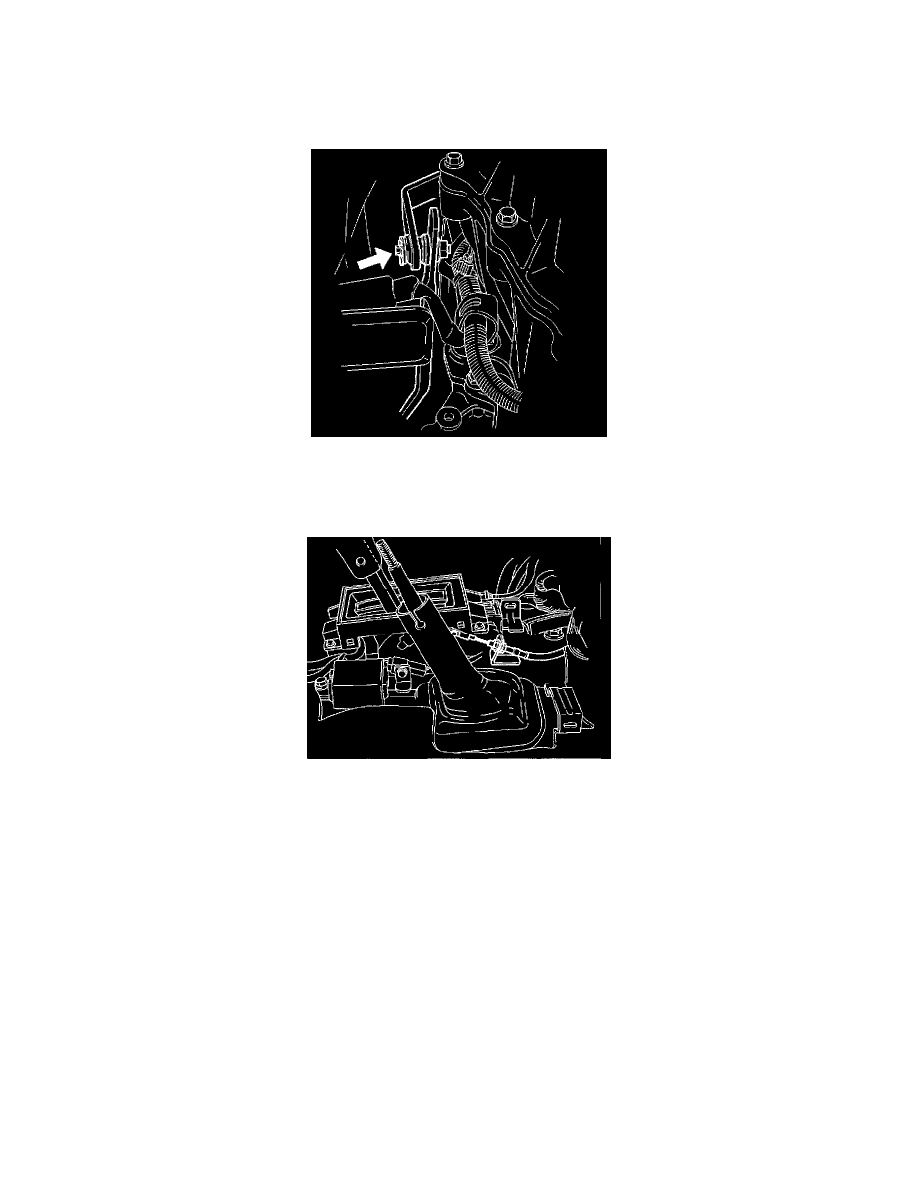
2. Install the shift control rod (1) to the transmission select lever (2), and then place the lever in the "N" position.
3. Set select lever in the "N" position.
4. Push select lever forward ("R" position side) and secure it (using a rubber band (3), etc.) so that the ping comes into contact with the wall of the
detent plate.