
Wrangler L6-4.0L VIN S (2000)
Glove Compartment: Overhaul
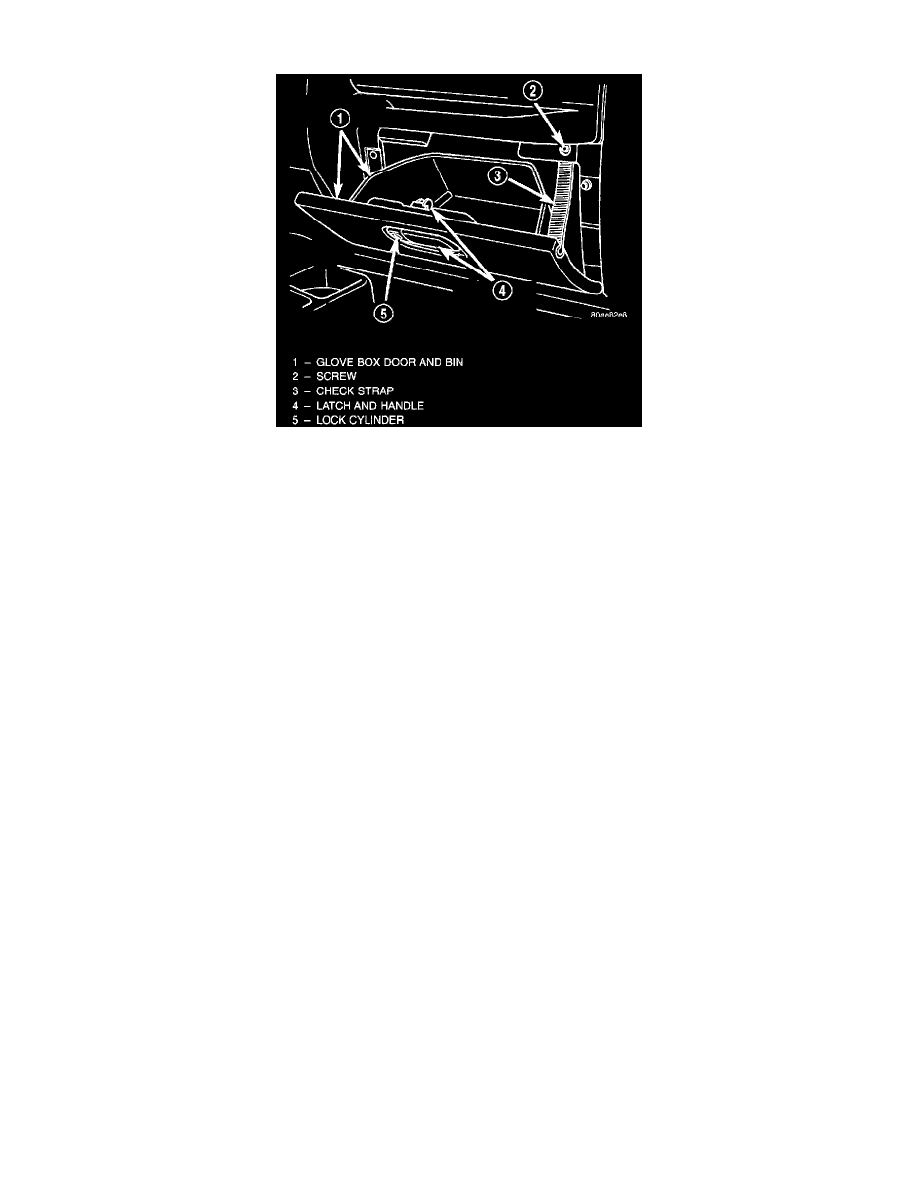
Glove Box Components
Service of all of the glove box components must be performed with the glove box removed from the instrument panel.
WARNING: ON VEHICLES EQUIPPED WITH AIR-BAGS, REFER TO PASSIVE RESTRAINT SYSTEMS BEFORE ATTEMPTING ANY
STEERING WHEEL, STEERING COLUMN, OR INSTRUMENT PANEL COMPONENT DIAGNOSIS OR SERVICE. FAILURE TO TAKE
THE PROPER PRECAUTIONS COULD RESULT IN ACCIDENTAL AIR- BAG DEPLOYMENT AND POSSIBLE PERSONAL INJURY.
REMOVAL
Glove Box Door and Bin
1. Disconnect and isolate the battery negative cable.
2. Remove the glove box from the instrument panel.
3. Remove the screws that secure the glove box latch and handle to the glove box door.
4. Remove the screws that secure the inner door and bin unit to the outer glove box door.
5. Remove the inner door and bin unit from the outer glove box door.
Glove Box Check Strap
1. Disconnect and isolate the battery negative cable.
2. Remove the glove box from the instrument panel.
3. Remove the screw that secures the glove box check strap to the instrument panel above the glove box opening.
4. Remove the check strap from the instrument panel.
Glove Box Latch and Handle
1. Disconnect and isolate the battery negative cable.
2. Remove the glove box from the instrument panel.
3. Remove the four screws that secure the glove box latch and handle to the glove box door from the inside of the glove box.
4. Remove the latch and handle from the glove box door.
Glove Box Lock Cylinder
1. Disconnect and isolate the battery negative cable.
2. Remove the glove box from the instrument panel.
3. Remove the glove box latch and handle from the glove box.
4. Insert the key into the glove box lock cylinder.