
Wrangler L6-4.0L VIN S (2000)
Glove Box Lock Cylinder Remove/Install
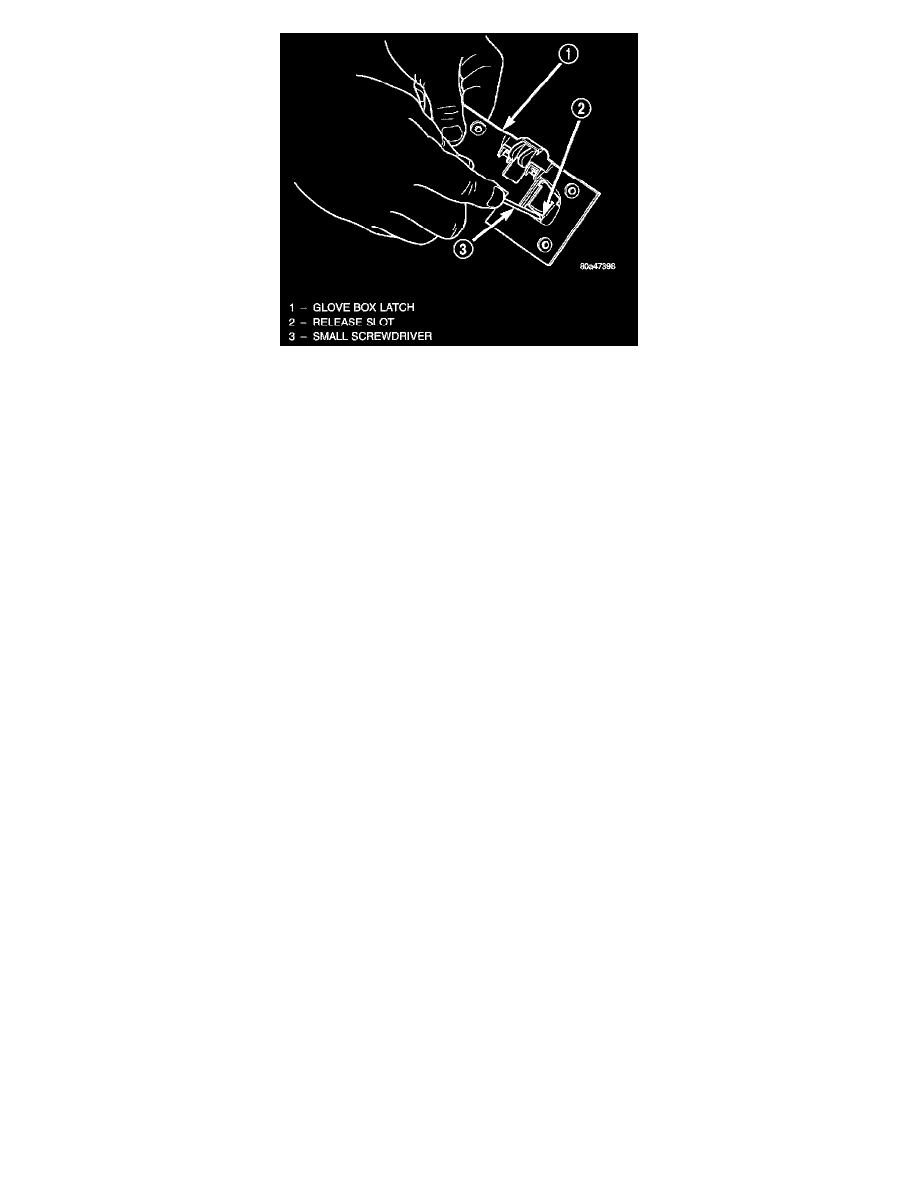
5. Insert a small screwdriver into the retaining tumbler release slot and depress the retaining tumbler.
6. Pull the lock cylinder out of the glove box latch handle by using a gentle twisting and pulling action on the key.
INSTALLATION
Glove Box Door and Bin
1. Positive the inner door and bin unit onto the outer glove box door.
2. Install and tighten the screws that secure the inner door and bin unit to the outer glove box door. Tighten the screws to 2.2 Nm (20 in. lbs.).
3. Install and tighten the screws that secure the glove box latch and handle to the glove box door. Tighten the screws to 2.2 Nm (20 in. lbs.).
4. Install the glove box onto the instrument panel.
5. Reconnect and isolate the battery negative cable.
Glove Box Check Strap
1. Position the check strap to the instrument panel.
2. Install and tighten the screw that secures the glove box check strap to the instrument panel above the glove box opening. Tighten the screw to
2.2 Nm (20 in. lbs.).
3. Install the glove box onto the instrument panel.
4. Reconnect the battery negative cable.
Glove Box Latch and Handle
1. Position the latch and handle onto the glove box door.
2. Install and tighten the four screws that secure the glove box latch and handle to the glove box door from the inside of the glove box. Tighten
the screws to 2.2 Nm (20 in. lbs.).
3. Install the glove box onto the instrument panel.
4. Reconnect the battery negative cable.
Glove Box Lock Cylinder
1. Insert the key into the glove box lock cylinder.
2. Push the lock cylinder into the glove box latch handle by using a gentle twisting and pushing action on the key.
3. Install the glove box latch and handle onto the glove box.
4. Install the glove box onto the instrument panel.
5. Reconnect the battery negative cable.