
Borrego 2WD V6-3.8L (2009)
(6) The firing and/or blow out test should not be performed within 30 minutes after the timing chain cover was assembled.
16. Install the water vent hose (A) to the timing chain cover.
17. Using SST(09231-3C100), install timing chain cover oil seal.
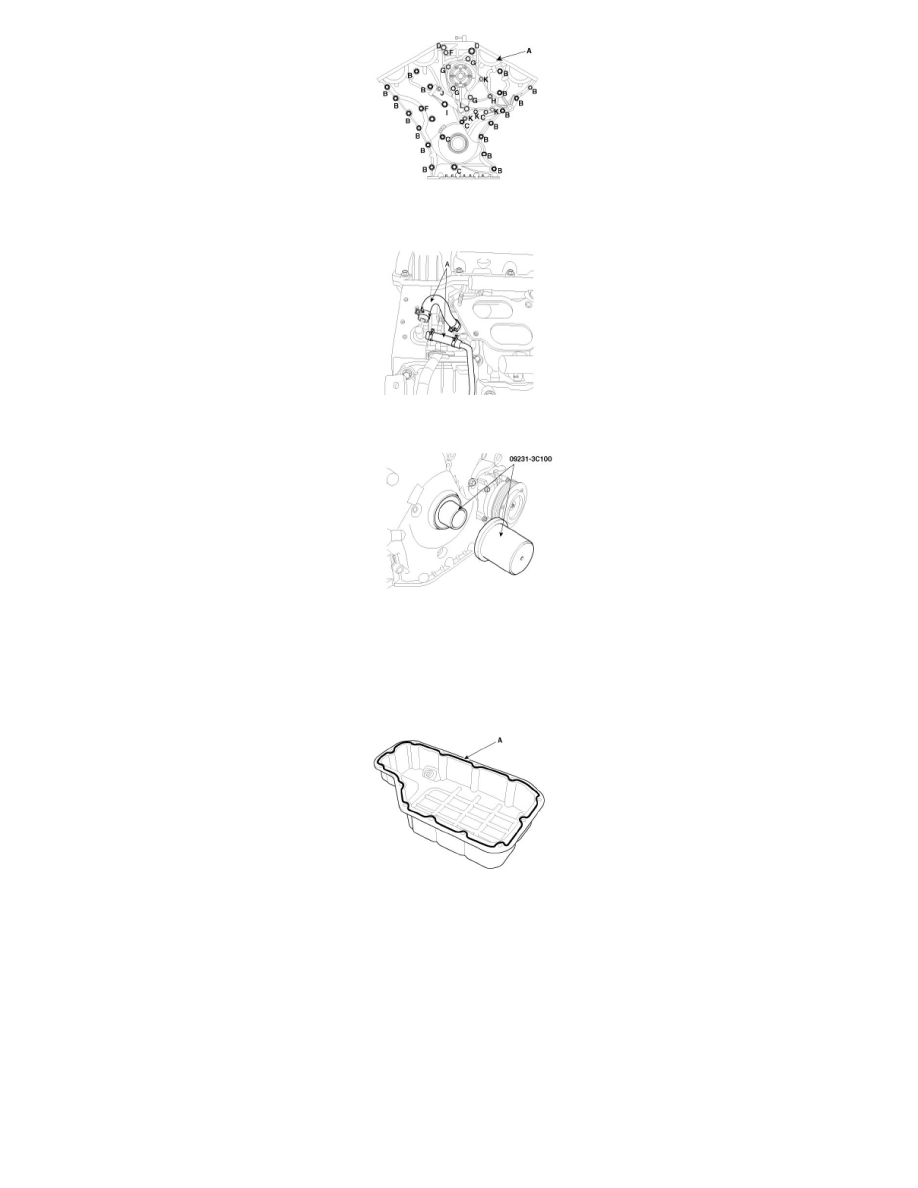
18. Install the lower oil pan (A).
(1) Using a gasket scraper, remove all the old packing material from the gasket surfaces.
(2) Before assembling the oil pan, the liquid sealant TB 1217H should be applied on oil pan. The part must be assembled within 5 minutes after
the sealant was applied.
Bead width :2.5mm(0.1in.)
CAUTION:
-
Clean the sealing face before assembling two parts.
-
Remove harmful foreign matters on the sealing face before applying sealant.
-
When applying sealant gasket, sealant must not be protruded into the inside of oil pan.
-
To prevent leakage of oil, apply sealant gasket to the inner threads of the bolt holes.
(3) Install the oil pan (A).
Uniformly tighten the bolts in several passes.
Tightening torque :
9.8 - 11.8N.m (1.0 - 1.2kgf.m, 7.2 - 8.7lb-ft)