
Borrego 4WD V6-3.8L (2009)
1. Wrap tape around the driveshaft splines (TSJ. side ) to prevent damage to the boots.
2. Apply grease to the driveshaft and install the boots.
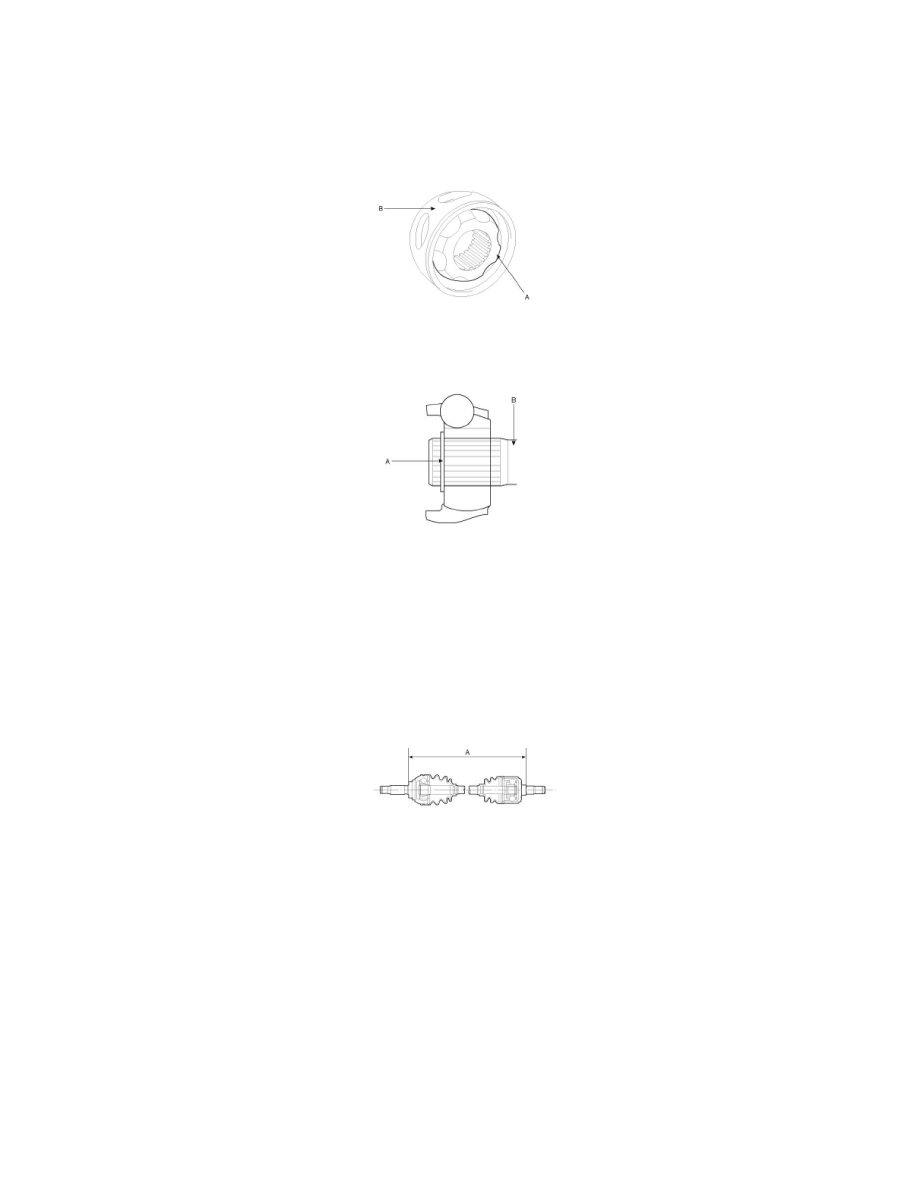
3. Apply the specified grease to the inner race(A) and cage(B). Install the cage(B) so that it is offset on the race as shown.
CAUTION:
Use the grease included in the repair kit.
4. Apply the specified grease to the cage and fit the balls into the cage.
5. Position the chamfered side(A) as shown in the illustration. Install the inner race on the driveshaft(B), and then the snap ring.
6. Apply the specified grease to the outer race and install the BJ. outer race onto the driveshaft.
7. Apply the specified grease into the TSJ. boot and install the boot with a clip.
8. Tighten the TSJ. boot bands.
9. Add the specified grease to the BJ. as much as wiped away at inspection.
10. Install the boots.
11. Tighten the BJ. boot bands.
12. To control the air in the TSJ. boot, keep the specified distance between the boot bands when they are tightened.
Distance (mm) :678.4 +19.55
-11.8