
Optima V6-2.7L (2003)
2. Install tensioner arm and plane washer to cylinder block.
3. Install tensioner pulley to the tensioner arm.
4. Install sprockets and align the timing mark.
NOTE:
^
When installing camshaft sprocket, fasten the sprocket tightly with holding the hexagonal part of the camshaft.
^
Before installing timing belt, if the timing marks of cam sprocket and cylinder head cover do not coincide, do not rotate the cam sprocket more
than 3 teeth of sprocket in any direction.
Rotating sprocket more than 3 teeth might make valve and piston touched each other.
^
In case of rotating the cam sprocket unavoidably more than 3 teeth, rotate the cam sprocket after rotating 3 teeth in the side of crank
counter-clockwise on the base of timing mark.
5. Install the auto tensioner to the front case.
NOTE: At this time auto tensioner's set pin should be assembled completely.
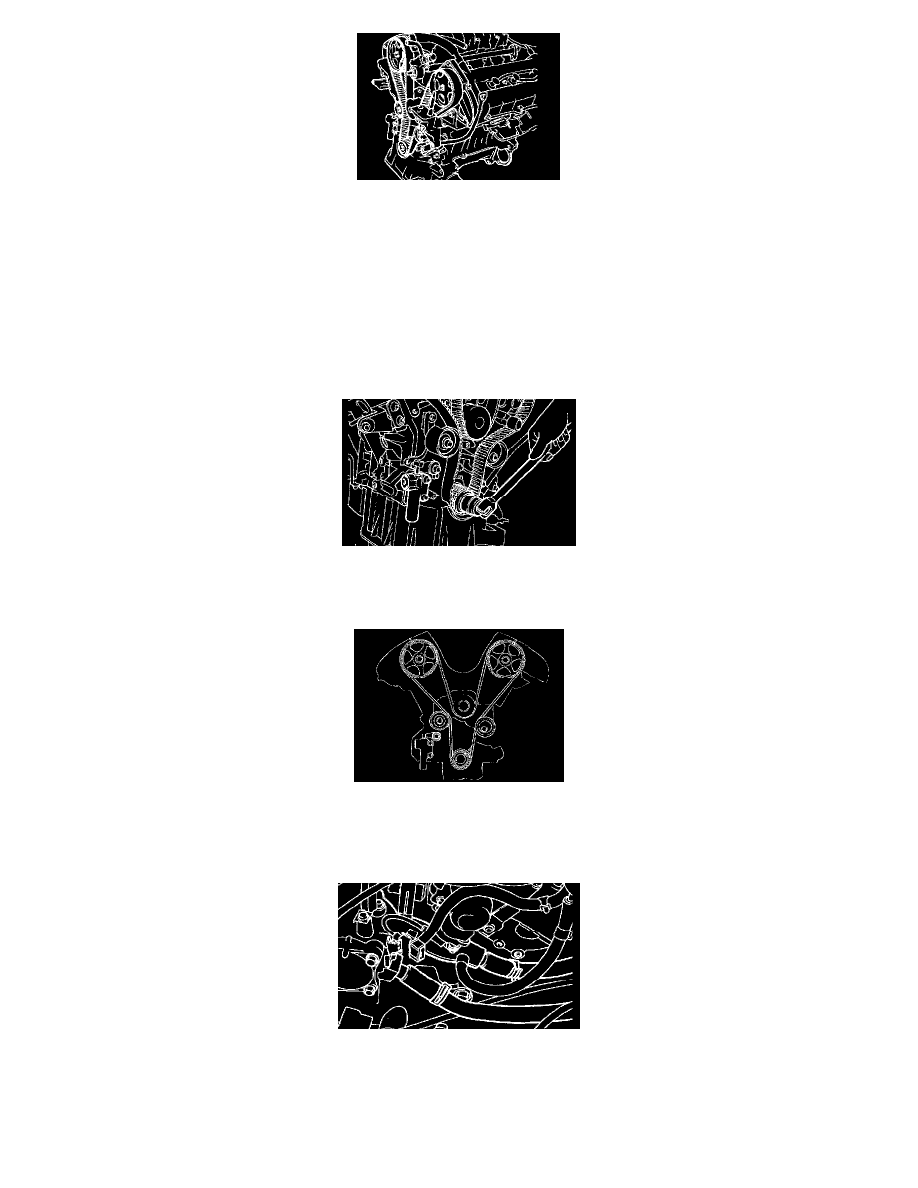
6. Align the timing marks of each sprocket and install the timing belt in this order.
Crankshaft sprocket Idler pulley Intake cam sprocket (LH side) Water pump pulley Intake cam sprocket (RH side) Tensioner pulley.
NOTE: In this step, No.1 is in TDC (Compression stroke) Do not insert fingers.
7. Pull out the set pin of the auto tensioner.