
Optima V6-2.7L VIN 4 (2007)
Brake Pedal Assy: Service and Repair
Repair Procedures
REMOVAL
1. Remove the lower crash pad.
2. Pull down steering column shaft after removing 4 bolts.
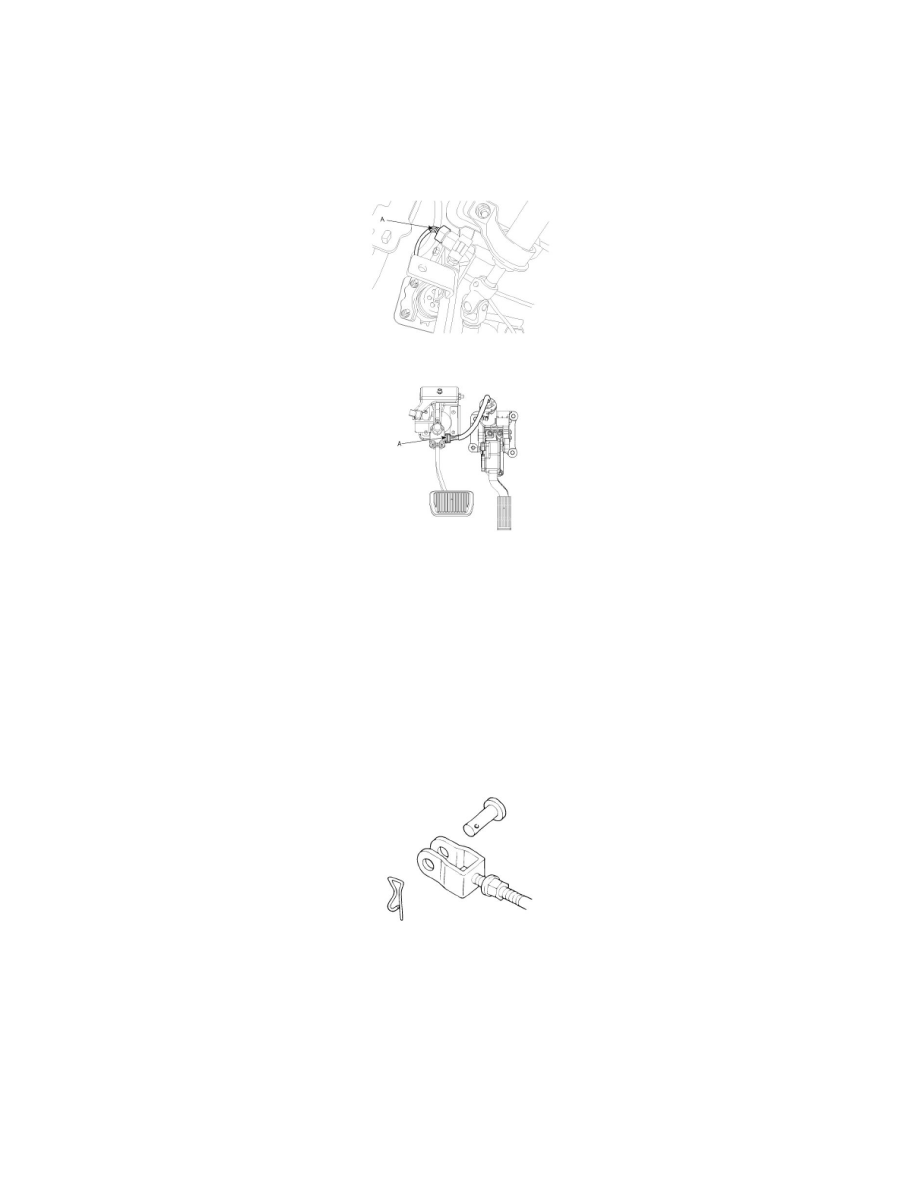
3. Remove the stop lamp switch connector (A).
4. Remove the motor connector (A) in case of the adjustable brake pedal.
5. Remove the clevis pin and snap pin.
6. Remove the brake pedal member assembly mounting nuts and then remove the brake pedal assembly.
INSTALLATION
1. Installation is the reverse of removal.
Grease : LiG-2
CAUTION:
Coat the inner surface of the bushings with the specified grease.
2. Before inserting the pin, apply the specified grease to the joint pin.
3. Adjust the brake pedal height and free play.
4. Install the stop lamp switch.
INSPECTION
1. Check the bushing for wear.
2. Check the brake pedal for bending or twisting
3. Check all parts for crack and wear.
4. Check the stop lamp switch.
(1) Connect a circuit tester to the connector (1-2 terminals) of stop lamp switch, and check whether or not there is continuity when the plunger of
the stop lamp switch is pushed in and when it is released.