Optima V6-2.7L VIN 4 (2007)

14. Remove the crankshaft sprocket.
INSTALLATION
1. Install the crankshaft sprocket.
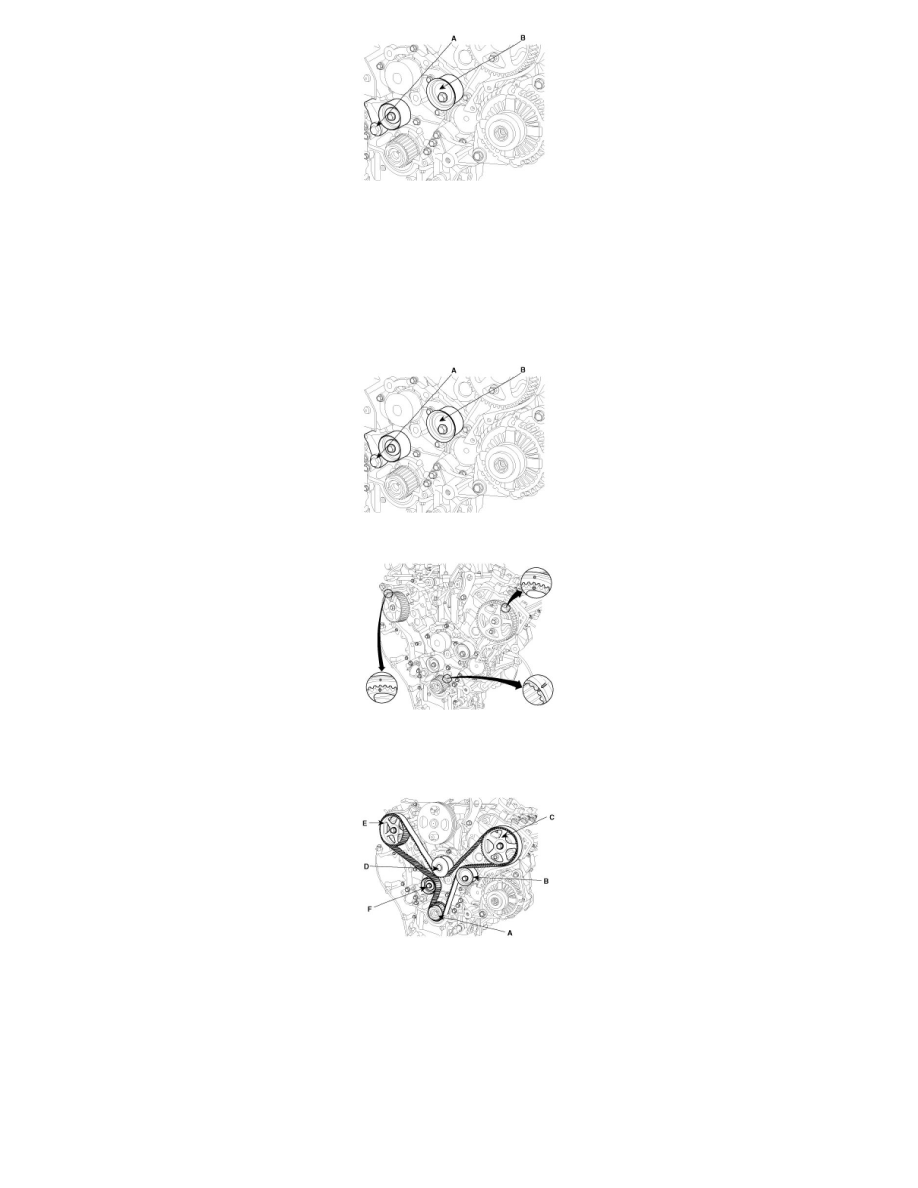
2. Install the tensioner arm assembly(A) and the idler(B).
Tightening torque: Tensioner arm bolt : 34.3 - 53.9Nm (3.5 - 5.5kgf.m, 25.3- 39.8lb-ft) / Idler pulley bolt : 49.0 - 58.8Nm (5.0 - 6.0kgf.m,
36.2- 43.4lb-ft)
3. Ensure the timing marks on the camshaft and the crankshaft sprockets.
4. Install the timing belt.
Crankshaft sprocket(A) -> Idler(B) -> Bank 2 exhaust camsprocket(C) -> Water pump pulley(D) -> Bank 1 exhaust camsprocket(E) -> Tensioner
pulley(F).
5. Install the timing belt auto tensioner.
(1) Make the tensioner stand for about five minutes before installing.
(2) Press the rod with the weight, 150 - 200N.
(3) If the rod is stiff, insert a set-pin with pressing the rod slowly. If not, press the rod 2 - 3 times from the maximum length to 2.9mm(the position
in which the two holes of the rod and the body can be at one).
(4) Check for stiffness. If there is, insert a set-pin and other wise, replace the auto-tensioner.
