
Rio L4-1.6L (2004)
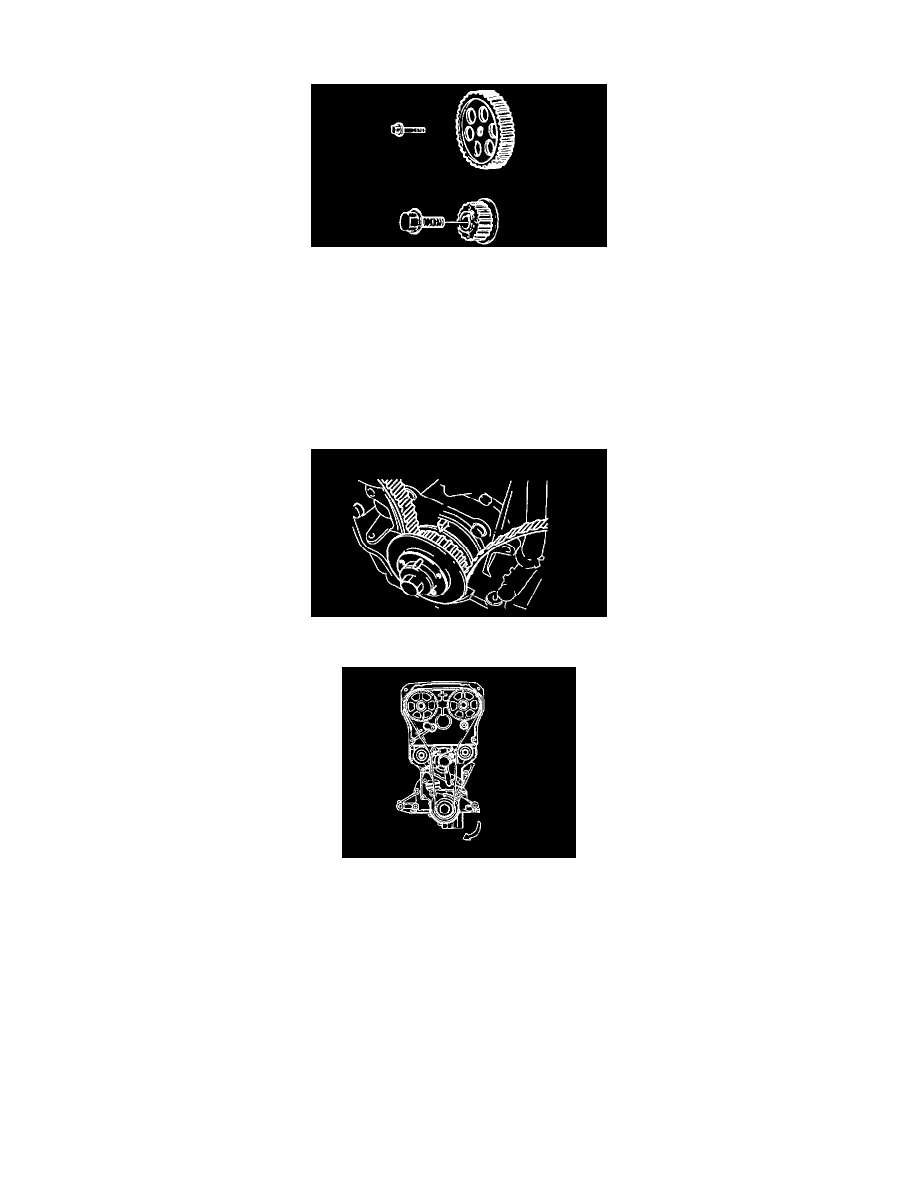
4. Inspect both idler pulley and tensioner pulley for uneven wear and smooth bearing operation.
5. Inspect camshaft pulleys and timing belt pulley for broken teeth or damage.
NOTE: Replace any component that shows damage, excessive wear, or that appears prone to a possible failure.
INSTALLATION
1. Install tensioner pulley.
NOTE: Replace tensioner spring whenever timing belt is replaced.
2. Pull tensioner pulley to its furthest point and tighten lock bolt.
3. Check that timing mark on timing belt pulley is aligned with timing mark on engine.
4. Check that "I" mark on intake camshaft pulley is aligned with mark on seal plate and "E" mark on exhaust camshaft pulley is aligned with mark on
seal plate.
NOTE: If existing timing belt is being reused, install belt in proper rotation direction marked prior to removal.
5. Install timing belt onto timing belt pulley first, then idler pulley, exhaust camshaft pulley, intake camshaft pulley, and tensioner pulley in that
order.
6. Check that there is no looseness in belt between idler pulley and exhaust camshaft pulley or between intake and exhaust camshaft pulleys.
7. Loosen tensioner pulley lock bolt and allow tensioner spring to apply tension to timing belt.
NOTE: Do not add additional tension.
8. Tighten tensioner pulley lock bolt to specified torque.
Tightening torque: 28 - 38 ft. lbs. (38 - 51 Nm, 3.9 - 5.2 kgf-cm)
9. Rotate crankshaft two full revolutions (clockwise only) and align timing mark on timing belt pulley with timing mark on engine block.
10. Check that "I" mark on intake camshaft pulley and "E" mark on exhaust camshaft pulley are aligned with marks on seal plate.