
Rio L4-1.6L (2004)
1. Insert a thin piece of metal from terminal side of connector then with terminal locking tab pressed down, pull terminal out of connector.
2. Place gear case on a vise and knock pin out with suitable pin punch and hammer to remove two strut washers, pinion gear and pinion shaft.
3. Remove the indicator panel.
4. Remove cover.
5. Turn position indicator lamp counterclockwise to remove position indicator lamp from indicator panel.
6. Remove two detent roller assembly screw then remove assist plate, upper spring plate and spring plate.
7. Remove bolt from base plate.
8. Remove two guide plate bolts then remove guide plate.
9. Remove selector lever.
RE-ASSEMBLY
1. Install the selector lever to the base plate.
2. Install the guide plate to the base plate.
Tightening torque: 61 - 86.81 inch lbs. (6.9 - 9.8 Nm, 70 - 100 kg-cm)
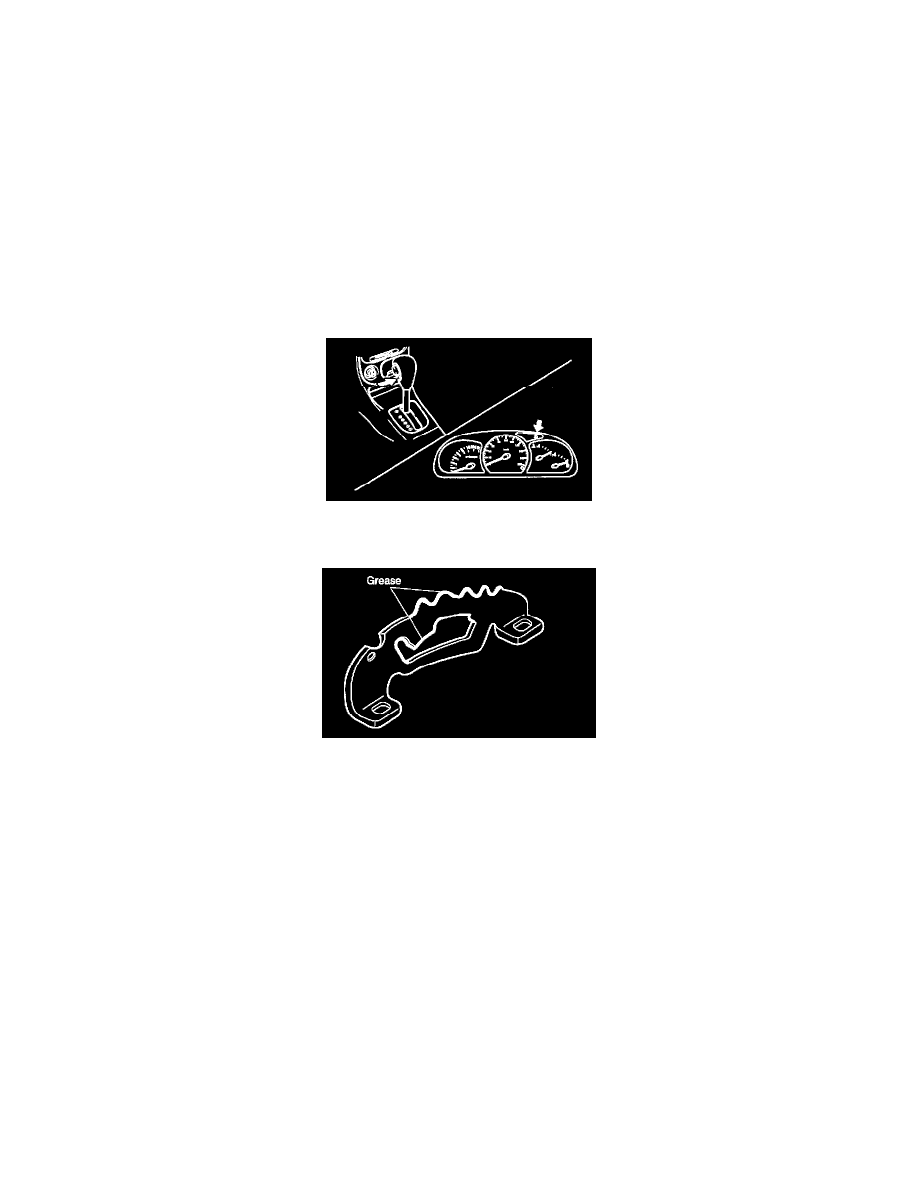
3. Apply grease (spec: O-GL02) to inside of roller.
4. Shift selector lever to P range.
5. Loosely install spring plate and assist plate.
Tightening torque: 18 - 26 inch lbs. (2.0 - 2.9 Nm, 20 - 30 kg-cm)
6. Apply grease (O-GL02) to inside and outside of the guide plate.