
Rio L4-1.6L (2004)
3. Install the inboard end of the halfshaft into the differential side gear.
CAUTION: Insert the halfshaft carefully so as not to damage the oil seal.
4. Lubricate the outboard end of the halfshaft with grease.
5. Insert the outboard end of the halfshaft into the wheel hub.
CAUTION: Insert the halfshaft carefully so as not to damage the oil seal.
6. Install a new halfshaft attaching nut onto the halfshaft and finger-tighten.
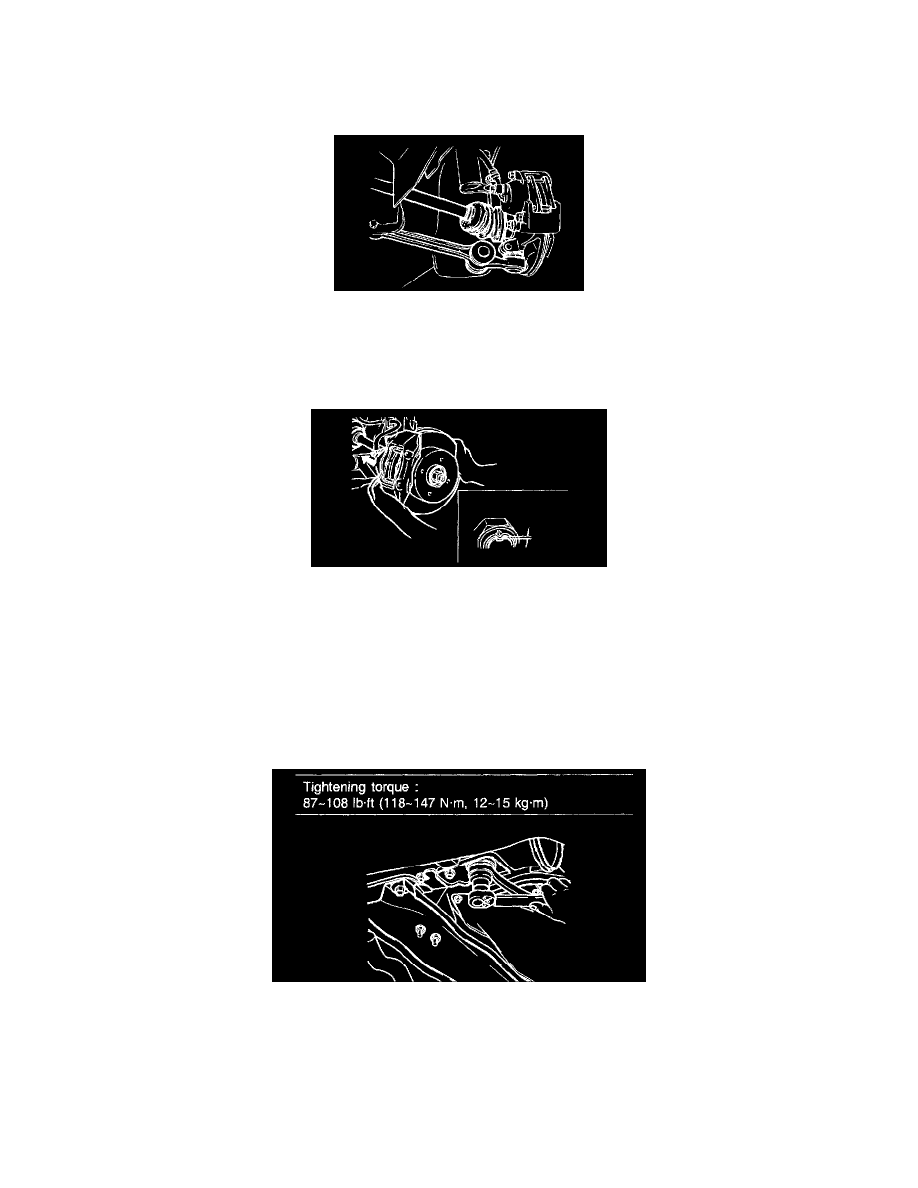
7. Push up the lower arm and reconnect the ball joint.
NOTE: Use caution to avoid damaging the ball joint dust boot.
8. Install the clamp nut and bolt on the lower arm.
9. Install a new driveshaft lock nut. Tighten to the specified torque and stake the lock nut, ensuring that it seats into the groove in the driveshaft.
Driveshaft lock nut: 116 - 174 ft. lbs. (157 - 234 Nm, 16 - 24 kgf-cm)
Knuckle to lower arm ball-joint: 40 - 50 ft. lbs. (54 - 68 Nm, 5.5 - 6.9 kgf-cm)
10. Install the stabilizer bar to the control link.
Tightening torque: 32 - 45 ft. lbs. (43 - 60.8 Nm, 14.4 - 6.2 kgf-cm)
11. Install the tension rod mounting bracket nuts and tighten.
12. Install the front wheel.
NOTE:
^
After installation, pull the front hub outward to check that the driveshaft does not come out.
^
Do not stake the lock nut with a pointed tool.
^
Check that the wheel hub can be turned smoothly by hand.