Rondo V6-2.7L (2009)

Shift Solenoid: Service and Repair
Solenoid Valve
Removal
1. Remove the battery terminal.
2. Lift the vehicle.
3. Remove the splash shield.
4. Loosen the drain plug and drain the transaxle oil.
5. Remove the oil pan.
6. Disconnect the solenoid valve connectors.
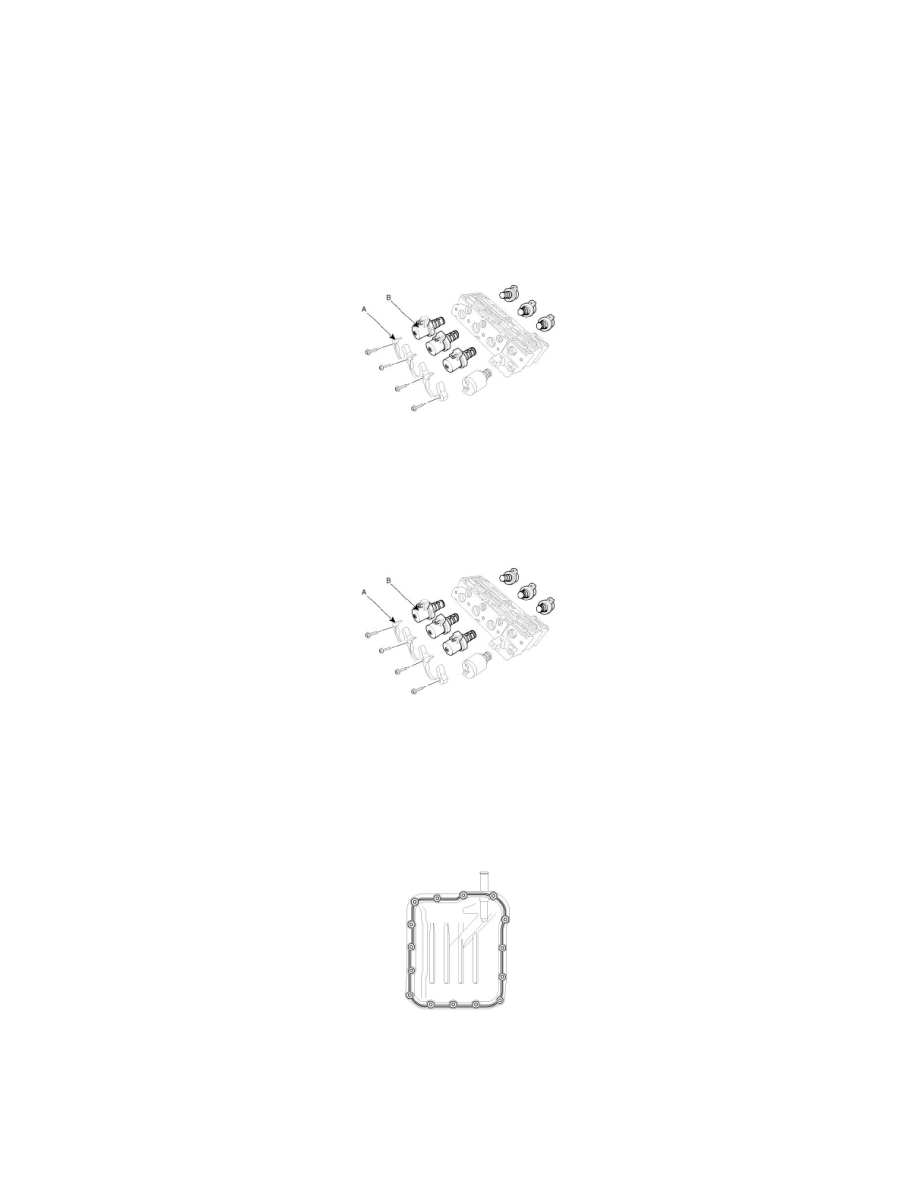
7. Remove the solenoid valve(B-6EA) by removing the supporting bracket(A).
Installation
1. Install the solenoid valve(B-6EA) and the supporting bracket(A).
CAUTION:
Apply the ATF oil or White Vaseline to the O-ring, to prevent damage to the O-rings.
2. Connect the solenoid valve connector.
CAUTION:
When connecting the solenoid valve connector, check the connector for rust, dirt, or oil, then reconnect it.
3. Continue to apply liquid gasket at application points at the oil pan with Ø2.5mm (0.098in) thickness.
Liquid gasket Part name : Three bond 1281B
4. Tighten the mounting bolt with the specified torque after installing the oil pan.
TORQUE :
13 - 15Nm(1.3 - 1.5kgf.m, 9.4 - 10.8lb-ft)
5. Install the drain plug and refill the transaxle fluid.
