
Sedona EX V6-3.5L (2002)
Loosen, but DO NOT remove completely, the two FRONT subframe nuts.
Remove both rear sub-frame nuts and carefully pry the sub-frame down about 1 inch on the driver side, and about 1-1/2 inches on the passenger
side.
NOTICE:
Do NOT pry the driver side down further then recommended, as the steering rack is still attached, and may be damaged!
It may be necessary to hold the sub-frame down on the RIGHT passenger side while removing the coolant pipe assembly. To accomplish this, you
can place a shallow socket that is 1-1/2 inch in height between the body and sub-frame assembly on the RH side, or some similar 1-1/2 inch thick
material.
10.
Carefully remove the front coolant pipe assembly, noting its original positioning and routing for reference during reinstallation of the new part.
Service Procedure - Front No. 1 Pipe Assembly Installation
1.
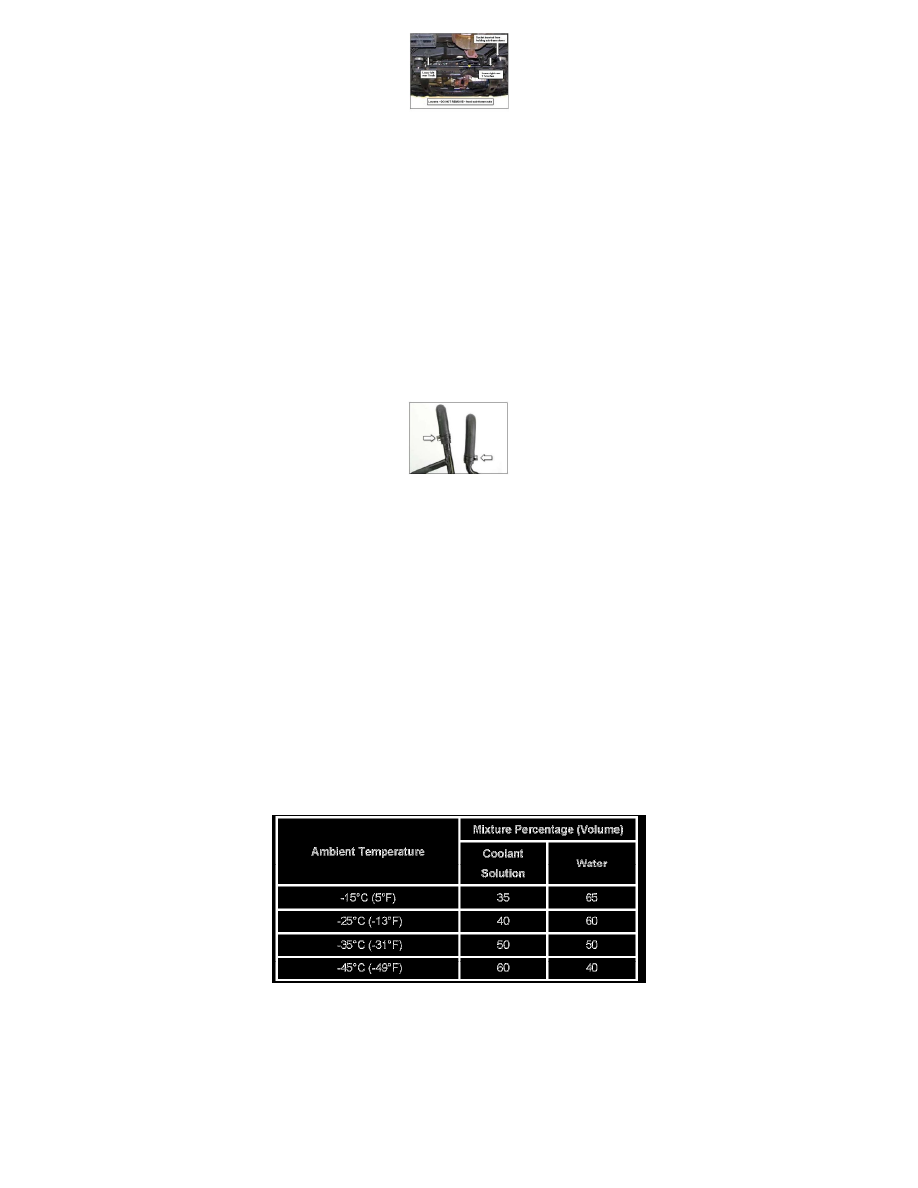
In preparation to installing the front coolant pipe assembly, turn both clamps for the heater hose connections 90° (1/4 turn) outward as shown in
the photo. Do NOT remove any hoses.
NOTICE:
This will allow the pipe to be positioned with greater ease.
Install the front coolant pipe assembly. Start by inserting the hoses that connect to the engine first, and carefully work the remaining assembly up
into place.
2.
After the front coolant pipe assembly has been completely positioned, loosely reinstall the assembly to the body. Reattach all hose connections,
and then fully tighten the coolant pipe assembly to the body.
NOTICE:
Important check the clearance between the coolant pipes and hose connections, making certain that there is no contact between any other
component, line / hose or electrical harness!
3.
Install all remaining components in the reverse order of removal. If no additional coolant pipe assemblies will be replaced, proceed here with step
4. Otherwise, stop here and proceed with additional coolant pipe assembly replacement procedures.
4.
Refill the system with coolant, referring to the table above for correct coolant mixture.
NOTICE:
After filling the system, the rear heater core /pipe assemblies can easily be bled off air by temporally clamping off either FRONT heater core
connection while raising the engine speed to approximately 2500 RPM for about one minute.
5.
Carefully check for any coolant leaks, and that both the front and rear heater's operate correctly.