
Sedona EX V6-3.5L (2002)
1.
Once the engine has cooled sufficiently, remove the radiator cap.
Remove the spare tire assembly, and then raise the vehicle on the lift.
2.
Remove the RH passenger side rear wheel mud flap and bracket to allow better access to the rear heater core connections.
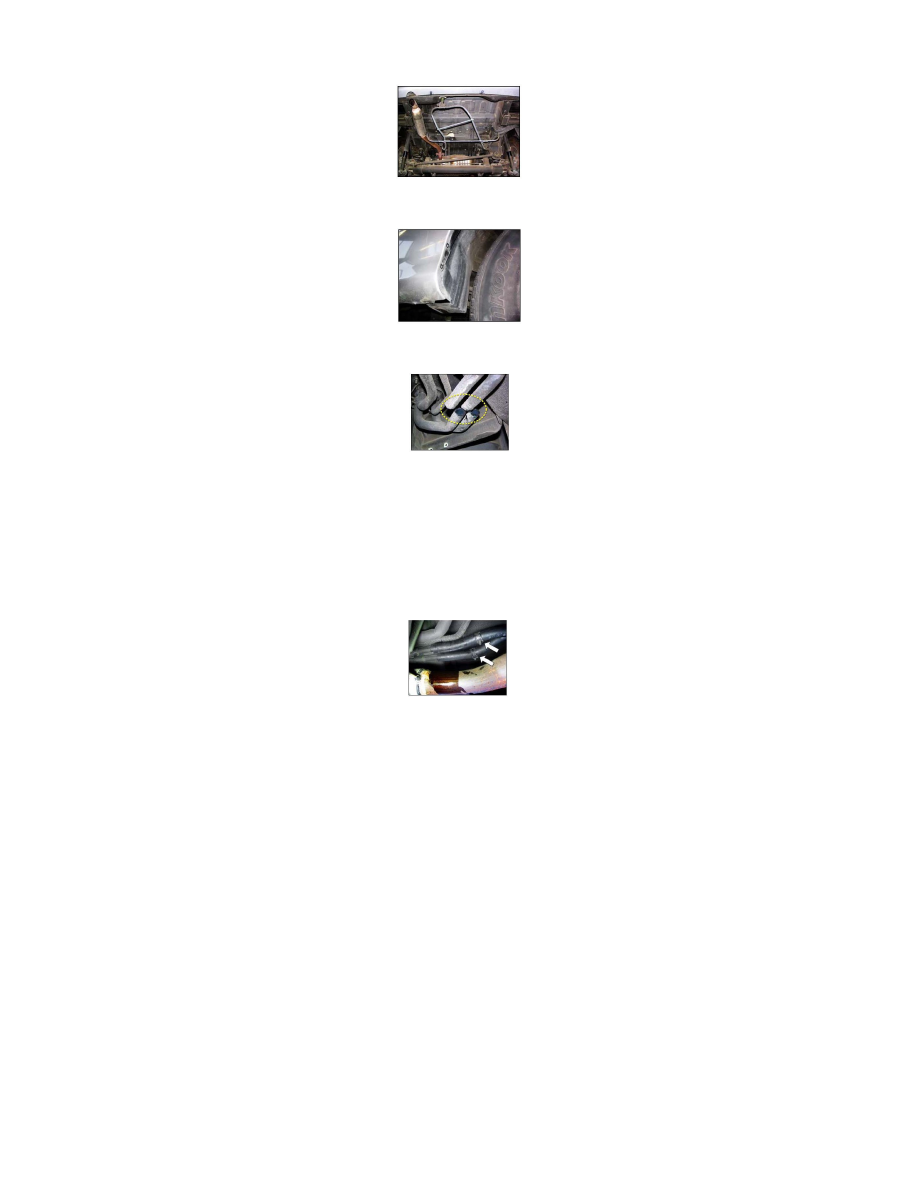
3.
Cut the two flexible coolant hoses between the rear heater core assembly and rear coolant pipes as shown in the photo, and allow coolant to drain
into a large container.
NOTICE:
A large amount of coolant will drain from these two hoses!
NOTICE:
Important: Do NOT cut hoses between the center and rear pipe assemblies!
4.
Loosen and slide forward the two clamps attaching the rear coolant pipe assembly to the center coolant pipe assembly, and then loosen the hoses
connections themselves.
NOTICE:
Do NOT damage the hoses between these two assemblies, as they will be reused.
5.
Remove the nuts holding the coolant pipe assembly to the body, and then remove the original rear coolant pipe assembly itself. Also,
CAREFULLY remove the remaining clamps and hose's that were cut-off of the rear heater core assembly.
Service Procedure Rear No. 3 Pipe Assembly Installation
1.
Install the new rear coolant pipe assembly to the body, and then install the hose connections to the center coolant pipe assembly and the rear heater
core assembly.
Reinstall the mud flap / bracket and spare tire.
If no additional coolant pipe assemblies will be replaced, proceed here with step 2. Otherwise, stop here and proceed with another coolant pipe
assembly replacement procedure.