
Sedona EX V6-3.5L (2002)
Fluid - A/T: Testing and Inspection
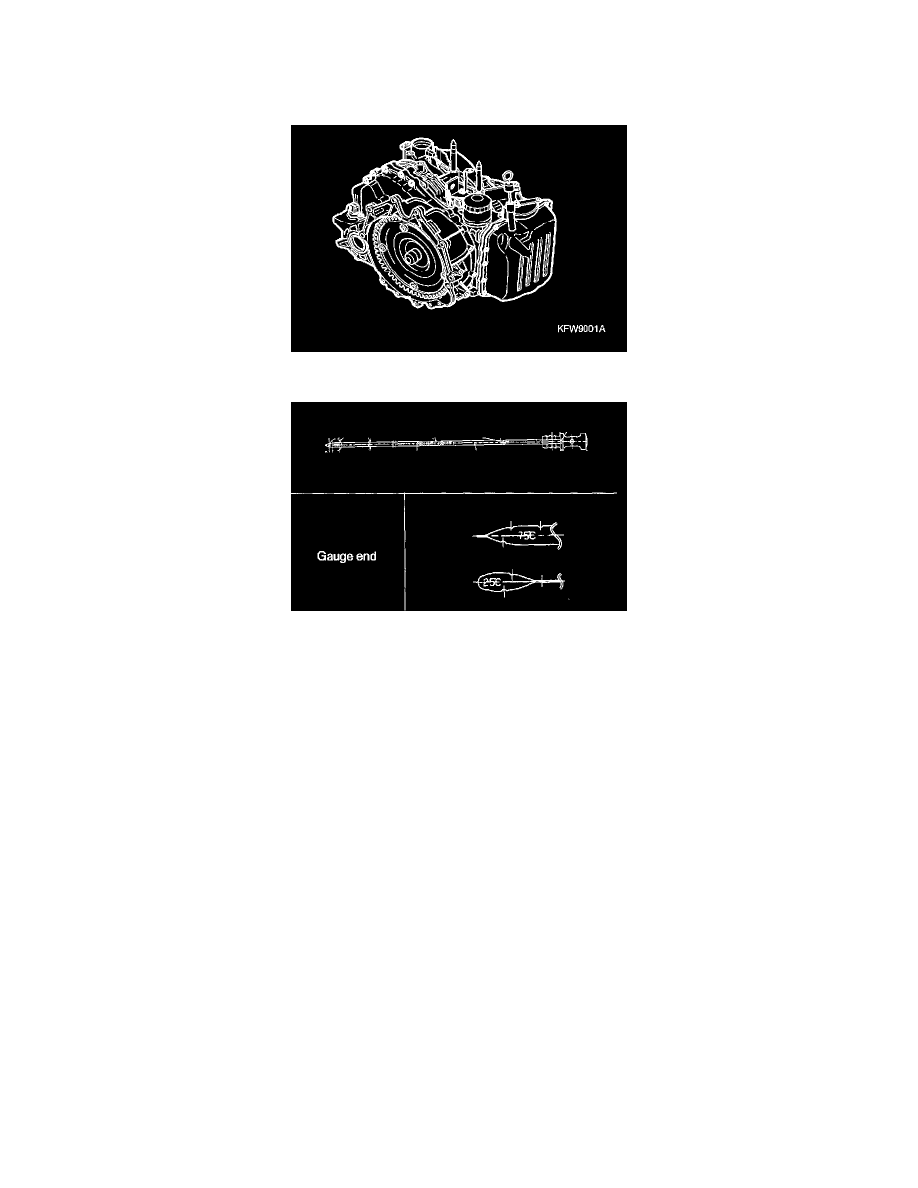
ATF Checking
1. Drive the vehicle to warm ATF up to operating temperature. (70° - 80°C)
2. Park the vehicle at even surface and engage the parking brake. (Depress the parking brake pedal for foot type)
3. Move the selector lever through all positions and place it at position "P" or "N".
4. Remove dirt around the fluid level gauge and clean the gauge to check ATF.
Notice: If there's burnt odor, it means that ATF is contaminated by fine particles from bush (metal) or abrasive materials. Then you must overhaul
the transaxle and cleanse the cooler line.
5. Check the ATF level. ATF shall reach "75°C" range of the fluid level gauge. Otherwise, add the fluid to "75 °C" range. Use GENUINE
DIAMOND ATF SP-III fluid.
Notice:
1. Low ATF level will make fluid pump inhale outside air to generate bubbles within the fluid pressure line. Then fluid pressure will be decreased
to cause retarded shift or slip of the clutches and the brakes.
2. Surplus fluid will make gears pump up fluid to generate bubbles resulting to the same effect as low fluid level.
3. High or low fluid level will cause fluid overheating end oxidation, and the valves, the clutches, and the brake will not operate properly.
Besides, bubble will make fluid overflow into air bleeder or fluid filter tube though there is no fluid leakage.
6. Insert the fluid level gauge correctly.
7. Replace the sub-filter and thoroughly clean or replace the main filter, when you replace ATF in the following cases: transaxle overhaul, fluid
degradation or heavy contamination(in case of accelerated drive), and regular replacement.