
Sedona EX V6-3.5L (2002)
Center No. 2 Pipe Assembly Removal and Installation
Service Procedure - Center No. 2 Pipe Assembly Removal
1.
Once the engine has cooled sufficiently, remove the radiator cap.
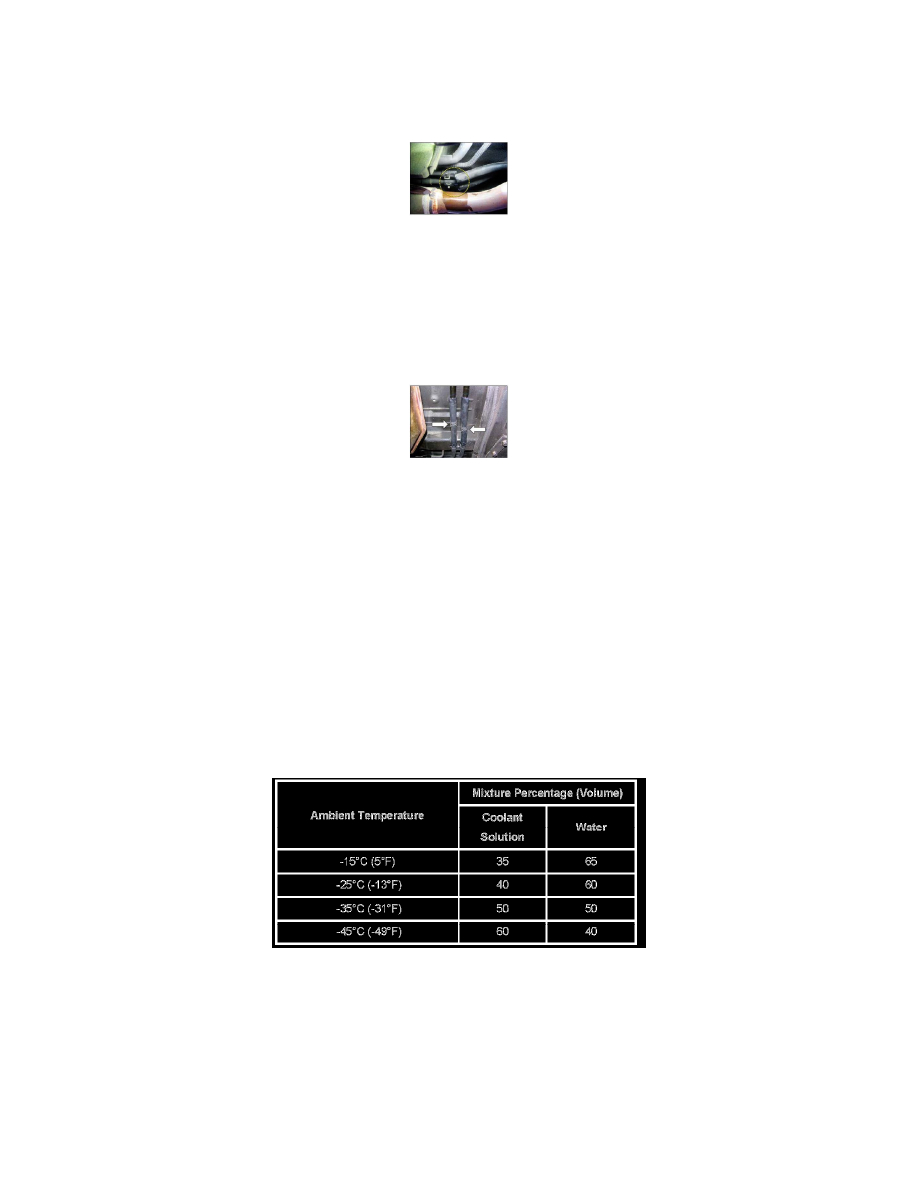
Raise vehicle on a lift. Cut the two flexable coolant hoses between the rear and center coolant pipe assemblies as shown in the photo, and allow
coolant to drain into a large container.
NOTICE:
A large amount of coolant will drain from these two hoses!
NOTICE:
Important Do NOT cut hoses between the front and the center pipe assemblies!
2.
Loosen and slide forward the two clamps attaching the center coolant pipe assembly to the front coolant pipe assembly, and then loosen the hose
connections themselves.
NOTICE:
Do NOT damage the hoses between these two assemblies, as they will be reused.
3.
Remove the bolts holding the coolant pipe assembly to the body, and then remove the original center coolant pipe assembly itself. Additionally
remove the two remaining clamps from the front end of the rear coolant pipe assembly and the hoses that were previously cut off.
NOTICE:
It may be necessary to loosen the two bolts at the reat of the front catalyst before removing the center coolant pipe assembly.
Service Procedure - Center No. 2 Pipe Assembly Installation
1.
Install the new center coolant pipe assembly to the body, and then install the hose connections to the front and rear of the assembly. If no
additional coolant pipe assemblies will be replaced, proceed here with step 2. Otherwise, stop here and proceed with additional coolant pipe
assembly replacement procedures.
2.
Refill the system with coolant, referring to the table above for correct coolant mixture.
NOTICE:
After filling the system, the rear heater core/pipe assemblies can easily be bled of air by temporally clamping off either FRONT heater core
connection while reising the engine speed to approximately 2500 RPM for about one minute.
3.
Carefully check for any coolant leaks, and that both the front and rear heater's operate correctly.
Rear No. 3 Pipe Assembly Removal and Installation
Service Procedure - Rear No. 3 Pipe Assembly Removal