
Sedona EX V6-3.5L (2002)
Control Arm: Service and Repair
Removal
1. Lift vehicle and support with safety stands.
2. Remove wheel and tire assembly.
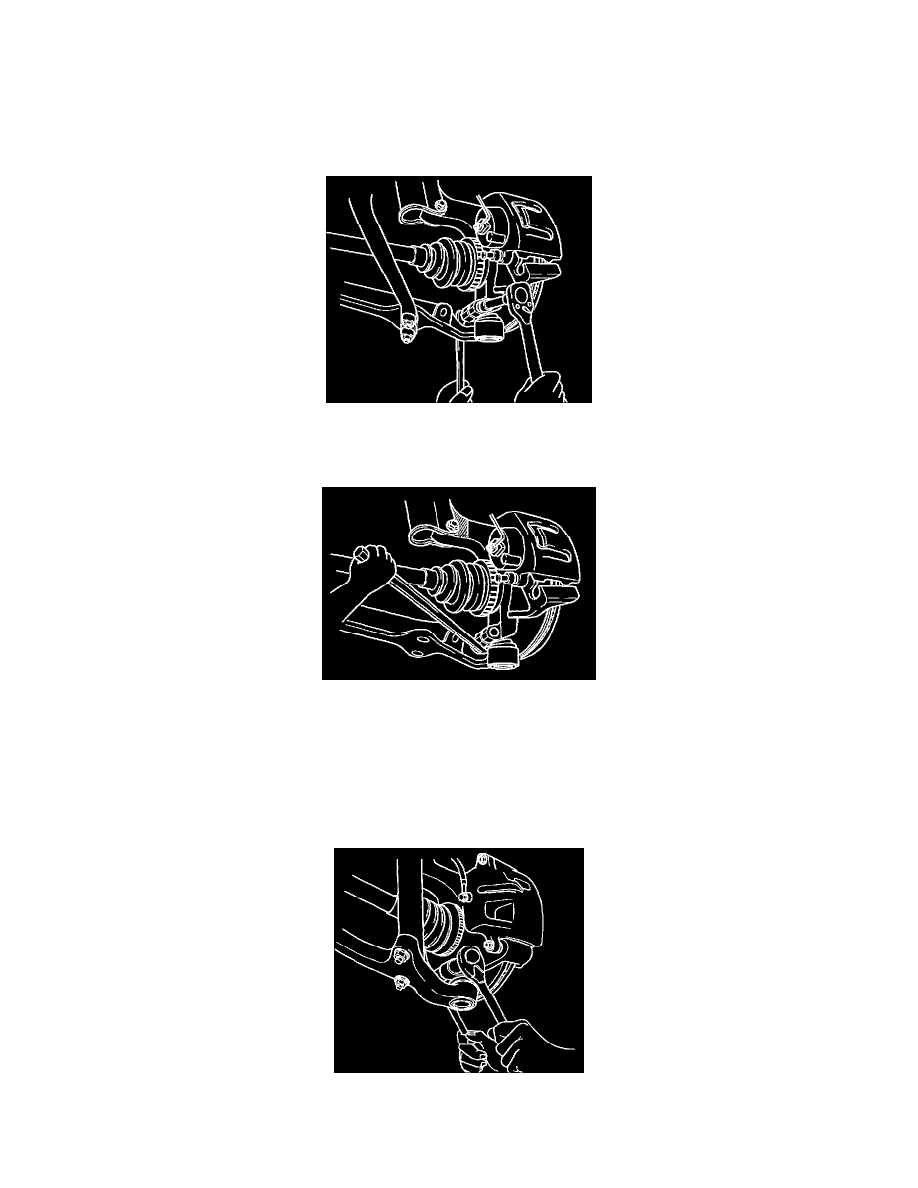
3. Remove stabilizer control link nut on the lower control arm.
4. Remove stabilizer control link nut from the stabilizer bar.
5. Remove the tension rod from the lower control arm after loosening two bolts and nuts.
6. Remove the lower arm ball joint bolt and nut from steering knuckle.
Notice: Use caution when separating lower control arm from steering knuckle, so ball joint seal does not get cut.
7. Using a prybar, separate the steering knuckle from lower control arm.
8. Remove the lower control arm from the subframe after loosening bolt and nut.
Replacement
1. Position the front lower arm to the subframe and secure it with bolt.
Tighten the lower arm nut.
Tightening torque: 88 - 101 ft. lbs. (120 - 137 Nm, 12.2 - 14 kg-m)
2. Position the front lower arm ball joint into the wheel knuckle.
3. Tighten the lower arm ball joint bolt and nut to steering knuckle.
Tightening torque: 69 - 85 ft. lbs. (93 - 15 Nm, 9.5 - 11.7 kg-m)
4. Install the tension rod to the lower arm. Tighten bolts and nuts.