
Sedona EX V6-3.5L (2002)
Stabilizer Bar: Service and Repair
Removal
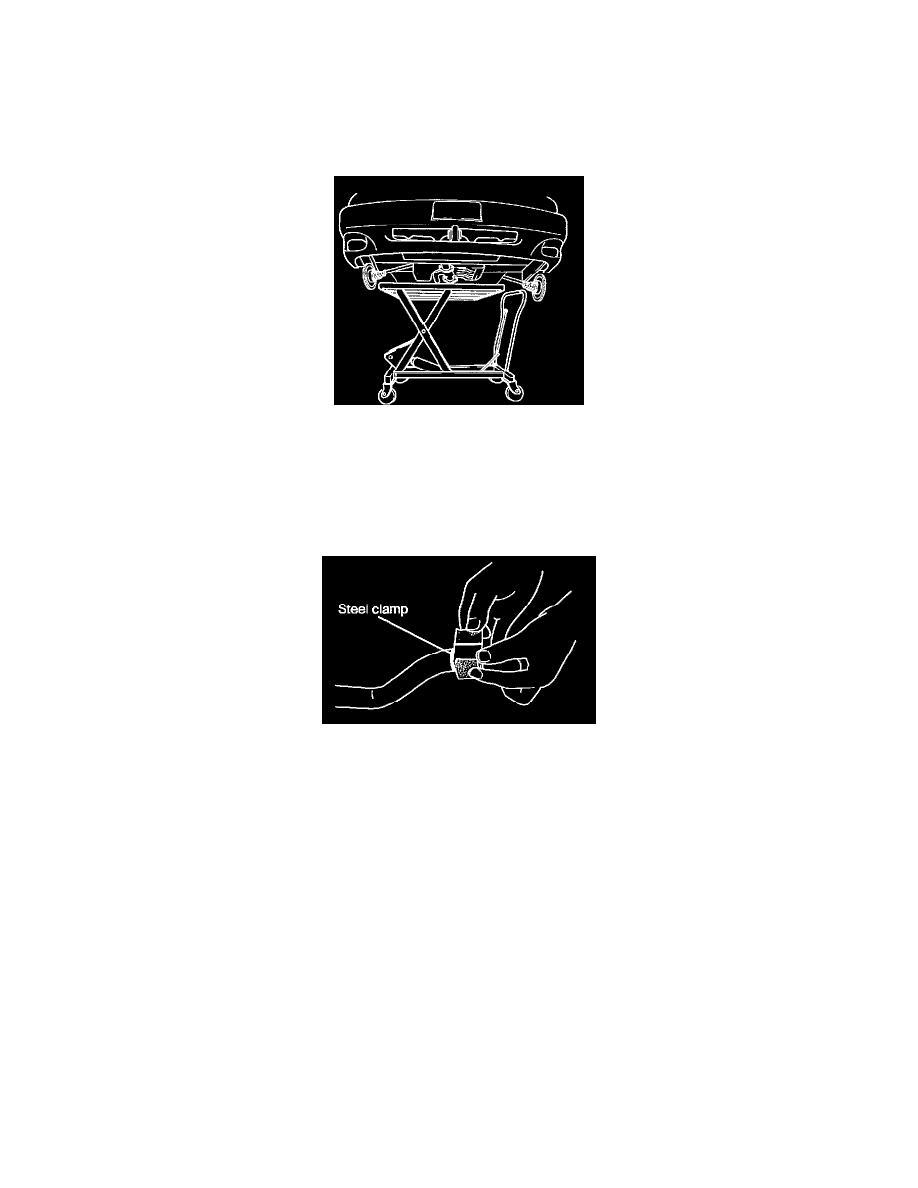
1. Lift front of vehicle and support it with safety stands.
2. Remove wheel and tire.
3. Remove stabilizer from control link.
4. Remove control link from the lower control arm.
5. Remove the exhaust pipe.
6. Position a suitable transaxle jack under the transaxle and secure it to the transaxle.
7. Remove engine mounting No. 1 and 2 from the subframe.
8. Remove stabilizer mounting bolts from the subframe.
9. Lower the subframe enough to pull the stabilizer out from behind the subframe.
10. Remove the stabilizer bar.
Replacement
1. Align the stabilizer bushing with the steel clamp on the stabilizer bar. Locate the bushing adjacent to the position line on stabilizer bar.
Notice: Do not change replacement direction of the stabilizer control link when installing.
2. Position stabilizer behind the subframe.
3. Raise the subframe into place and tighten engine mounting No. 1 and 2 bolts and nuts to specified torque.
4. Tighten the stabilizer mounting bolts to the subframe.
Tightening torque: 16 - 20 ft. lbs. (21 - 26 Nm, 2.2 - 2.7 kg-m)
5. Install the exhaust pipe.
6. Install the stabilizer control link to the lower arm and stabilizer bar and then tighten two control link nuts.
Tightening torque: 69 - 85 ft. lbs. (93 - 115 Nm, 9.5 - 11.7 kg-m)
Notice: Tighten the two control link nuts to specified torque before lowering vehicle. (Unload condition)
7. Remove a suitable transaxle lack under transaxle.